Hike the Land’s End Trail in San Francisco
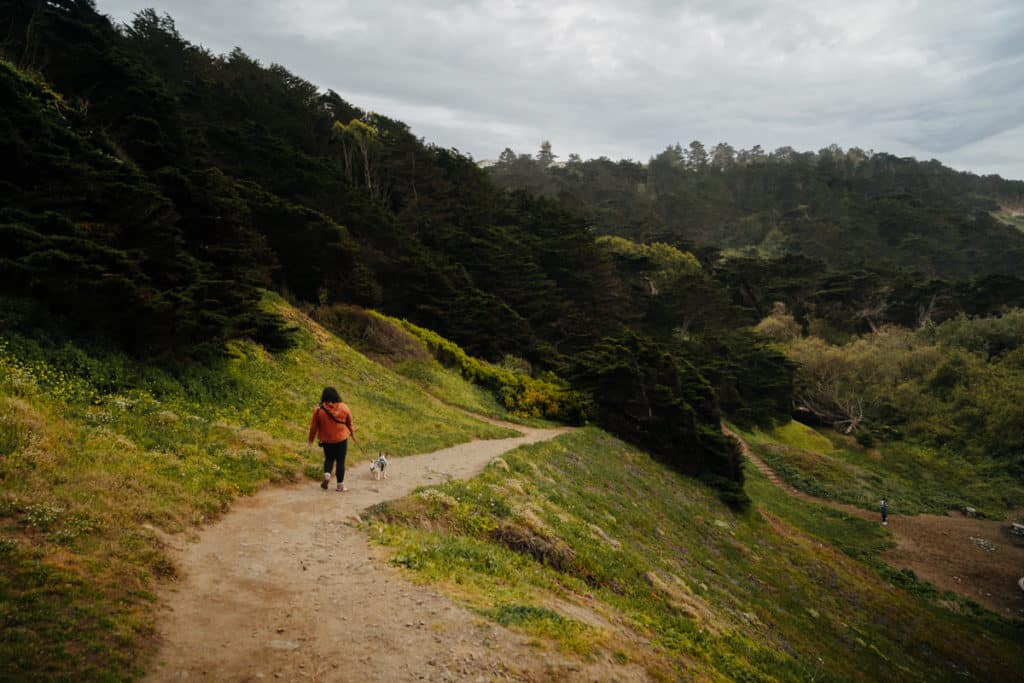
Right in San Francisco, there’s a place where you can see the wild, rugged coastline – a place that will make you forget you’re in the city! The Land’s End Trail in San Francisco is a must if you’re in the area.
This guide will tell you everything you need to know to hike the Land’s End Trail in San Francisco – what to expect, the best overlooks, what to bring, and more!
Head’s up: some of these links are affiliate links, so I get a commission if you make a purchase (at no cost to you). But that’s great, because I was going to share anyway, and this helps me keep making free guides for you!
Pin this photo to save this Land’s End Trail guide and reference it later!

About the Land’s End Trail in San Francisco
Before we get into the details, here’s what you need to know about the hike!
Land’s End Trail: At a Glance
Length: 3.4 miles (loop) – but there are several options for where to park, so you can shorten the hike, or extend it!
Elevation Gain: 538 feet
Difficulty: moderate (lots of stairs!)
The Best Time to hike the Land’s End Trail
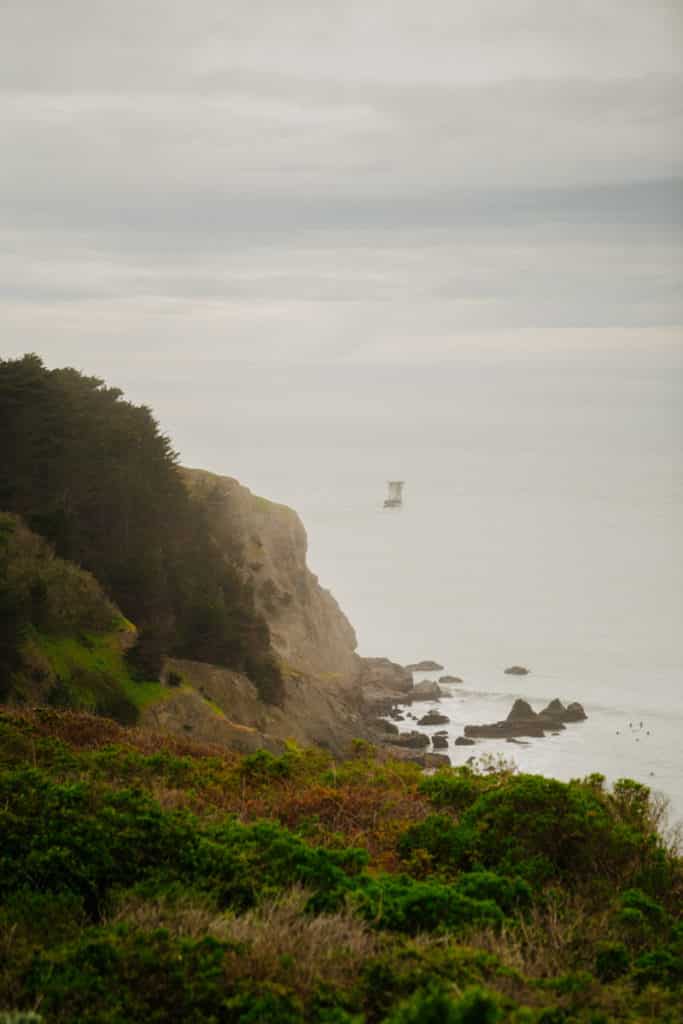
San Francisco’s weather is pretty mild year round, and you can hike the Land’s End Trail any time! Summers are typically foggier (especially in the mornings), but the fog can create a gorgeous moody view of the ocean. Winter is a little cooler, and it’s often rainy!
The best time to hike the Land’s End Trail if you want sunny, clear skies is usually early fall.
Leave No Trace on the Land’s End Trail
Anytime you’re outdoors, it’s essential that you practice Leave No Trace (LNT). LNT is a set of seven principles that help us understand our impact on the outdoors – because while we usually have good intentions, the environment is more fragile than we think, and one snap-second decision can cause damage to the plant life that will take the earth years, even decades to repair.
Leave No Trace means enjoying the outdoors without disrupting nature. Here are the 7 principles of LNT, and how they apply when you hike the Land’s End Nature Trail!
- Plan ahead and prepare – read this guide, make sure you have more water than you need, and download a map to ensure you know where you are.
- Travel and camp on durable surfaces – stay on the trail. You can climb and explore boulders on the beach, but stay on the established trail, and avoid trampling grasses and plants!
- Dispose of waste properly – don’t leave trash of any kind behind. Pack it out! There is a trash can at the trailhead.
- Leave what you find – I know it can be tempting to take a cool rock or shell, but leave these things where they belong! Animals often use these, and if everyone takes one, the beaches won’t be as pretty.
- Minimize campfire impacts – campfires are not allowed anywhere along the Land’s End Trail.
- Respect wildlife – dogs are allowed on the trail, but keep them on a leash. Avoid feeding or approaching birds or any other animals you might see.
- Be considerate of other visitors – the trail is narrow in spots. Yield to uphill hikers, and be respectful – no speakers or loud music.
Land’s End Trail Parking
There are several different options for parking at the Land’s End Trail, and depending on how long you want to hike, you can choose any of them! The official trailhead is at Land’s End Lookout. If you start here, you can see the ruins of the Sutro Baths.
You can also park at the El Camino Del Mar Parking Lot – if you begin here, you’ll skip the Sutro Baths, but you can get right on the Coastal Trail. On the east side, you can park at the Holocaust Memorial, or find street parking in the neighborhood close to Eagle Point on the Land’s End Trail.
Land’s End Hike Map
Here’s a map of all the potential parking spots for the Land’s End Trail, along with the best viewpoints along the trail!
On this Land’s End hike map, the red P’s are for parking, and the yellow stars are overlooks and places to stop for the best view.
What to Bring to Hike the Land’s End Nature Trail
When you’re hiking, it’s important to be prepared! Here’s what you need when you hike the Land’s End Trail in San Francisco.
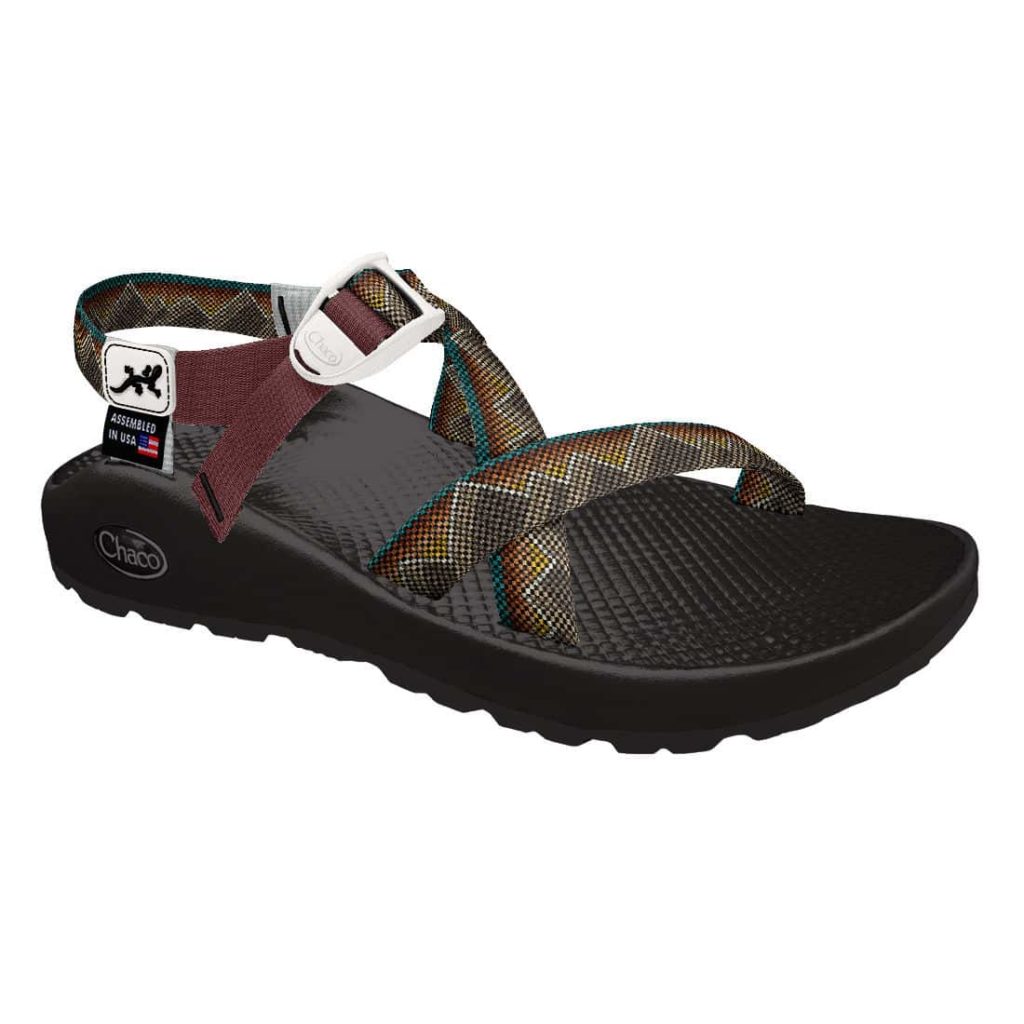
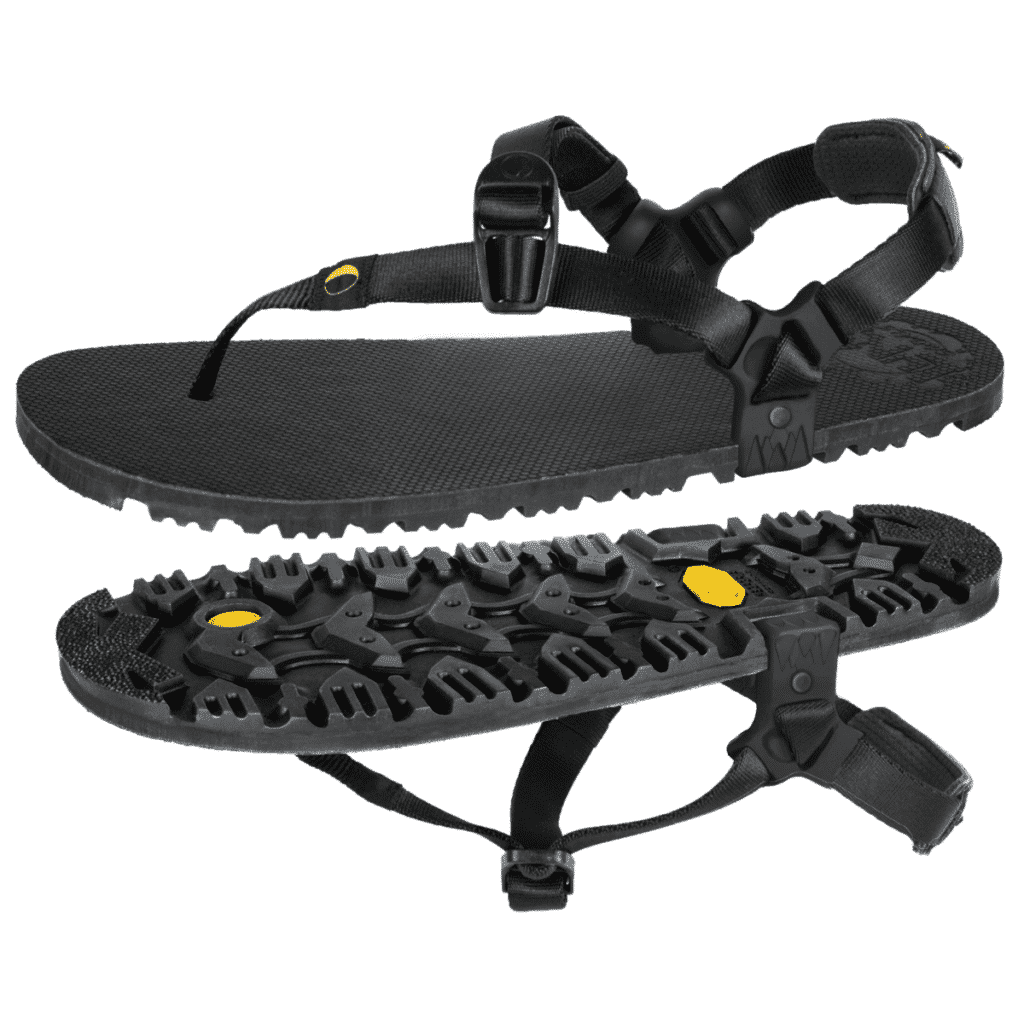
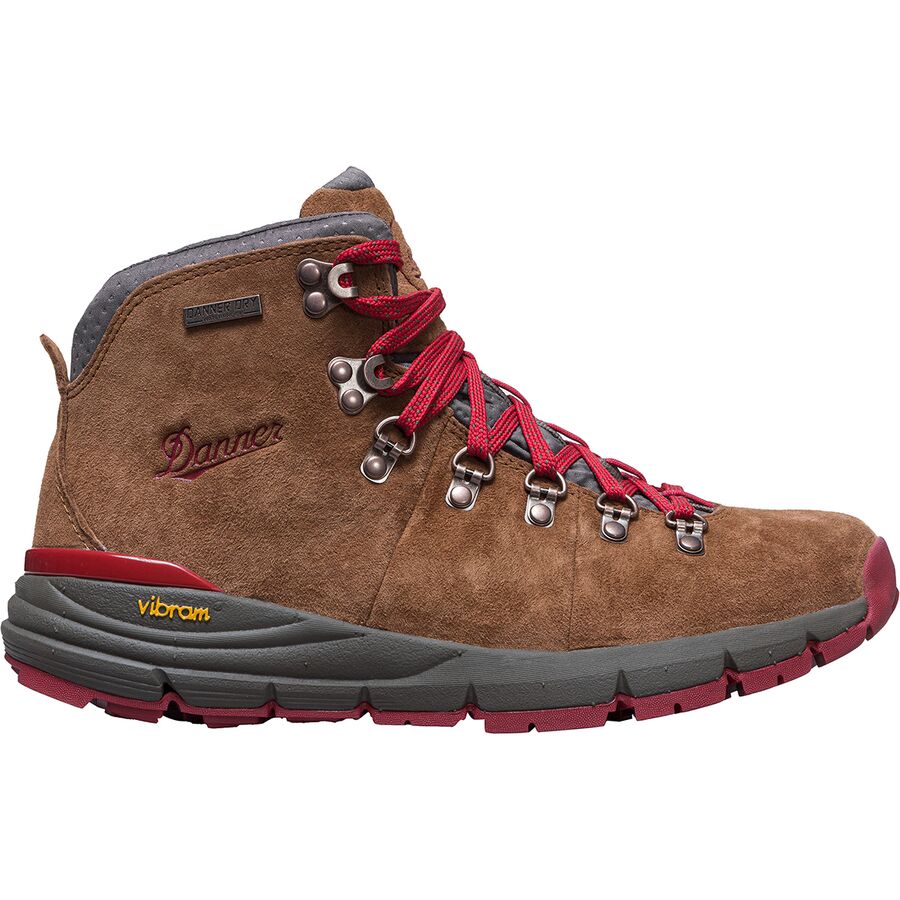
Sturdy Shoes
For short, easy trails like this one I prefer sandals over big hiking boots. My Chacos are my favorite hiking sandals, but I also love the Luna Barefoot Sandals, which offer a thinner sole – this can be helpful if you plan to climb any of the rocks! If you want more coverage, I recommend the Danner Mountain 600 hiking boots.
Bonus Tip: A lot of these links are for my favorite place to buy outdoor gear – Backcountry. If you install the free Lolli extension on your browser, you can earn free Bitcoin when you shop online at certain retailers, including Backcountry. You can transfer it to a crypto wallet, or just cash out to your bank account.
Layers
San Francisco is often windy, and it get get really cold, especially by the ocean! No matter the time of year, I recommend bringing a wind breaker and some layers to hike the Land’s End Trail.
The North Face Class V Windbreaker is a great lightweight, packable option for exploring, and it’s perfect for windy days that aren’t too cold. The RVCA Meyer Packable Anorack Jacket is another cute windbreaker , and folds up nice and small! For added warmth and layering, add a a Patagonia fleece.


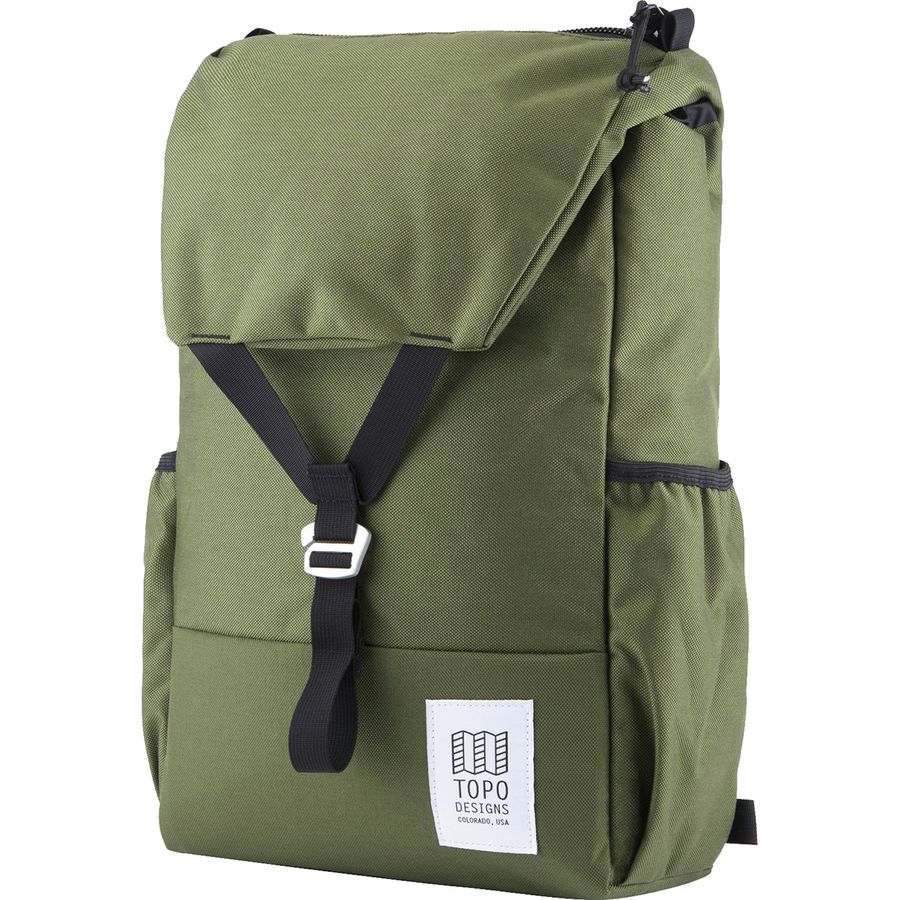
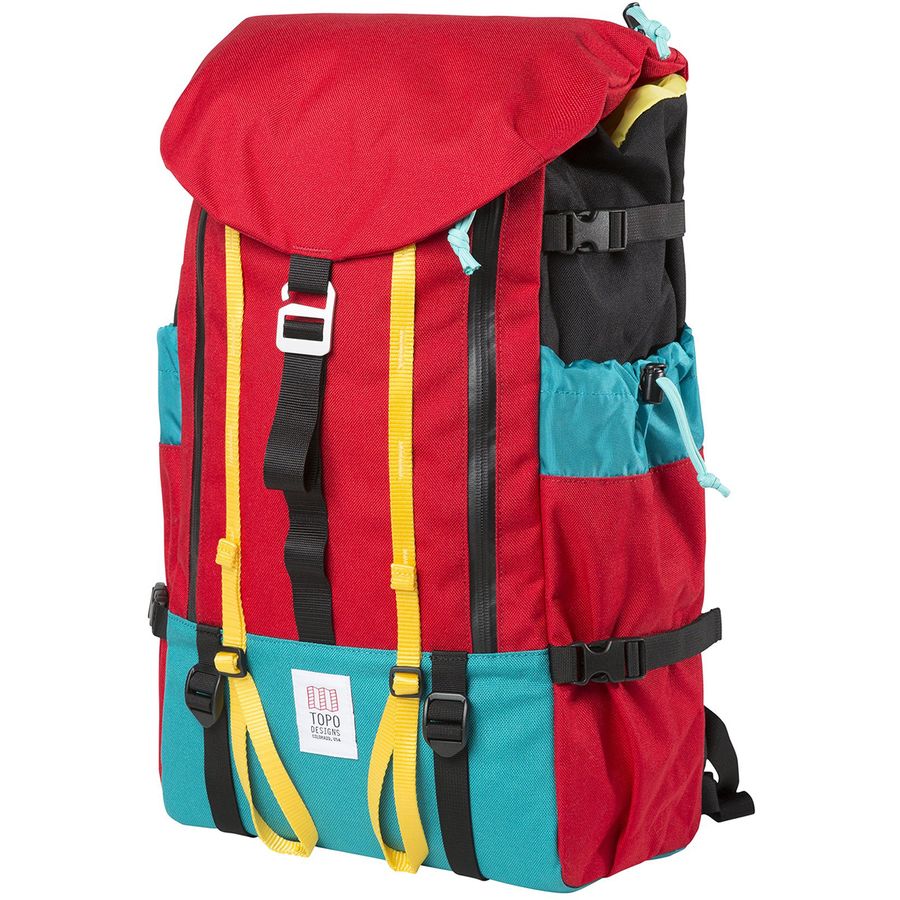
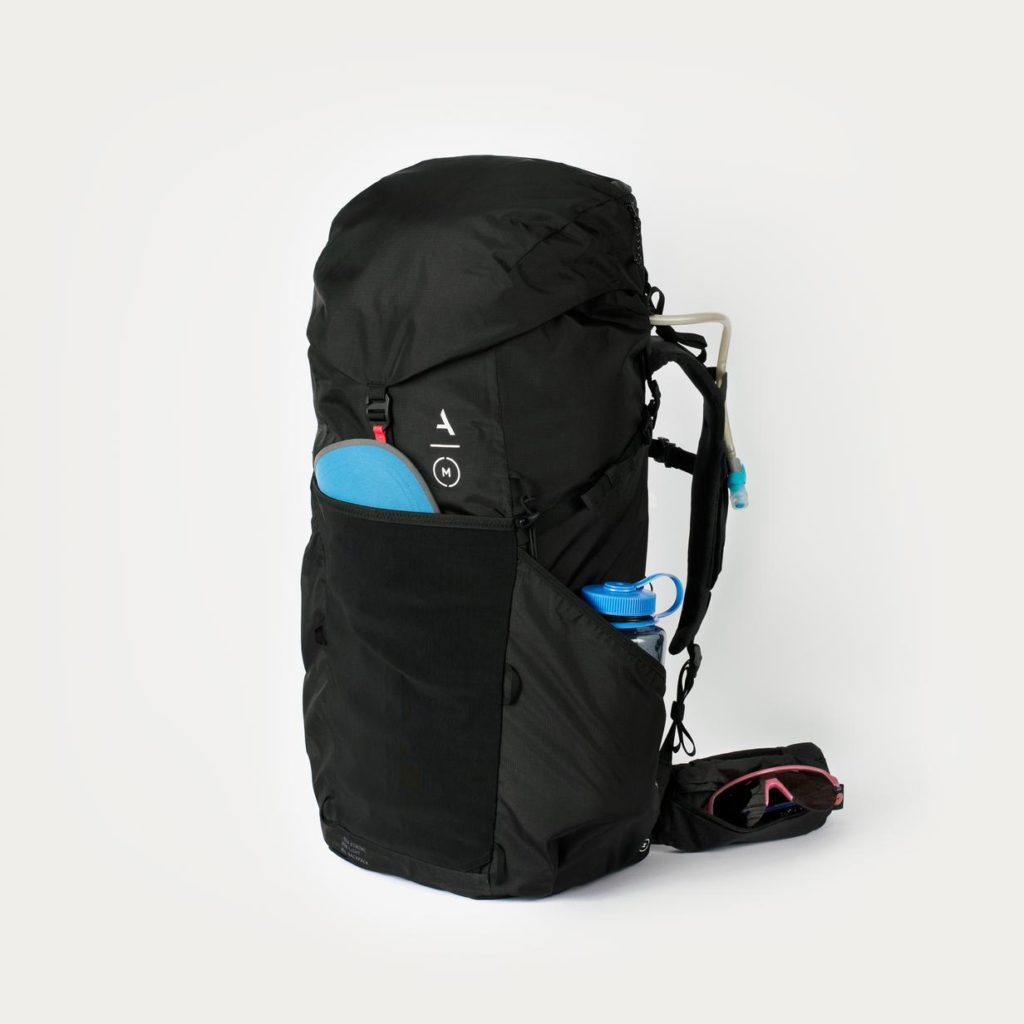
A Day Bag
You won’t need a big hiking backpack for this short trail (unless you have a lot of stuff), but a day bag is great for carrying water and snacks! I love my Topo Designs Y-Pack. If you need a bigger bag (maybe for a picnic blanket), check out the 37L Mountain Backpack by Topo Designs! If you’re carrying camera gear, the best backpack is the Alex Strohl Mountain Light.
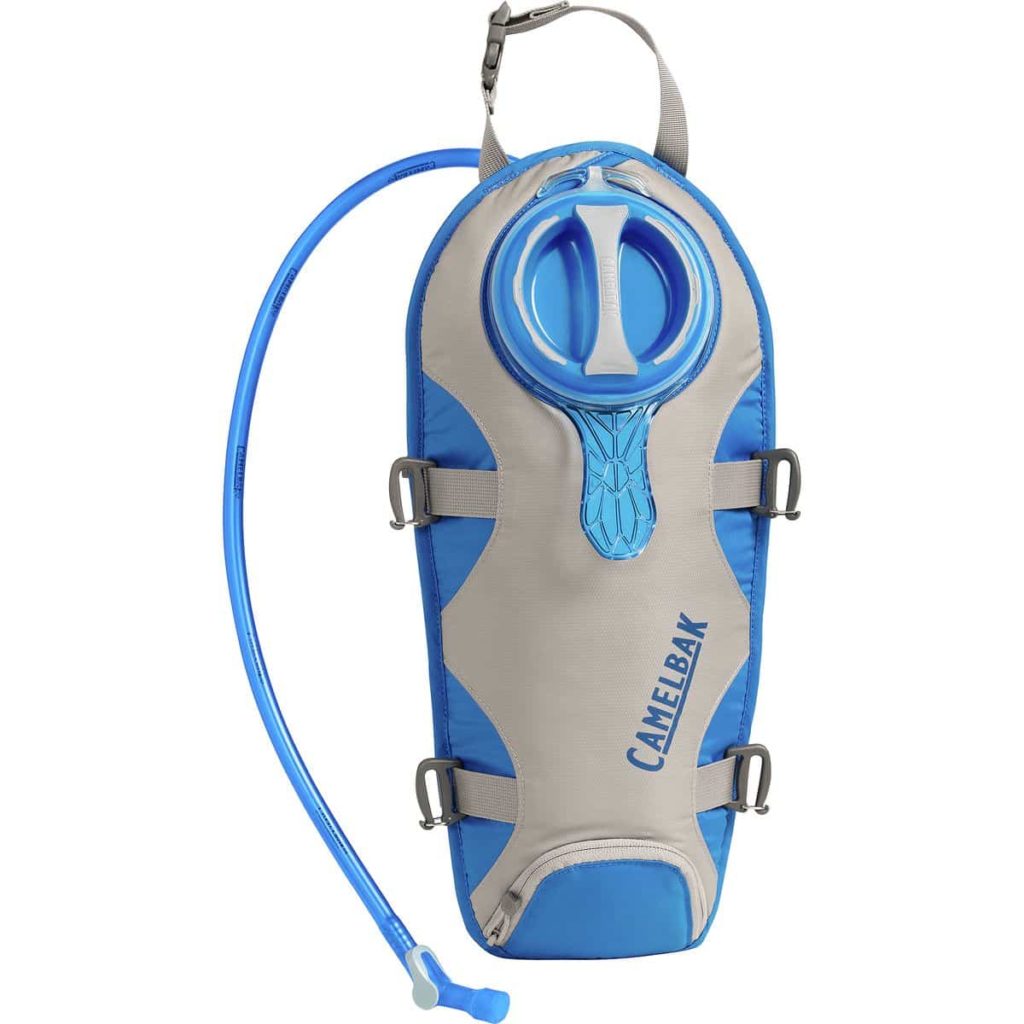
Hydration!
Water is important no matter where you’re hiking! Single use water bottles are, of course, terrible for the environment, so avoid that and bring a reusable one!
For hiking, the CamelBak water reservoirs are convenient and easy – they can fit in your hiking backpack for water on the go. Nalgene water bottles are great for day to day, and if you want an insulated water bottle to keep your water cold and refreshing, Hydro Flasks are the best!


Hiking the Land’s End Trail in San Francisco
The Land’s End Trail is a loop, but I recommend doing it as an out and back trail! We took the loop, and found that the upper part of the trail mostly went along the street – so unless you want to see the golf course, stick to the route that goes next to the coast line.
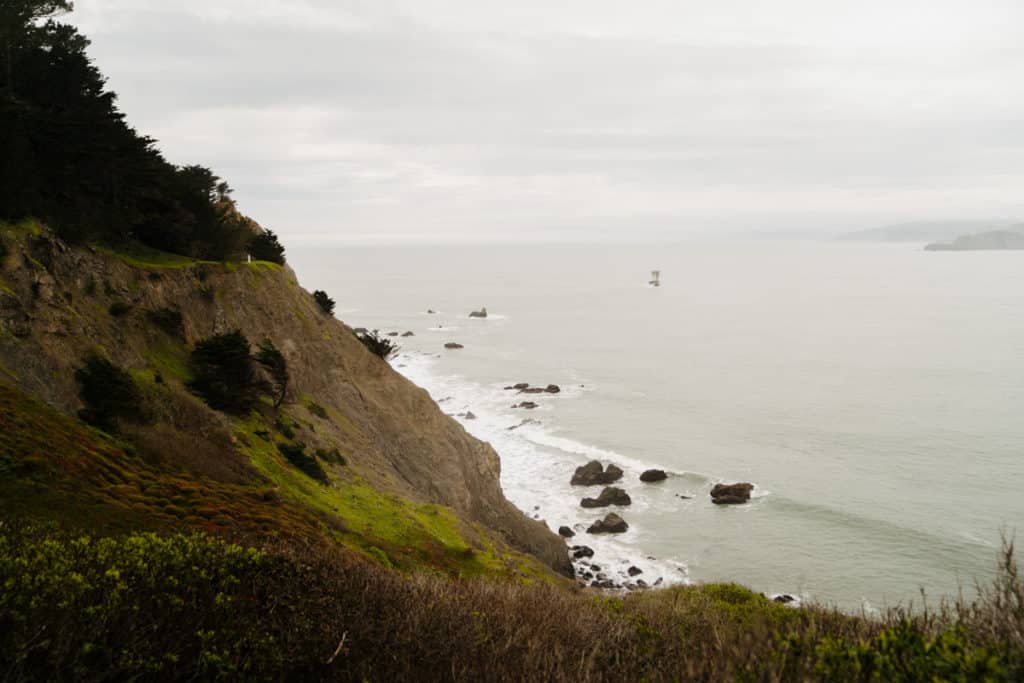
Starting from one of the west parking lots, head down the Coastal Trail. Before too long, you’ll reach a sign that points to Mile Rock Beach – definitely take this little detour! It’s the best, most scenic part of the trail.
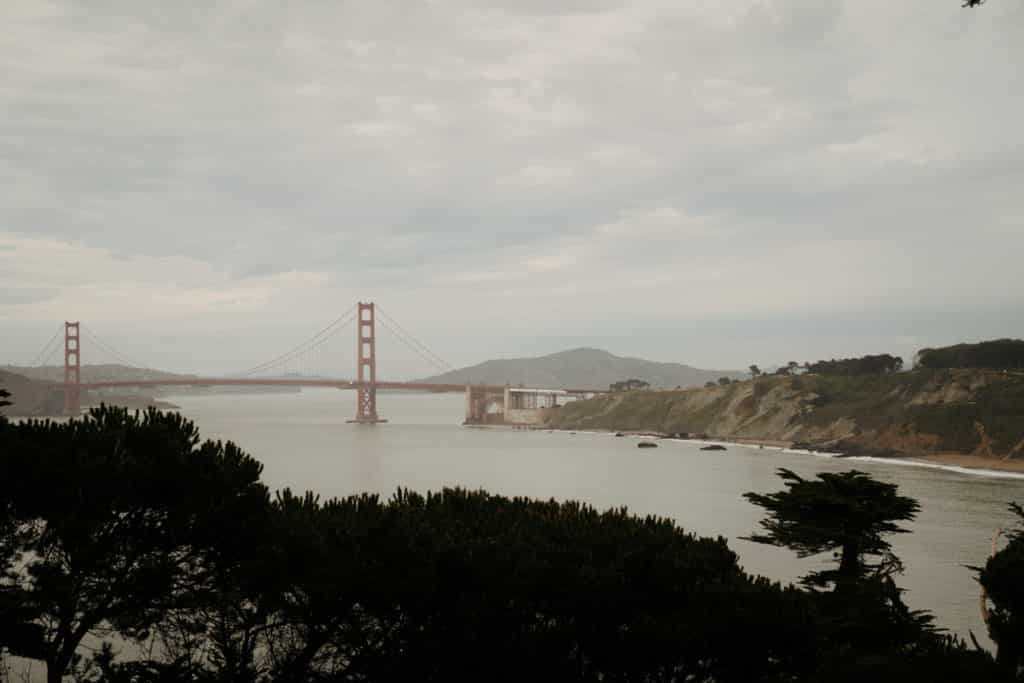
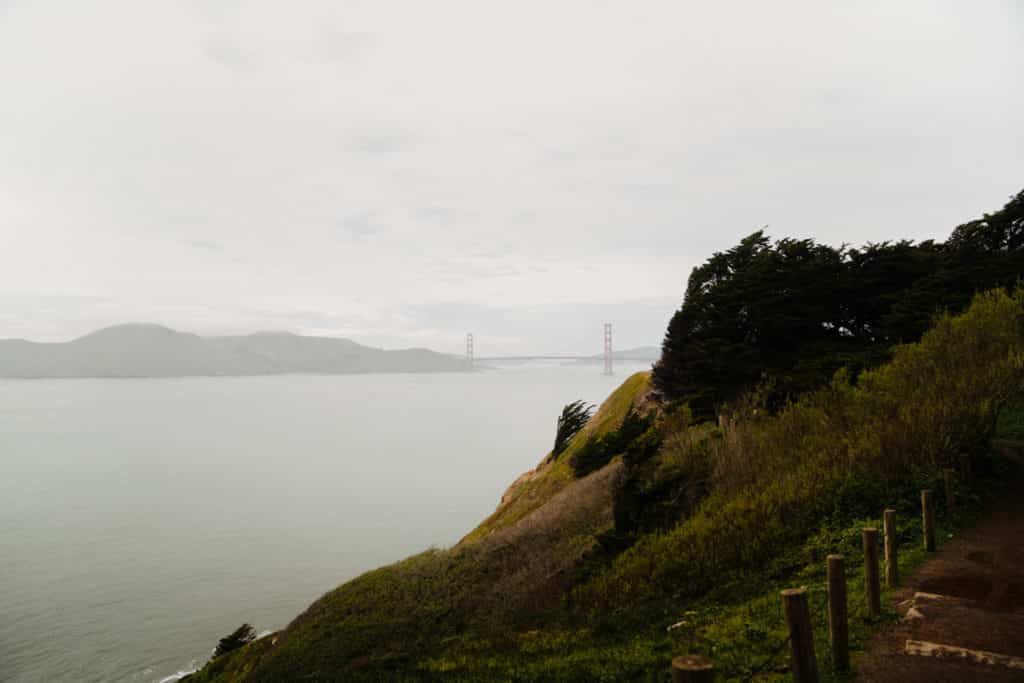
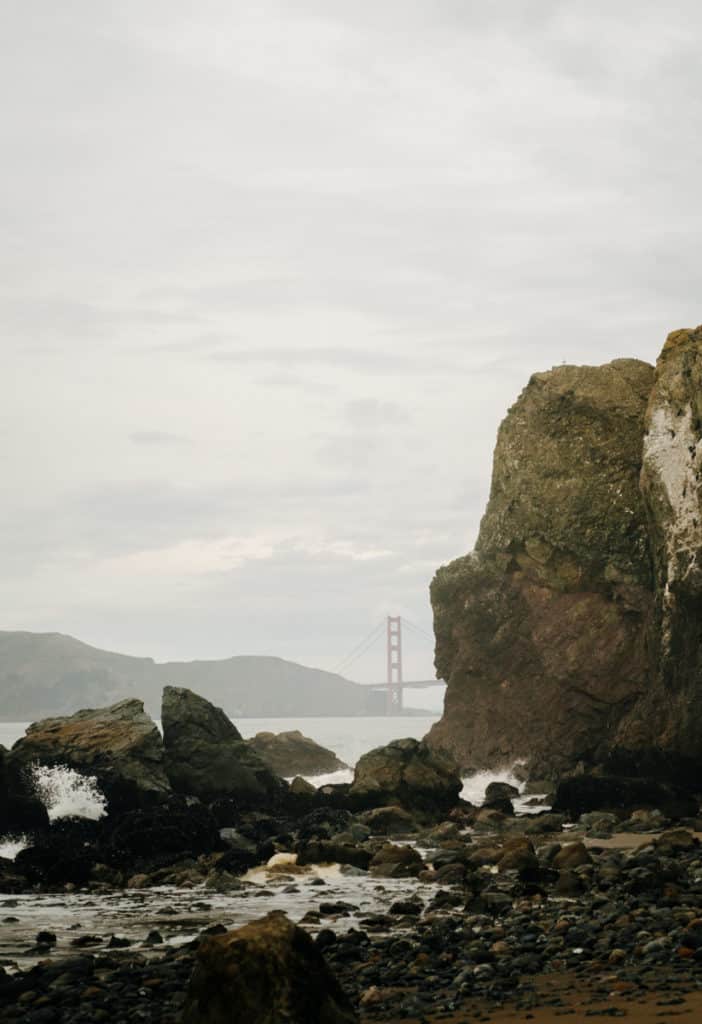
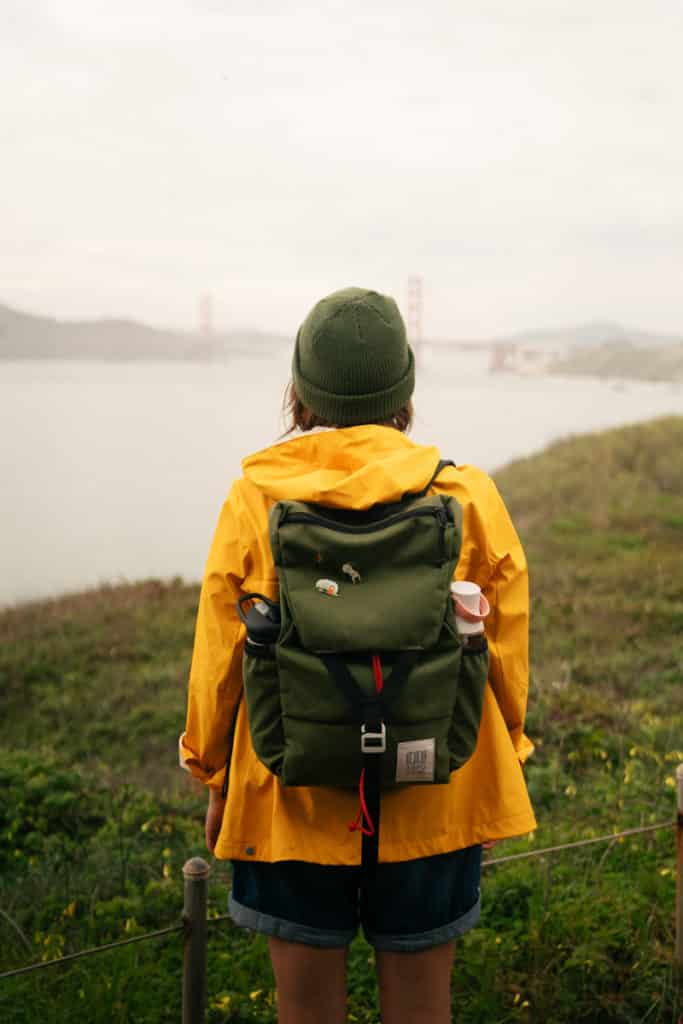
Descend down the stairs, and you’ll see the Land’s End Labyrinth – a stunning spot on top of a cliff, where you can see the ocean, the Golden Gate Bridge in the distance, and some of the most amazing views.
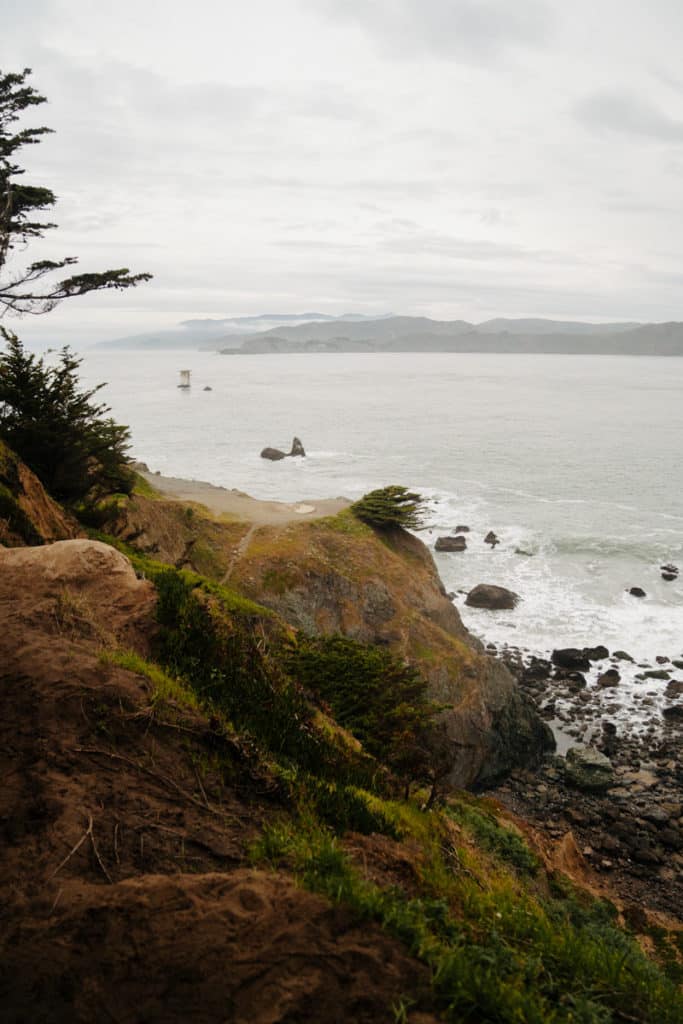

You can explore here and head down to the overlook – this is one of the few places on the Land’s End Trail where you can get right to the edge of the cliff! But of course, be careful and watch your step. After you’ve explored the labyrinth, you can take the trail down to Mile Rock Beach.
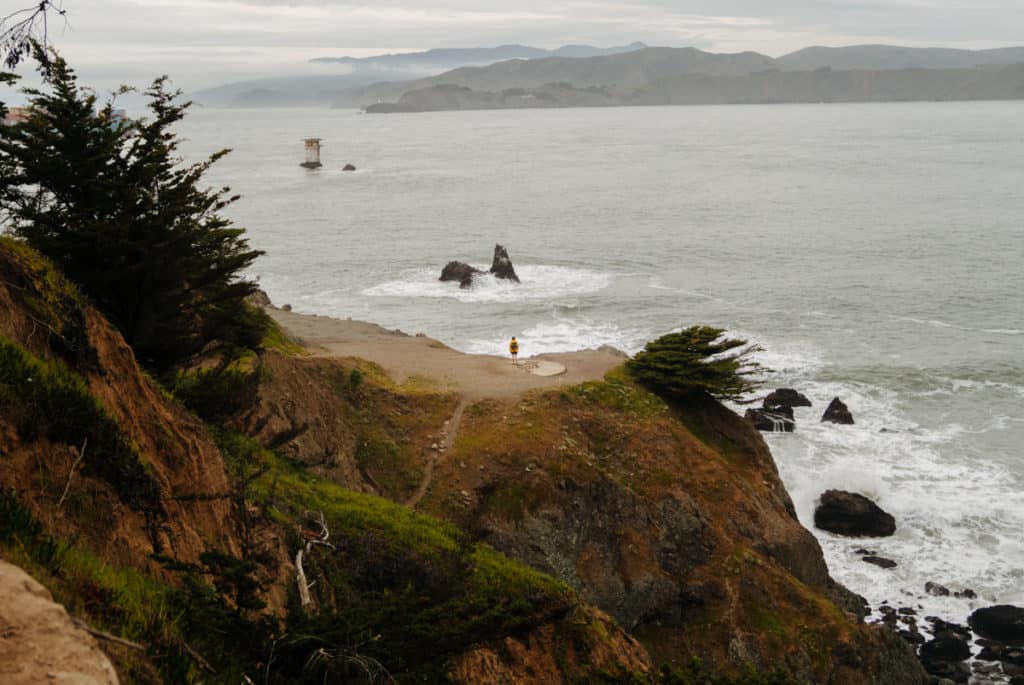
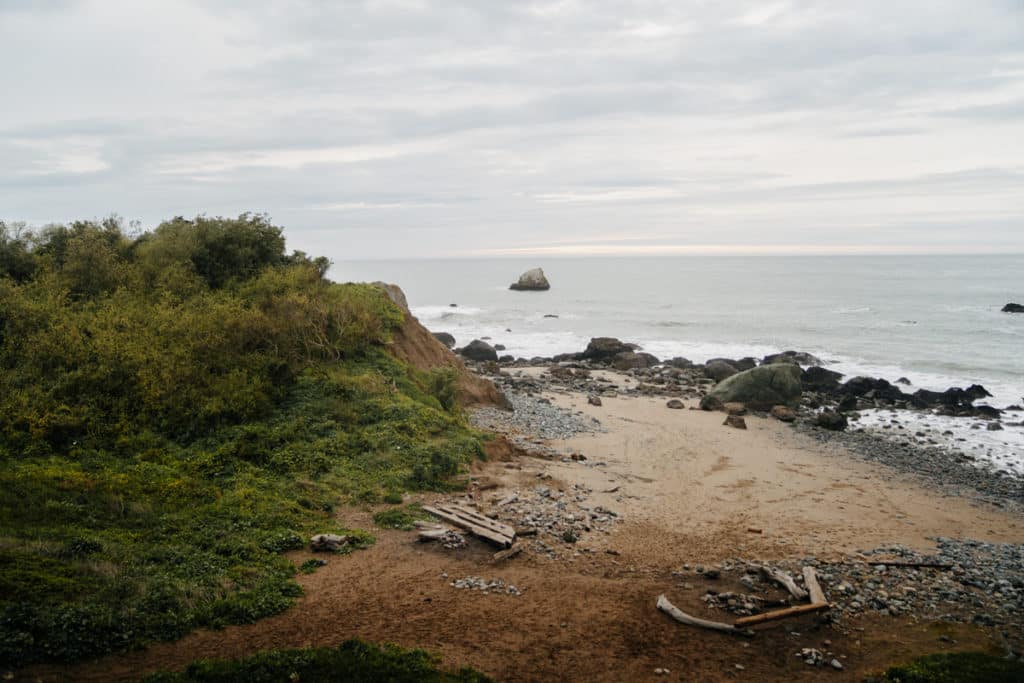
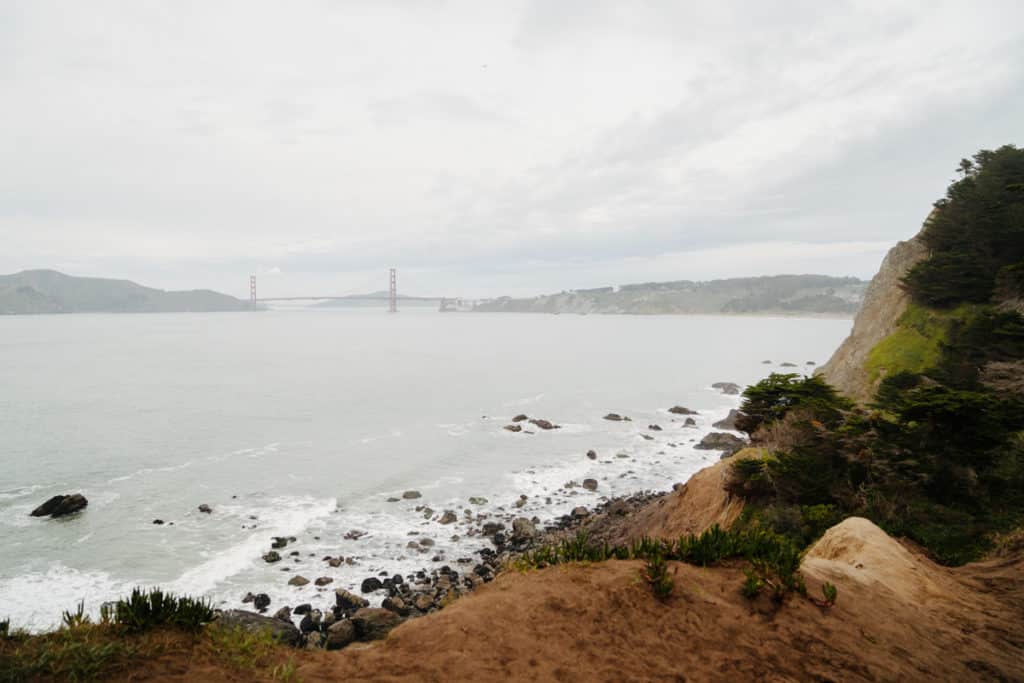
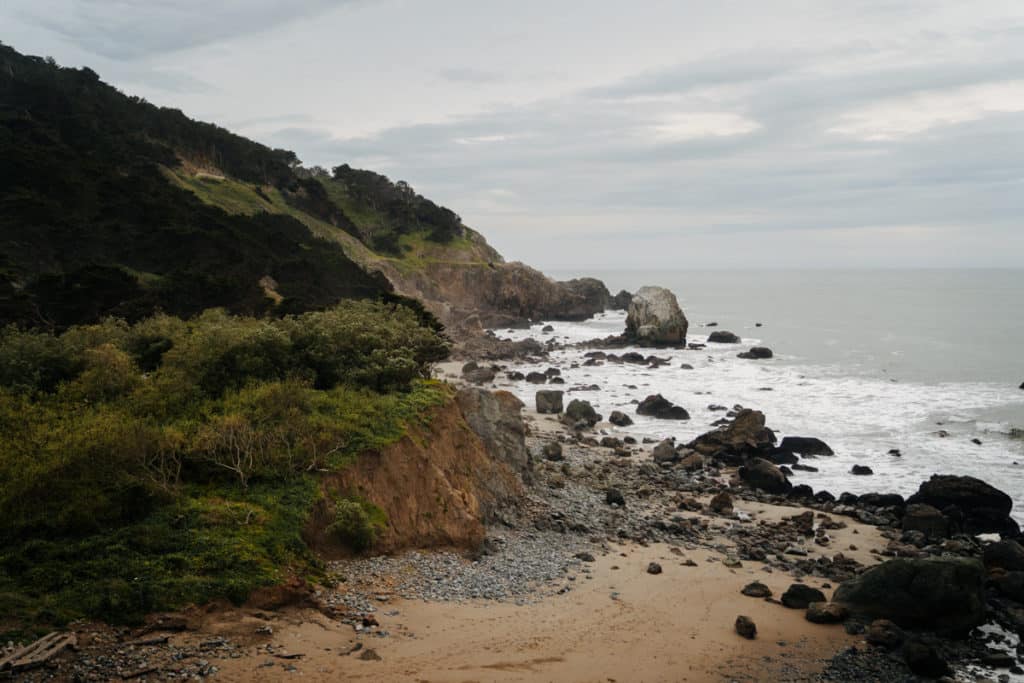
The beach is stunning, and you can climb some rocks, watch the waves crash dramatically into the shoreline, and enjoy the view!
Once you’re ready, take the stairs back up to the main trail! If you’re short on time, the Labyrinth and Mile Rock Beach is definitely the best part of the trail. But, if you keep going, there are forests, more scenic views, and it’s definitely worth it!
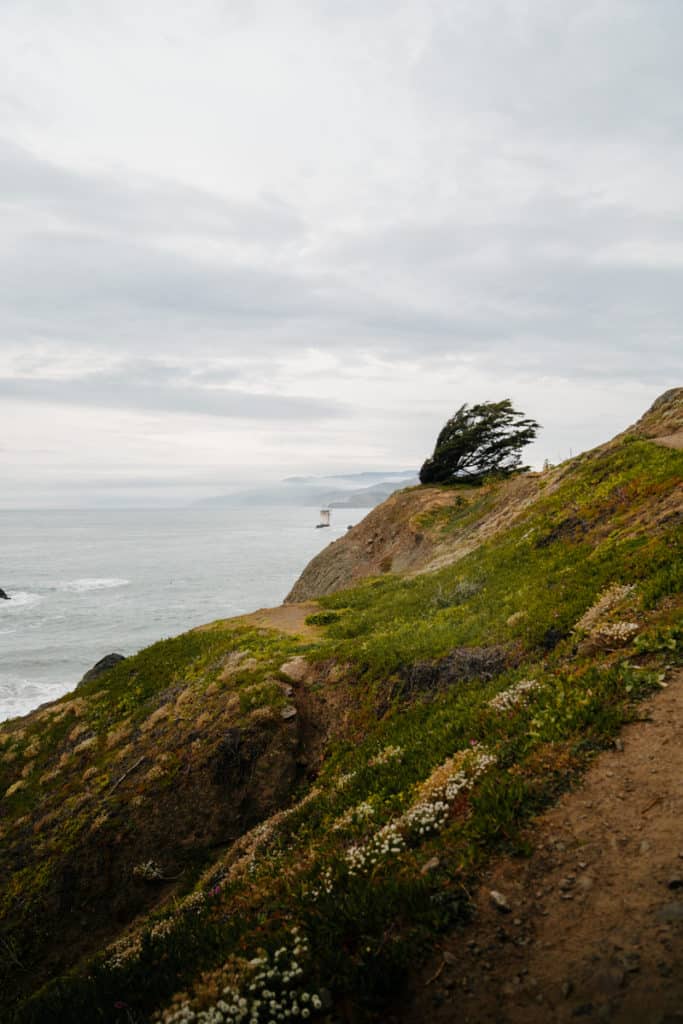
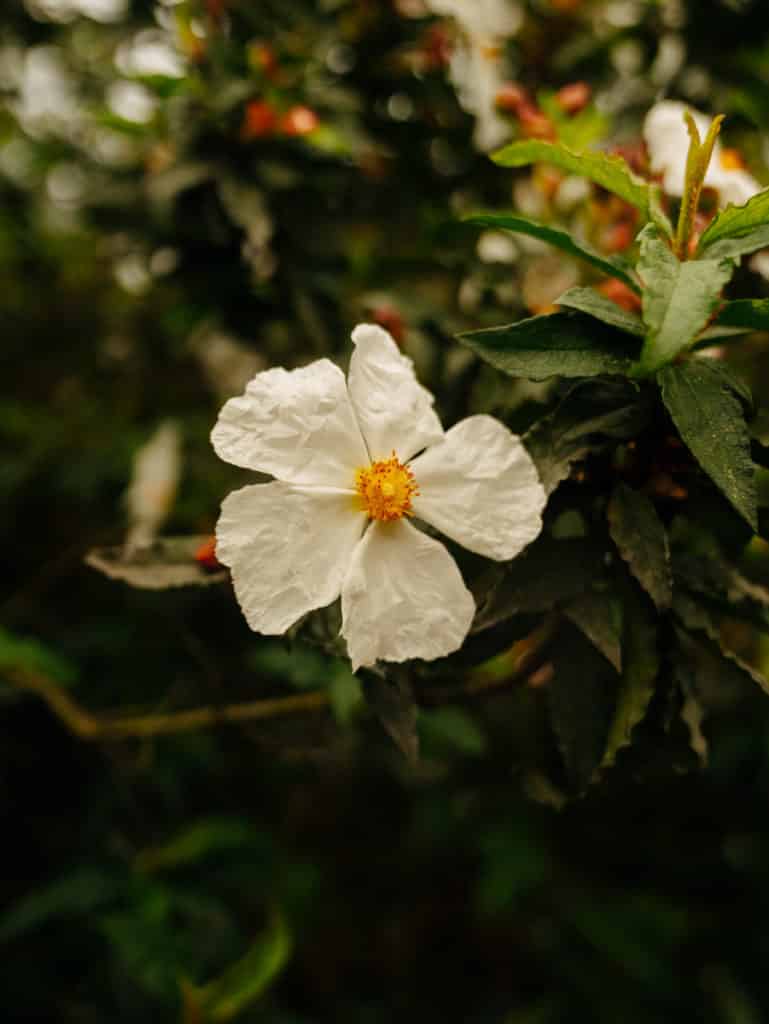
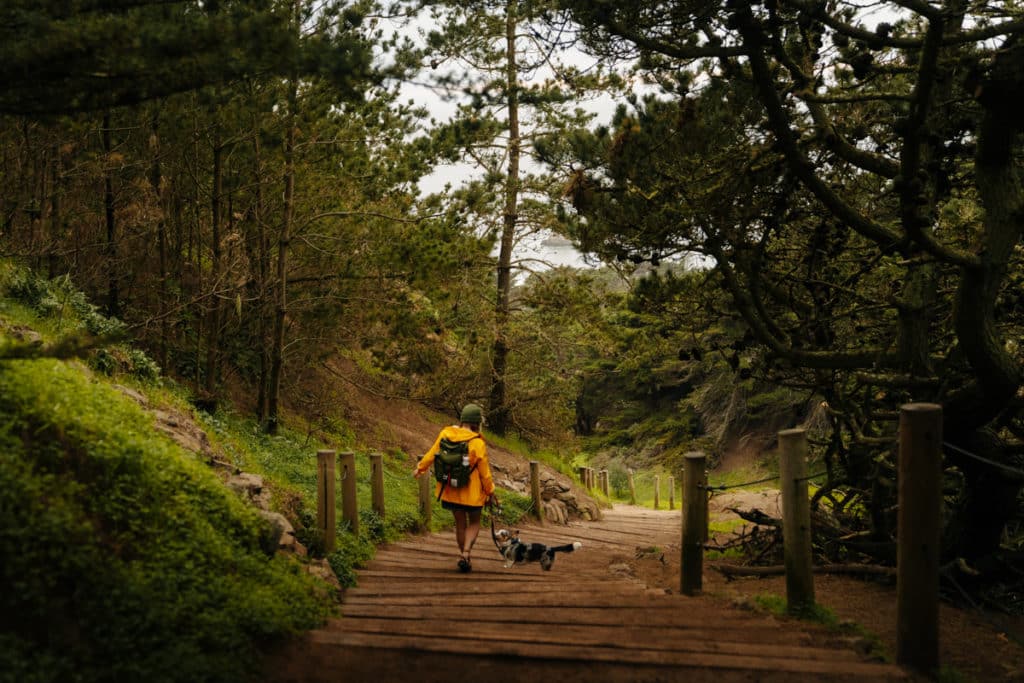
You’ll take a lot of stairs up and down, but you’ll be rewarded with amazing views of the ocean and the Golden Gate Bridge, and some flowers and greenery along the Land’s End Trail.

Once you reach Eagle’s Point, there’s a nice overlook and a view of the bridge. Here, you’ll also find some benches – so this is the perfect spot to sit down, have a snack, and enjoy the scenery. This is the end of the coastal part of the Land’s End Trail, and you can continue the loop or go back the way you came!
Where to Stay When You Hike the Land’s End Trail in San Francisco
If you’re traveling to San Francisco, you’ll need a place to stay!
For camping, I recommend using The Dyrt – it’s the best way to find campsites near San Francisco.
If you’re traveling to San Francisco, you can also choose from adorable hotels and B&Bs – check out this map, and look around for some of the best places to stay near the Land’s End Trail!
Booking.comMore to Explore Near the Land’s End Trail in San Francisco
Have you hiked this trail, or explored any trails nearby? Let me know in the comments below!
Here are some more adventures near the Land’s End Trail:
Pin any of these photos to reference this Land’s End Trail guide later!