Diy Camper Van Foot Pump Sink – Van Life Water System Diagram
Having water in your van is a must for van life – and being able to be off grid for a week or two at a time without refilling my water is incredible! Some people just get water jugs and refill them, but having a sink with running water makes a huge difference for making the place really feel like home. For my van life water system, I went with a foot pump sink, so this guide will tell you the pros and cons of a camper van foot pump sink, give you everything you need to know to build your own foot pump water system in a van, and take you through every detail of my water system.
I did this all myself, so no plumbing experience is required for this DIY camper van foot pump sink and water system!
Head’s up – some of the links in this blog post are affiliate links – which means I get a small commission if you buy any of these items (at no cost to you). Which is great because I was going to share anyway, and this allows me to keep making free guides!
Pin this photo to save the camper van foot pump sink guide for future reference!
Pros and Cons of a Camper Van Foot Pump Sink
There are a few different options for the kind of water pump you use in your camper van water system.
You can use an electric water pump – this means it connects to your electrical system in the van, and you don’t have to manually pump your water. You just turn on the faucet, and water comes out! This option is the most convenient, but it’s also a little more difficult because you need to connect it to the battery, and if you ever run out of power your water pump won’t work, which is the biggest reason why I didn’t choose this for my build.
If you don’t want the electric water pump, you have two options for manual pumps – a hand pump, and a foot pump.
A hand pump is, as you can probably guess, one that you operate by hand. I used one of these in my first van build, but I didn’t keep it in my second. I didn’t like it because it’s pretty difficult to pump the water by hand while washing dishes, washing your face, or doing anything that requires both hands. I think this option is pretty inconvenient, and I definitely prefer the foot pump!
Which brings me to the main purpose of this blog post – my camper van foot pump sink! I chose a foot pump for my second (current) van build for a few reasons. It has some advantages over the electric water pump, but there are definitely cons as well.


Pros of a Foot Pump Sink Faucet
- doesn’t use electricity
- saves water (because you have to manually pump it, while the electric pump keeps going until you turn it off)
- easier to install
- cheaper
cons of a Foot Pump Sink Faucet
- takes up some floor space
- takes longer to get water out
- more work for your foot
Camper Van Foot Pump Water System Diagram
So now let’s talk about how I made my water system and put everything together! Here’s a camper van water system diagram to give you an overview of everything I used – don’t worry, I’ll go into more detail about each part and how it all connects.
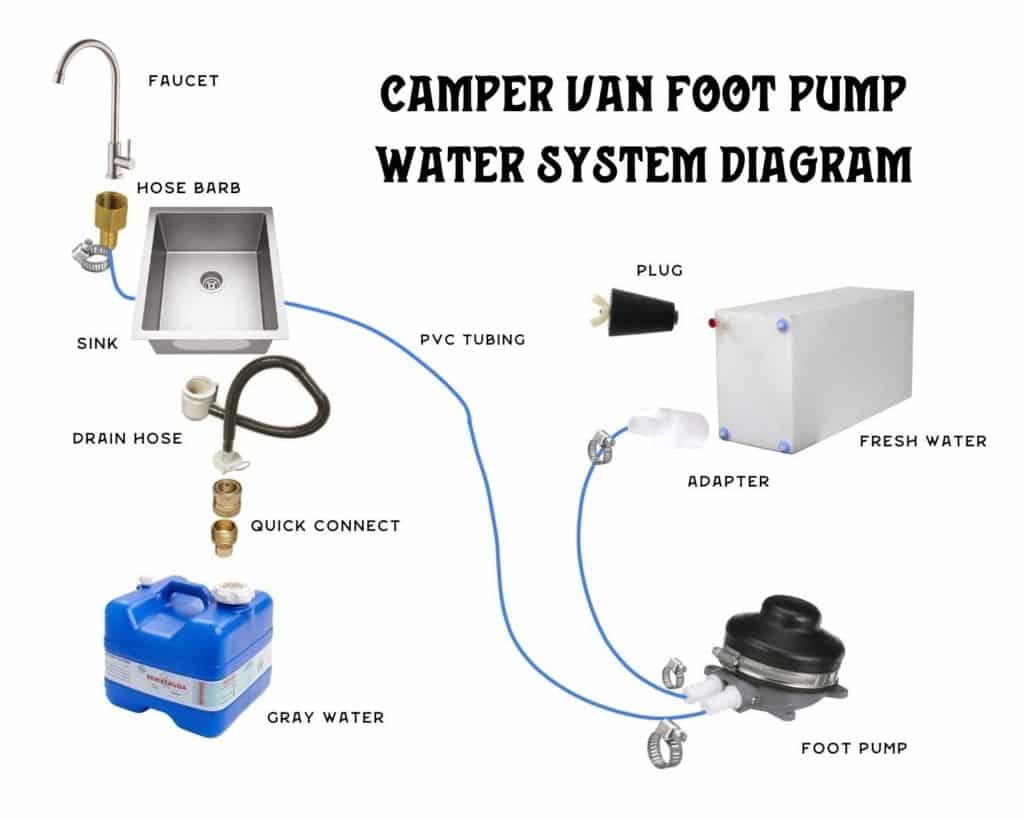
Main water system components
- fresh water tank – where the clean water goes
- foot pump
- sink
- faucet
- gray water tank – where the dirty water goes
Hoses
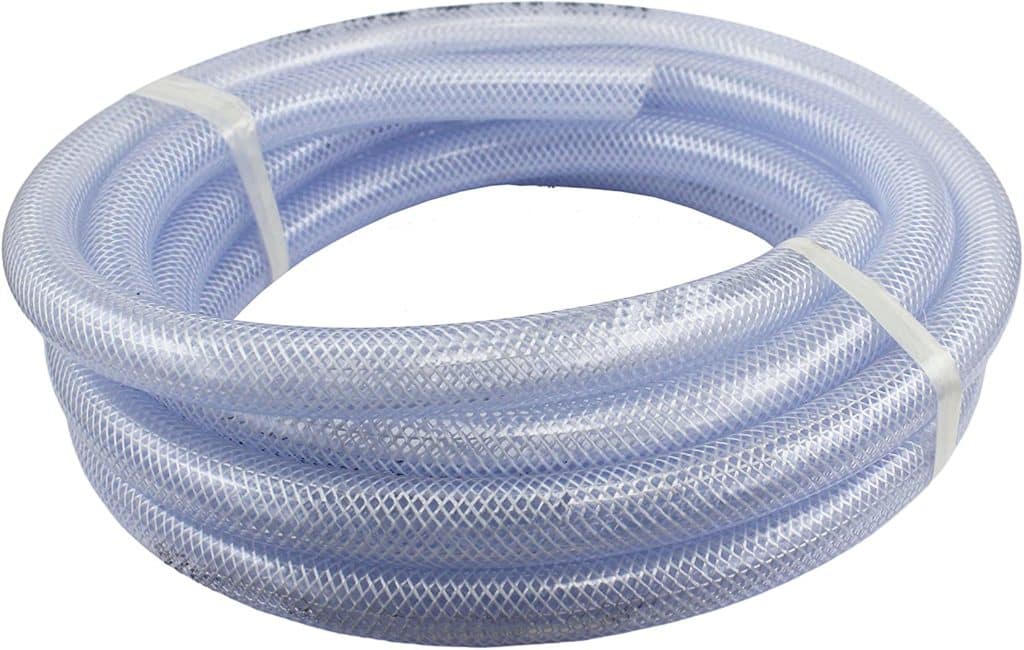
- 1/2″ PVC tubing – connects the fresh water tank to the foot pump to the faucet
- drain hose – connects to sink drain and gray water tank
Details & Connectors
- plug – closes the fresh water tank, gets removed when I refill it
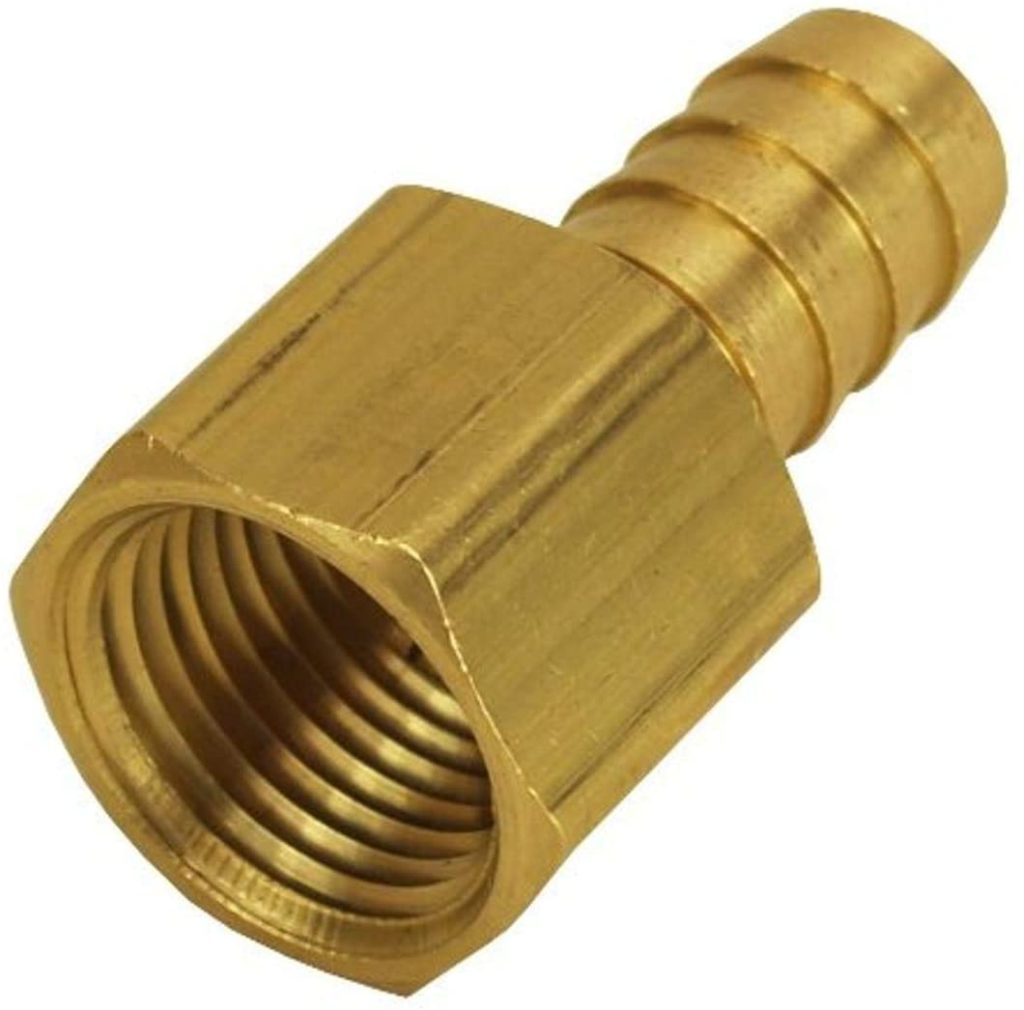
- 3/8″ NPT to 1/2″ hose barb – adapter to connect the PVC tubing to the fresh water tank
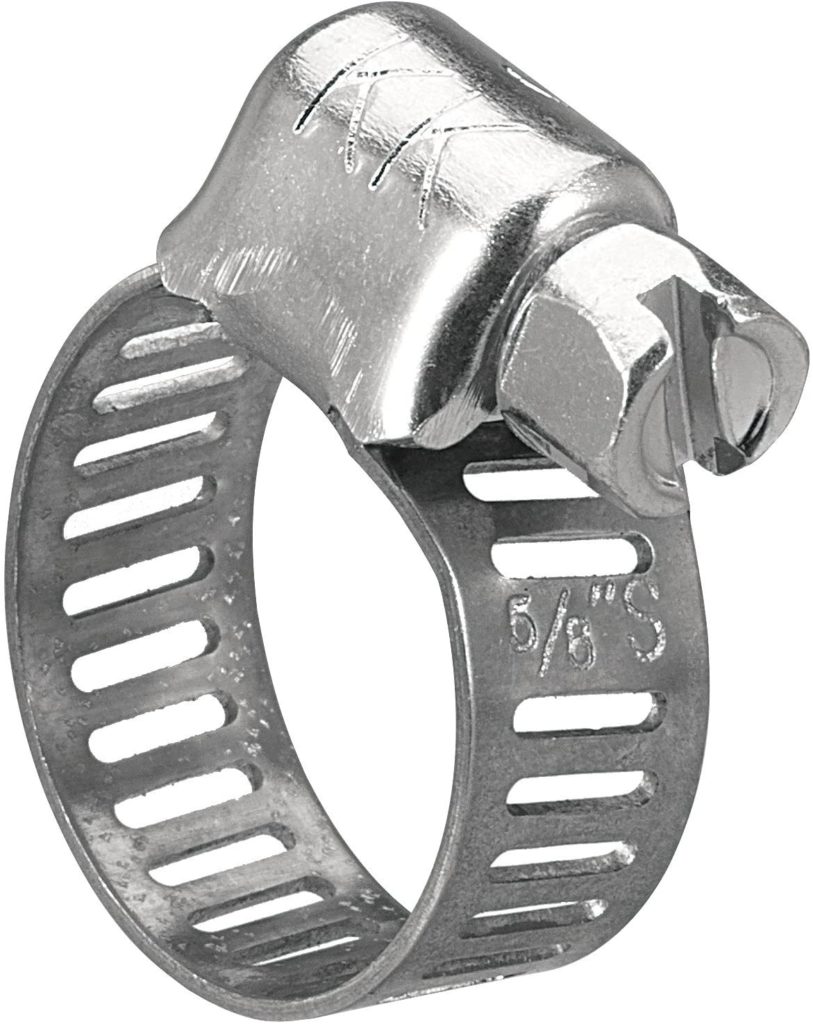
- hose clamps – clamps the PVC tubing to prevent leaks
- 1/2″ NPT to 1/2″ hose barb – adapter to connect the PVC tubing to the faucet
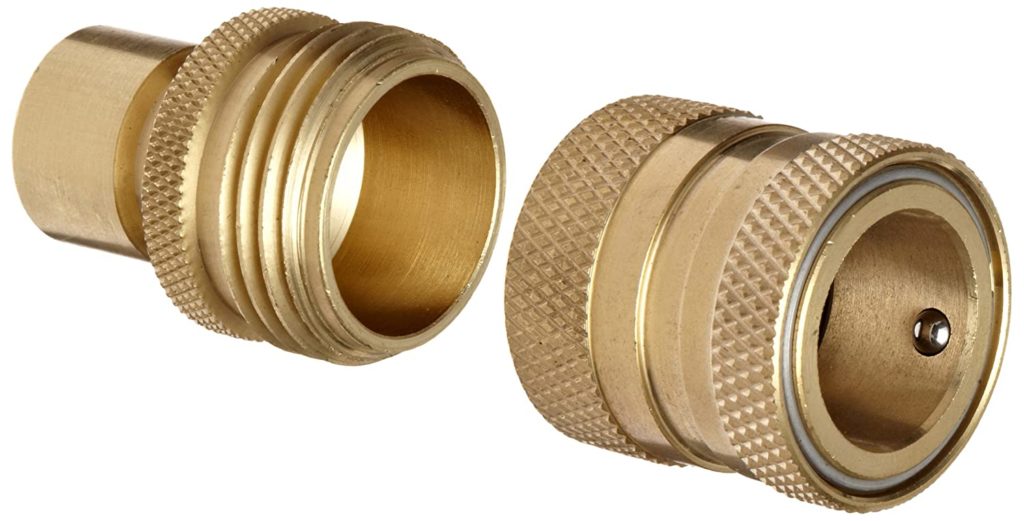
- quick connect fitting – connects the drain hose to the gray water tank so you can disconnect easily when emptying
- teflon tape – prevent leaks in metal connections
- plastic thread sealant – prevent leaks in plastic connections
How to install the camper van foot pump water system
Now let’s get into the details of building the plumbing system, and putting together the foot pump water system!
Camper Van Fresh Water Tank
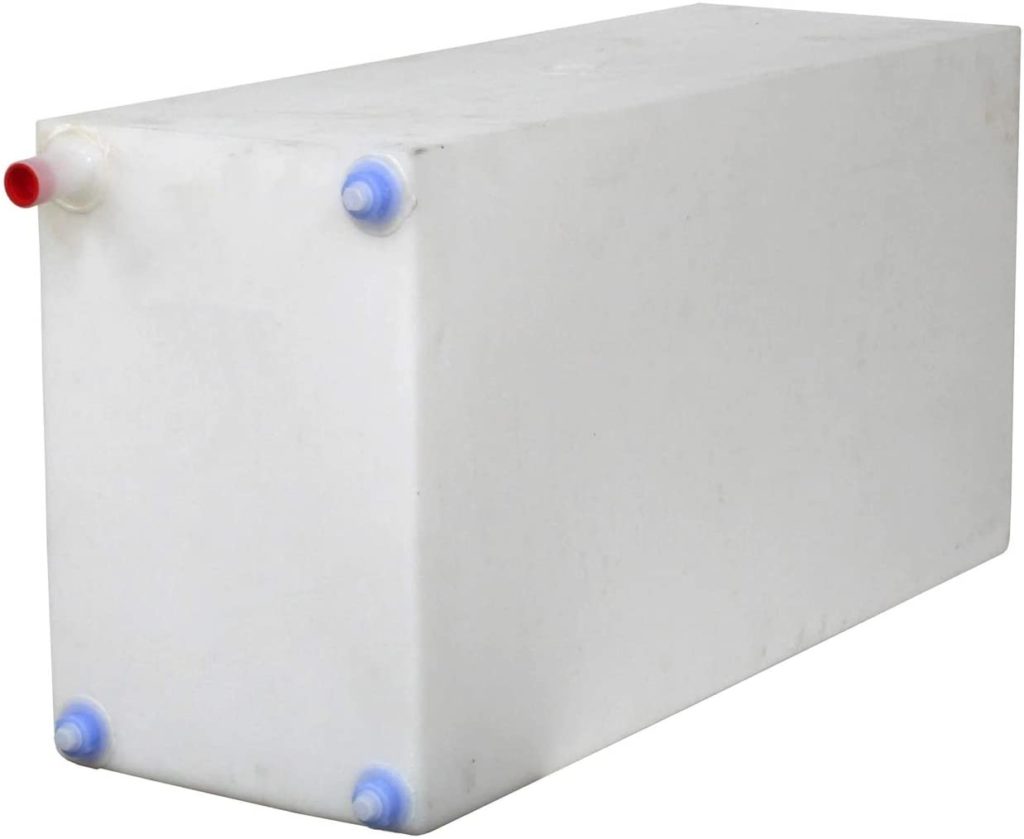
The camper van water system begins with the fresh water. You’ll need to choose a fresh water tank – when you’re making the decision, size is the most important thing to think about. Measure the space in your van build to make sure the tank will fit, and think about how often you want to be refilling.
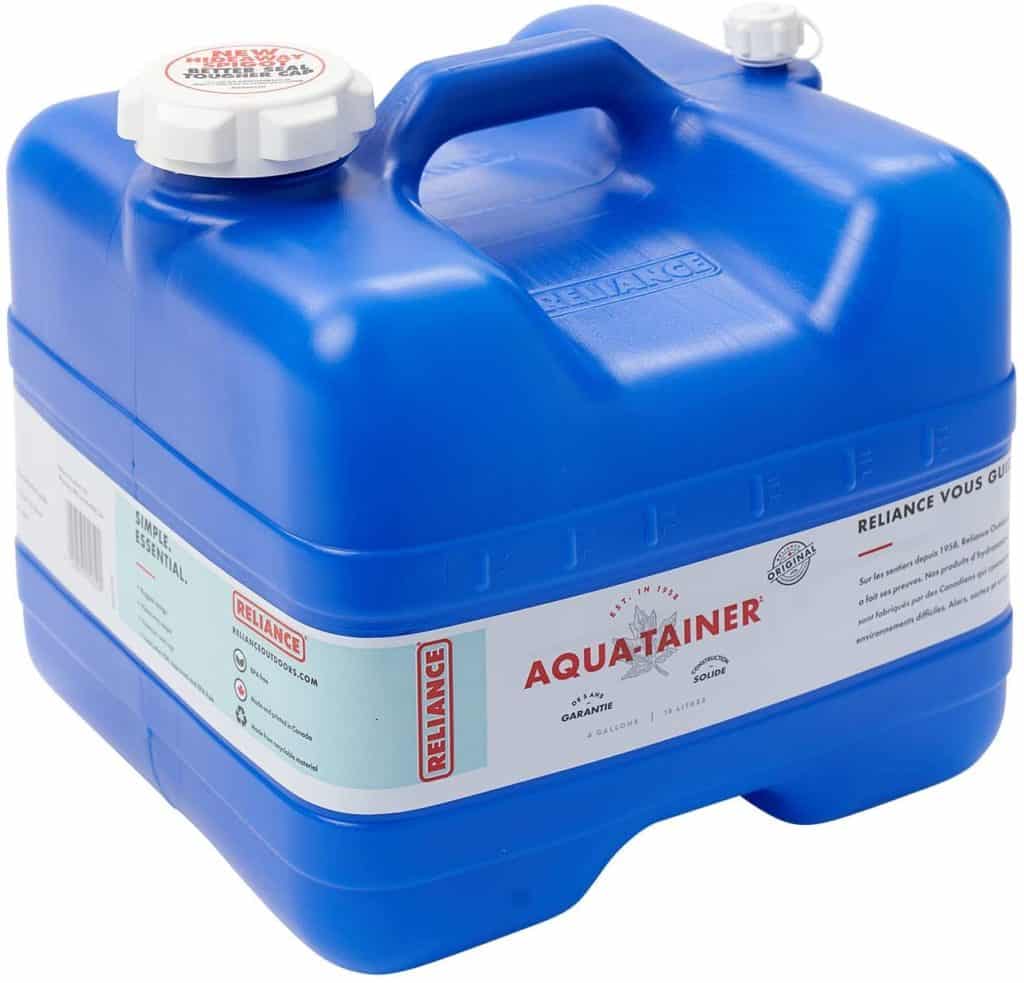
In my first van build, I used a 10 gallon tank. This ended up being way too small for me, and I had to refill it every 3-5 days or so. I wanted to be able to stay out in the woods longer than that, so when I rebuilt my van I went with a 25 gallon tank instead. With the 25 gallon tank, my water usually lasts me about a week. For my life, 25 gallons works well – it’s just me in my van, I don’t cook very much, but I do drink a lot of water and a lot of tea. If you expect to have more dishes, or there are two people living in your van, you might want a bigger tank, or you might prefer a smaller one that takes up less space.
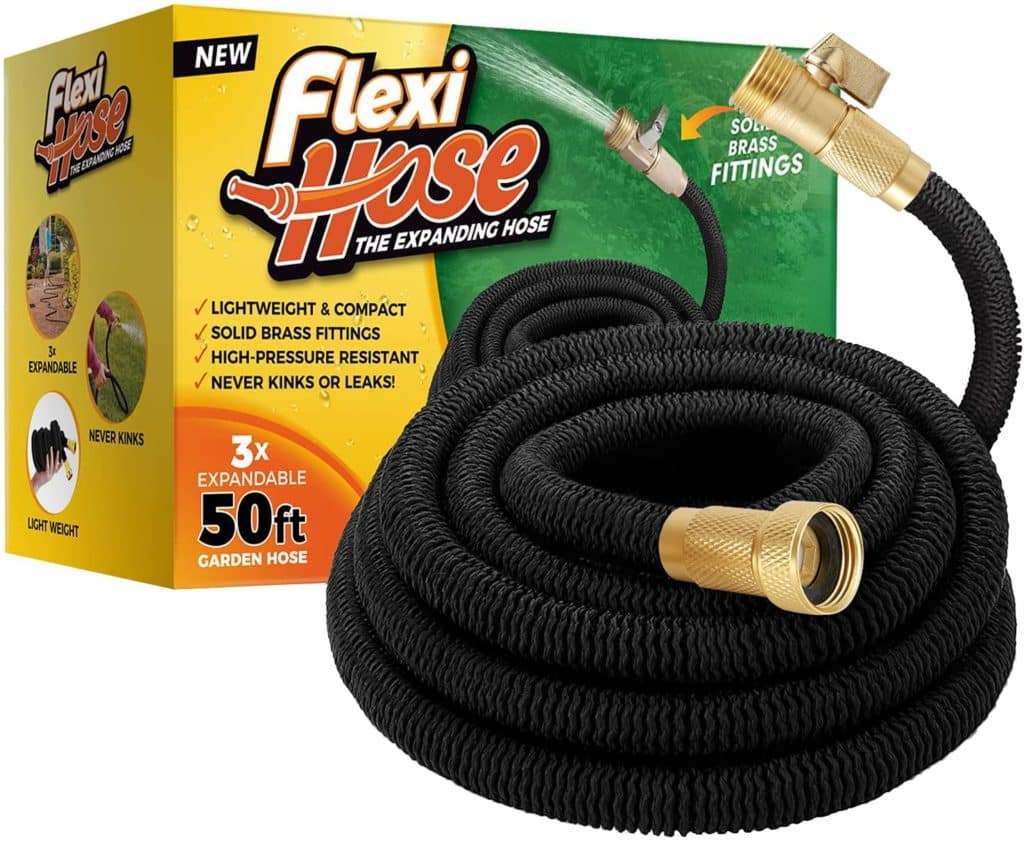
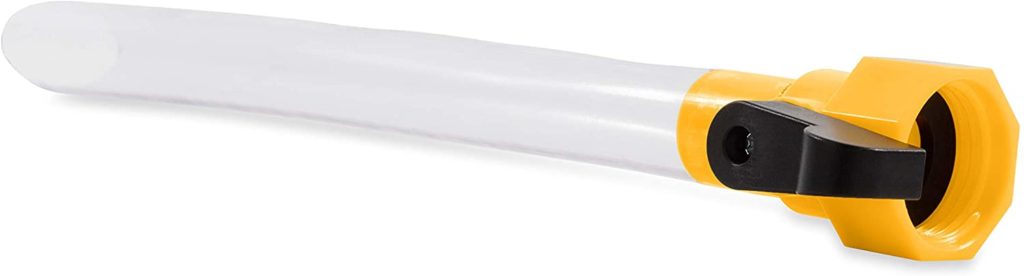
I put my fresh water tank under my bench/bed, so when I refill it I just slide the bench out and put the hose through the slats. The water tank has one open fill inlet, so you’ll need a plug to ensure it’s not spilling and splashing while you drive. For refilling, I recommend this hose – it’s 50 feet long, but it stretches when you run water through it, so it’s much smaller for storage – perfect for a van! I also have this water tank filler that attaches to the hose, which fits into the inlet. This way, you don’t need to take the water tank out to refill, and you can just connect to any water pump with a hose attachment and fill up.
Connecting Fresh water to the Foot Pump
To connect the fresh water tank to the foot pump, you’ll need an adapter. This one connects the water tank to the PVC tubing, which you can then connect to the foot pump. Anytime you’re connecting the pipes, make sure you’re using hose clamps so that your plumbing doesn’t leak, as well as some plastic thread sealant!
Note – for metal connections, you can use teflon tape, but this can cause damage to plastic ones. Plastic connections require some thread sealant.
On the foot pump I used, the right side connects to the water tank, but if you use another pump, it should have arrows or some indicator to let you know which is which.
Connecting Foot Pump to Faucet
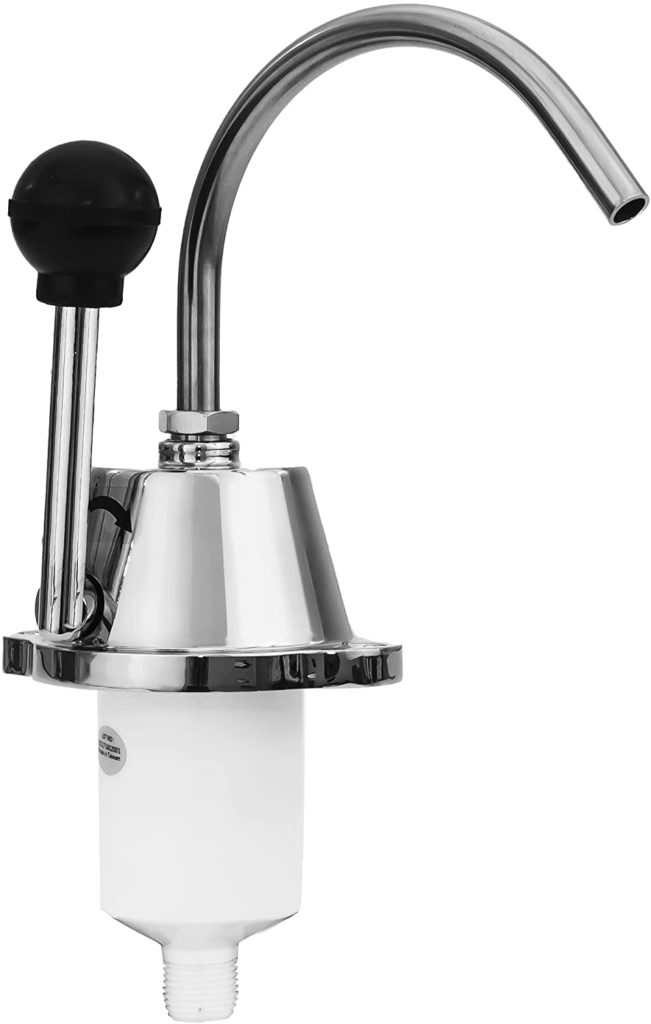
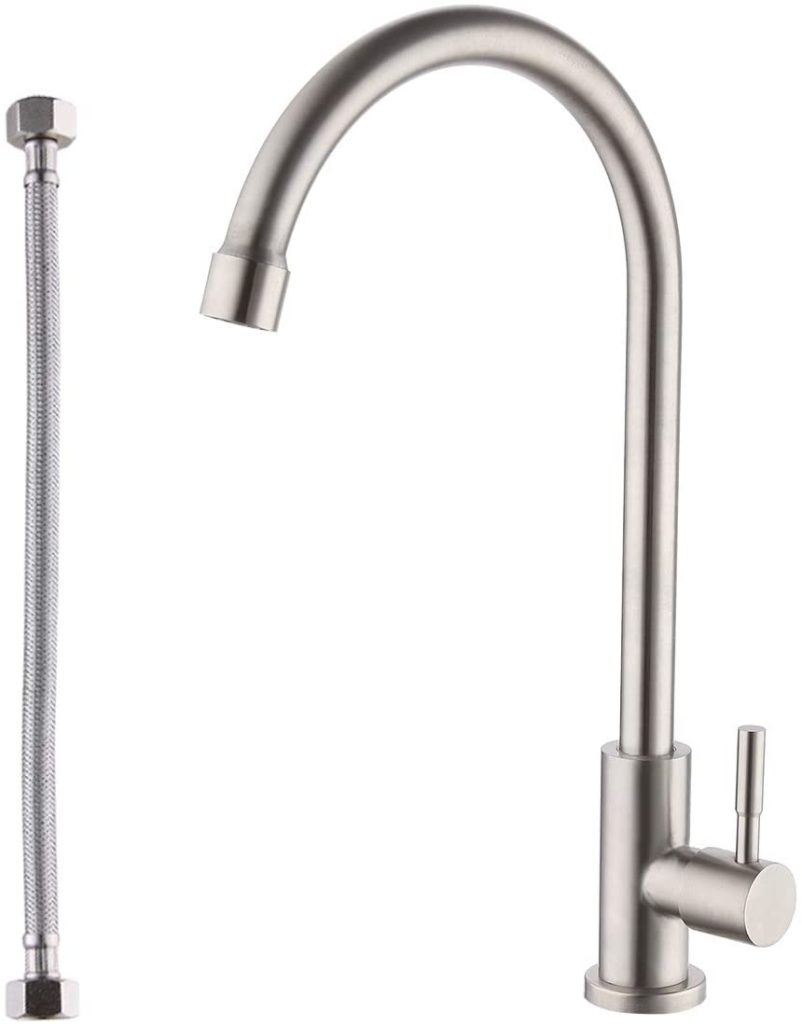
Before connecting the foot pump to the faucet, you’ll need to install the faucet. This is the faucet I used – I don’t have hot water in my van, so if you do you’ll need to do some additional work to connect a heater and whatnot. Some sinks have a hole for the faucet, so if that’s the case you’ll want to install that too – mine is separate, so I left the sink for later to make it easier to connect the faucet.
I drilled a hole in my counter top using a hole saw, put the faucet through, and screwed in the attachment it came with to secure it to the counter top. Next, you’ll connect this adapter to the faucet to allow it to connect to the PVC pipe. Don’t forget to put teflon tape on it! Connect the PVC, and use a hose clamp. At this point you can test the foot pump faucet to make sure everything is working.
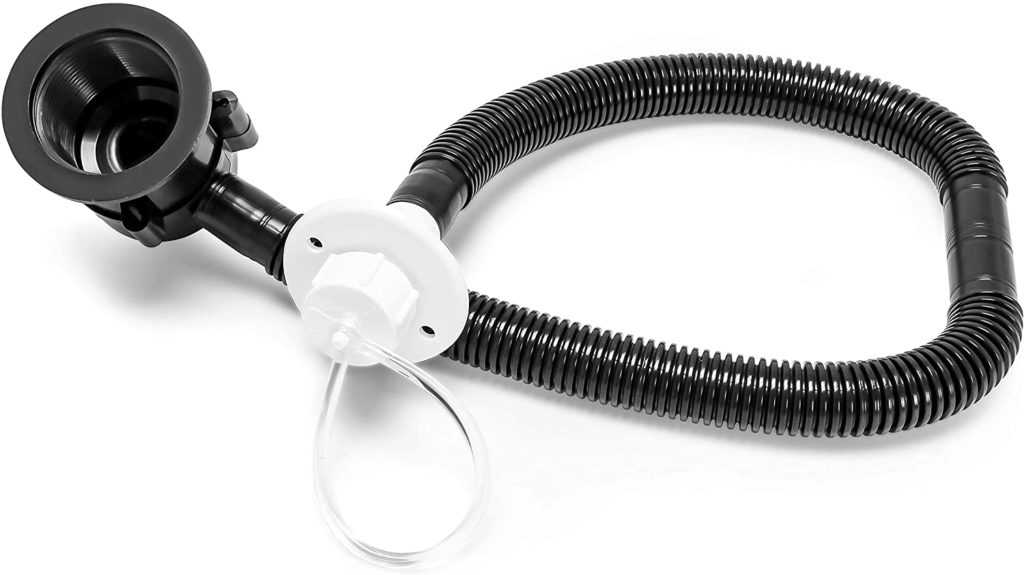
Connecting Sink to Gray Water Tank
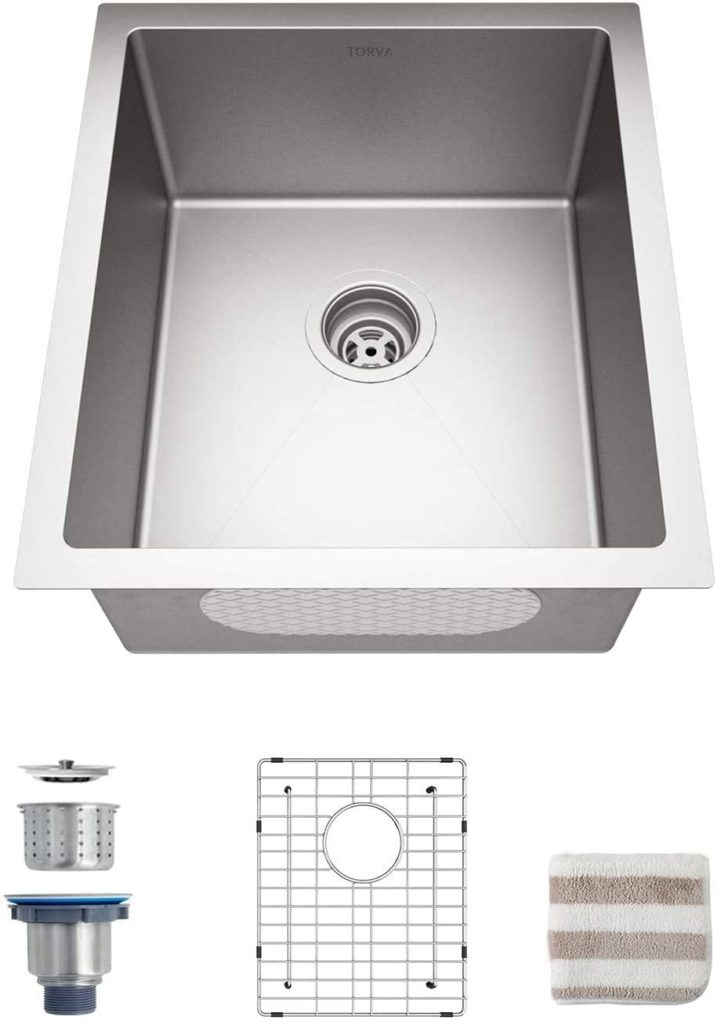
After your foot pump and faucet are ready, it’s time to connect the sink to your gray water tank, so that your water has a place to drain! This is the sink I have – it came with a drain, but if you go with something else you’ll need to buy that separately. My sink is pretty big, which I love! This is another thing I learned from my first build – my old, small sink was really inconvenient and I was always splashing water around when I did the dishes, so a big sink is much easier and gives me plenty of room and a place for the dishes to dry.
To install the sink in the countertop, I just used a jigsaw to cut out a big hole, plopped it in, and added some caulk underneath the edge to prevent water getting under it. This flexible drain hose connects to the drain, and all you have to do is screw it in. Under the sink is the gray water tank, where the water drains into. I added a quick connect fitting, which connects to the drain hose and the gray water tank. This way you don’t have to unscrew the tank every time, and it disconnects quickly and easily! Note – the Aqua-tainer inlet is proprietary, so the quick connect fitting isn’t a perfect fit – but it screws in enough to be pretty secure. Instead of buying a custom one, I just put some JB Weld around the connection to the gray water tank, and this works perfectly.
Camper Van Foot Pump water system
If this guide helped you out, let me know in the comments below! Ask me any questions, or share your own experience with putting together your van’s water system :).
This is amazing and exactly what I need for my tiny house! Thank you!
Aw I’m so glad it helped!!
Since I won’t have electricity in my skoolie for some time, I think a simple set up like this will do in the meantime. Thank you for taking the time to help others in their builds.
Aw, you’re so welcome! I’m glad it helped, have fun building out your skoolie 🙂
I have a similar setup but what did you use inside your fresh water tank to suck the water up?
Just PVC tubing! It’s connected to one of the inlets on the tank.
Just installed in my shuttle bus conversion. Thank you SO MUCH! It literally took less than 15 minutes to put together.
Yay!!! I’m so glad the post helped – impressed you did it that fast hahah!
Thank you so much for the detailed post! It’s exactly what I am looking for!
So glad it was helpful!
Thanks for the info but I still don’t understand. How does the pvc pipe get to the bottom of the tank? Can u only fill the tank with a pressure hose? What if there are no garden taps nearby with that exact fitting and you need to fill the tank by hand or from a creek?
The pvc pipe connects to the water tank with a hose barb (this one for my setup: https://amzn.to/3CHQhHr). You can fill the tank with a regular hose, which works for any standard hose spigot – they’re easy to find (where I am in the US at least) at rest stops so I’ve never had to use anything else to fill it! I think you’d need some kind of pump system if you want to fill from a creek.
Thank you for this detailed explanation. It broke down everything (even the why’s of things) making it easy to understand without making me feel stupid lol. I’m starting vanlife as a senior (50+) and want things to be as simple as possible and with your help this is something I can actually do myself! Thank you again so much!
Aaah this makes me so happy! This is exactly what I wanted to do with this guide – I’m so glad it helped you!!
Thank you for breaking down this process! I think I can tackle this now!
You got this!!
Do you know if the foot pump is made of food grade materials? I’ve seen them advertised as bilge pumps and the like. I wonder if this set up might be another source of all those chemicals we are constantly exposed to. Thanks
The foot pump I use (https://amzn.to/43DbuOQ) is approved for potable water! Definitely make sure that you buy one that’s safe 🙂
But can you combine a foot pump and an instant water heater so you can pump hot water?
I’m not positive, but I don’t think so – maybe if you got a foot pump that isn’t made of plastic?
Hello Anna, thanks so much! I’m planning to build a tiny house that will be parked on a friend’s property, but will be located too far from the main house on the property to connect to their water. Your foot pump setup sounds like just what I need, and your clear description of your system sounds “doable!” (Even for someone like me with no plumbing experience.) You’re awesome for sharing! 😉
Hi Michele! I’m so glad it helped! Thank you for the comment, and have fun building 🙂
This is our plan in our Sprinter—your instructions will be so helpful. Just wondering, though, how did you design your cupboard where the foot pump comes through? I can’t get my head around how to not have it out where I’ll trip over it and not have an unsightly hole in my cupboard/cupboard door!
Glad it helped! My cabinet was framed with 2x2s, so I just off a piece of the one on the floor to allow the tubes to go through to attach to the water pump. I put the pump as far right as I could (it’s right next to my bench/bed) so that I didn’t have to cut the cabinet door – this means the door doesn’t open all the way, but it works for what I have in that cabinet!
How much was the total for all the parts? I’m currently budgeting for a van I hope to get later this year and I really like the idea of the foot pump system and this guide will be SO helpful for putting it all together. Thank you
Thanks !! Do I have to let air into the fresh water tank or is that tank sealed?
It needs to let air in to avoid pressure in the tank! You can either remove the plug when you’re parked, or add a hose that will stay open
Hi! Is that specific quick connect you linked on Amazon going to fit the flexible drain hose and the water tank you listed? I bought both the tank and the hose but want to make sure the quick connect is the right size. Thanks!
Hi! It’s the exact one that I used :). It fits the drain hose, but the water tank has a proprietary fitting, so it isn’t an exact fit, but I’m able to screw it in just enough for it to stay put. I recently added some JB weld (https://amzn.to/423wxtu) around where it connects to the gray water tank to keep it extra secure.
Hi,
I want to thank you for sharing your foot pump water system! I have a question or two and I hope you can clarify a couple of questions I had. The faucet you used is unavailable so I bought a different one. The cold water hose is attached to it already. I’m wondering how the adapter you used fits into the receiving end of the cold water hose? I can’t figure it out.
Also, when connecting the pvc from the foot pump to the water tank, do you remove the milky plastic tabs from the blue outlet? There are no directions that come with the tank regarding this and it says if I alter it I can’t return it so I want to make sure I do the right thing when I connect it.
Thank you for your time I really appreciate you.
Hi! Bummer that the faucet isn’t available anymore! I’ll have to update the link. If the cold water hose doesn’t come off, you may need to get a connector. I’m pretty sure it would be an NPT to hose barb connector like this one: https://amzn.to/4aS8AsH. But depending on the size of the cold water hose, you may need to get a different size.
As for connecting the foot pump to the water tank, if I understand correctly what you mean, then yes, you would remove the plastic “plugs.” You should be able to just unscrew them.
Hope this helps!
Hi,
The faucet you used is unavailable so I bought a different one and the 1/2″ NPT to 1/2″ hose barb seems too big for the cold-water hose that is attached to my faucet. I guess I was thinking that all the faucet hot and cold hoses were the same size but maybe not? Thank you for sharing your water system it’s definitely going to work for me.
Hi! Sizes can vary yes. If you’re able to, I’d look up the size of the hose, or measure it! I believe the next size up would be a 3/4″ NPT https://amzn.to/4cB4uqo