How to Take Photos Underwater (While Snorkeling or Scuba Diving)
Adventures under the water are fun, but documenting them is a little more difficult than taking photos on land. This guide will tell you how to take photos underwater, whether you’re using a camera or just your phone, and some tips for making sure they look the best they can!
Head’s up: some of these links are affiliate links, so I get a commission if you make a purchase (at no cost to you). But that’s great, because I was going to share anyway, and this helps me keep making free guides for you!
Table of Contents
Pin this photo to save this guide to taking photos underwater and reference it later!
Camera vs. Phone for Taking Photos Underwater
The first thing you’ll need to figure out is what you’ll be using for your photos. There are a few options, from DSLRs to point and shoots to iPhones. Should you buy a waterproof camera? Should you get a housing for your big camera and risk taking it underwater? Or should you just stick to the phone you already have?
I’ll talk about all of the options, to help you decide – let’s start with the simplest, using your phone.
How to Take Underwater Photos with Your Phone
The first option is your phone. Smartphones these days are equipped with pretty powerful cameras, and unless you’re a professional photographer or you want super high quality photos, using your phone will probably be just fine!
Underwater Phone Cases
Though many iPhones and Androids are water resistant, they aren’t meant to be submerged underwater, especially not for extended periods of time. For example, newer iPhones have a maximum depth of 6 meters (20 feet) up to 30 minutes. So, it’s definitely not a good idea to raw dog your phone in the water (especially never do this in salt water – salt is corrosive, and if it dries in the buttons and ports of your phone it can cause problems), and you should definitely have a case.
When looking for a case, consider what you’ll be doing when you’re taking photos underwater. Snorkeling, where you’re staying close to the surface, is different from scuba diving, because the pressure increases as you dive deeper. So, when you’re looking for a phone case for underwater photos, make sure to check the depth rating!
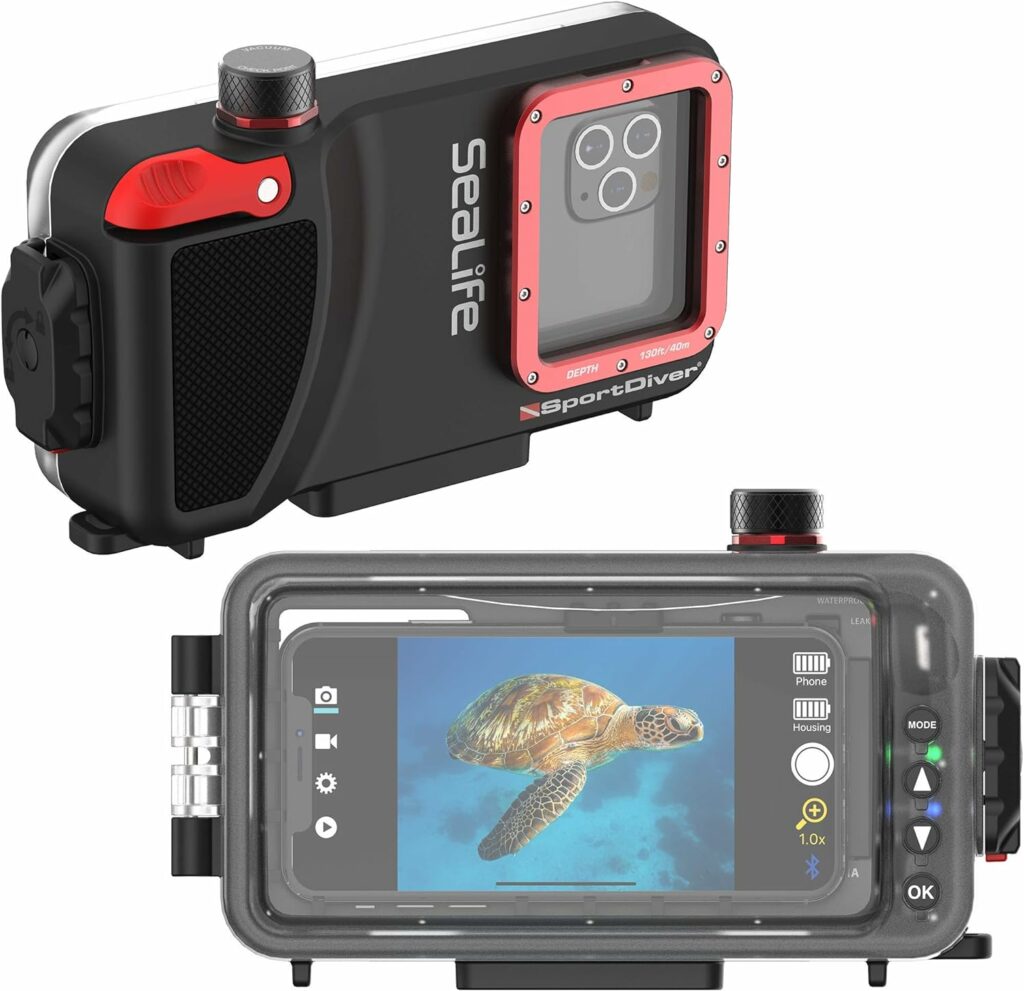
I recommend this case from SeaLife – it’s definitely a more expensive option, but if you dive frequently, it’s a good one. You can get it with a light or without (having a light is definitely helpful for dives), and it has a leak alarm, and also allows you to adjust settings underwater! It’s compatible with iPhone 8 and up, and most Androids.
If you want an inexpensive option, this phone case is good for snorkeling. Though it’s technically rated for up to 50 feet (15m), it’s not recommended for diving because reviews say it stops working (the phone stops taking photos, but it’s still waterproof) once you get deeper in the water. With this one, you can’t change your phone settings once it’s in the case, so you’ll need to make sure everything is set beforehand.
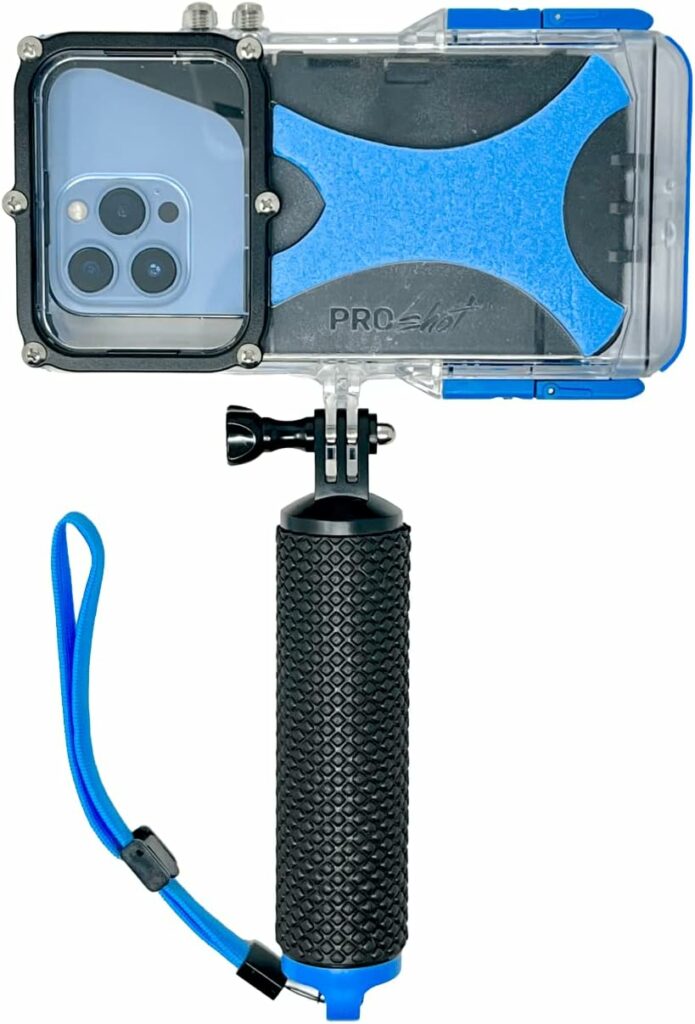
For a mid range option, the ProShot Dive Case is easy to use, and great for both snorkeling and diving.

Settings for Underwater Photos
Some phones let you change a lot of the camera settings when you’re taking photos – for example, the iPhone Pros allow you a lot more control than the standard iPhones. This will of course depend on the phone you have, but both Androids and iPhones have some really powerful photo options, so take a look and see what yours has!
If your phone allows, I recommend taking RAW photos. RAWs (as opposed to JPEGS) capture a lot more information and is an uncompressed file format. Especially because you’re taking photos underwater, where the lighting is darker and there’s less contrast between colors, this will yield much better photos. But, you should only do this if you’re planning to edit your photos, because RAWs straight out of the camera look worse than a JPEG would – but because of how much data is captured, it allows you to do a lot more in editing, and the end result is much better.
Another setting that you might be able to change is white balance – which is, in the most basic sense, how orange or blue it is. Taking photos underwater means lots of blue, so setting the temperature to be more orange can lead to better photos.
Pros and Cons of Using a Phone for Underwater Photos
Here are some pros and cons of taking underwater photos with your phone (as opposed to with a camera).
Pros
- easier to hold underwater
- less expensive – if you already have a phone, all you need is a case
Cons
- lower quality photos than you’d get with a camera
- few options for customizing settings
Point and Shoot Cameras for Underwater Photos
There are some smaller, waterproof cameras you can get specifically for underwater adventures! Most of these are point and shoot cameras, which means you don’t have control over settings like the shutter speed and aperture.
Underwater Cameras
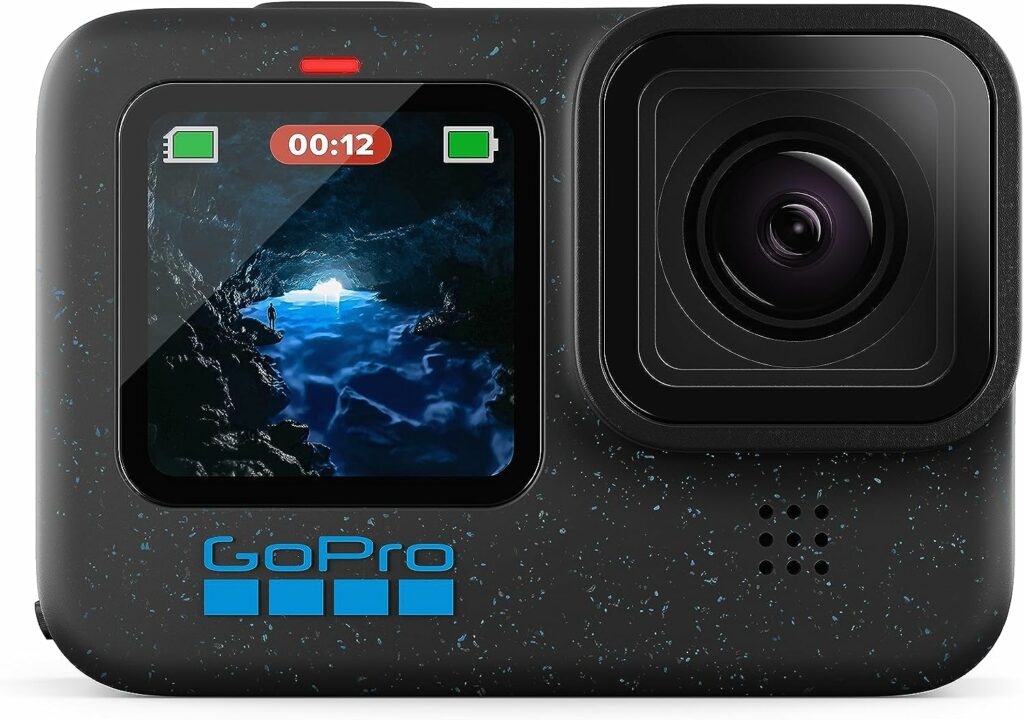
If you want to get a small camera for taking photos underwater, a GoPro is a popular option. These are known for being rugged and durable, and they’re waterproof! However, GoPros are only waterproof to 33 feet (10 m), so if you want to take it scuba diving, you will need an additional case, which will make it able to go as far as 196 feet (60 m) down.
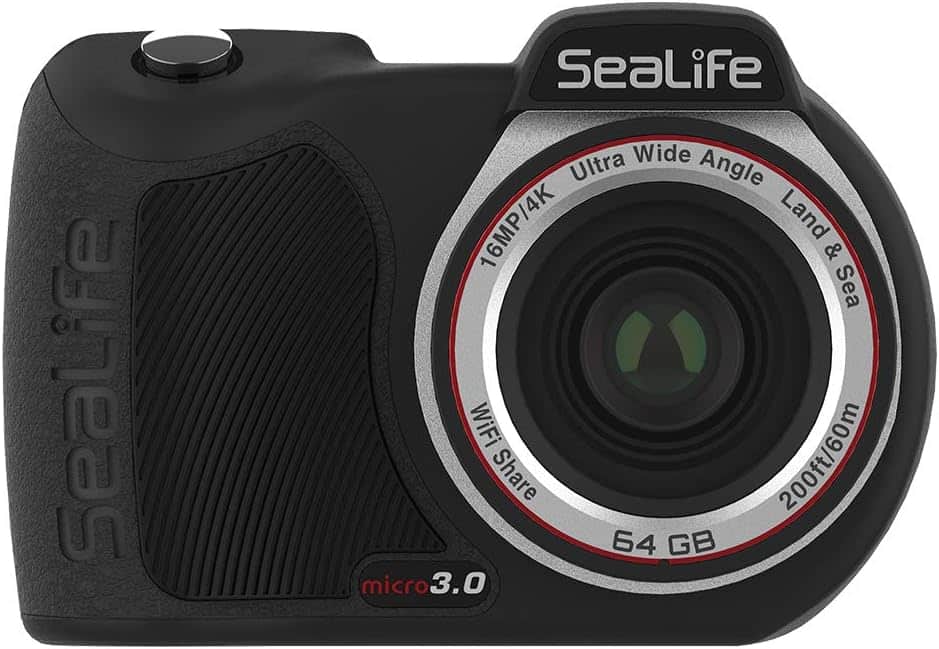
Another good camera for underwater photos, whether snorkeling or scuba diving, is the SeaLife Micro 3.0. This one can go as deep as 200 feet (60 m), and allows you to take RAW photos, adjust the white balance, and it’s completely waterproof without any additional housing.
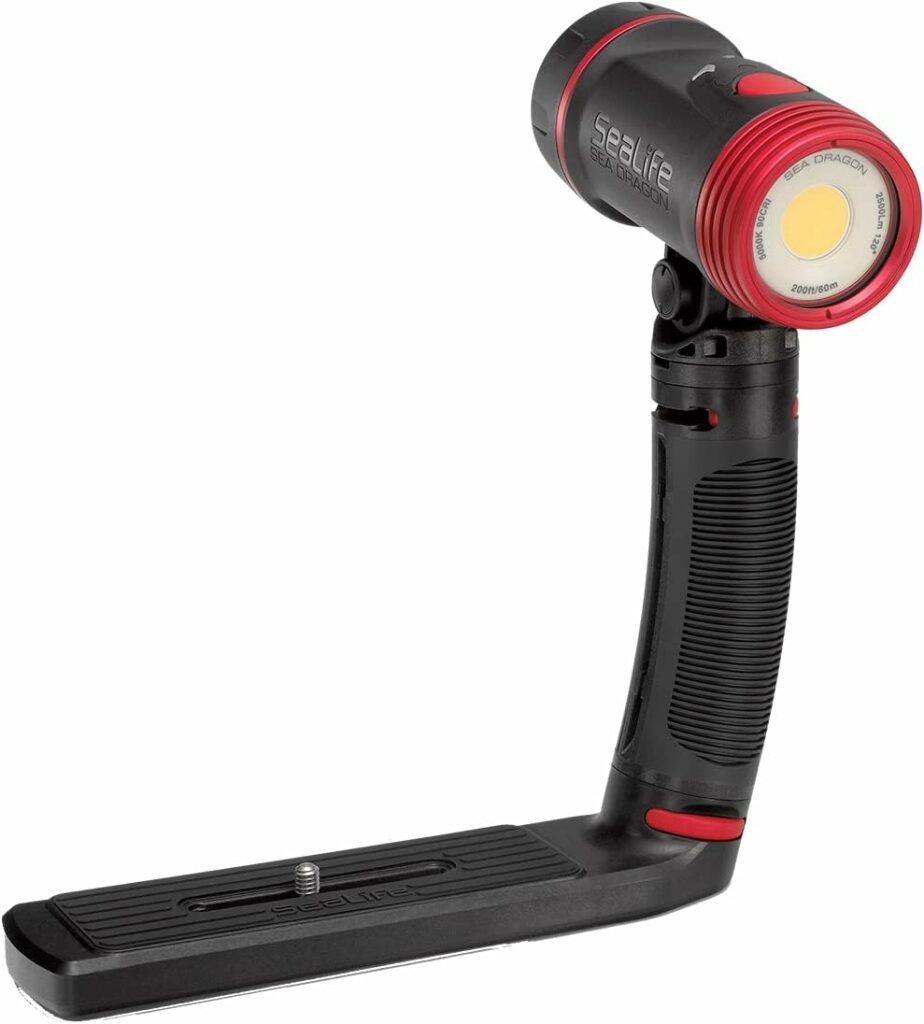
Either of these cameras are going to be a step up from using a phone for underwater photos, but if you’re scuba diving, you will likely also need a light, as it gets darker the further down you go. The SeaLife Micro camera has the option to add a light, and you can also buy a light separately that can attach to any camera or housing with a tripod hole.
Pros and Cons of Using a Point and Shoot for Underwater Photos
Here are some pros and cons of using a point and shoot camera for underwater photos, as compared to using your phone or using a DSLR camera with manual settings.
Pros
- small and easy to hold
- higher quality than most phone photos
- easy to use, no messing with settings
Cons
- few options for customizing settings
Using DSLRs and Mirrorless Cameras for Underwater Photos
If you have a camera, you can also use it underwater! This will definitely give you the best results when it comes to the quality of the photos – but you’ll need a reliable camera housing to keep it safe.
What Kind of Camera to Use for Underwater Photos
I use a Sony A7III with a Sigma 14-24mm f/2.8 lens for underwater photos, but you can use pretty much any kind of camera – as long as you’re able to find a housing that it fits into. It shouldn’t be hard to find housings for the big camera brands (Sony, Canon, Nikon, and Fujifilm), but sometimes finding a lens port is the hard part.
Camera Housings for Underwater Photos
When you look for a camera housing, make sure to consider how deep you’ll be going. Some housings work for snorkeling and near the surface, but if you’re scuba diving, you’ll need a housing that’s able to handle going deeper.
I use a Seafrogs housing with a dome port, which has worked perfectly. You can also get a leak check system to use before putting it underwater – which I definitely recommend, since flooding your camera would cost much more than this vacuum pump. This housing is pretty inexpensive compared to a lot of other ones, which honestly is a little scary since protecting your camera isn’t something you want to cheap out on, but I’ve had no issues at all! They have options for a lot of different cameras, and you can use the chart on their website to figure out which lens port is compatible with what you have.
Another great option is the Ikelite camera housing, which they have for a bunch of different cameras as well. These are more expensive, but are made by a more established company that has more reviews.
Though a camera like this will be better in low light than a phone or a point and shoot, if you’re diving it’s a good idea to bring a light to brighten up your photos.
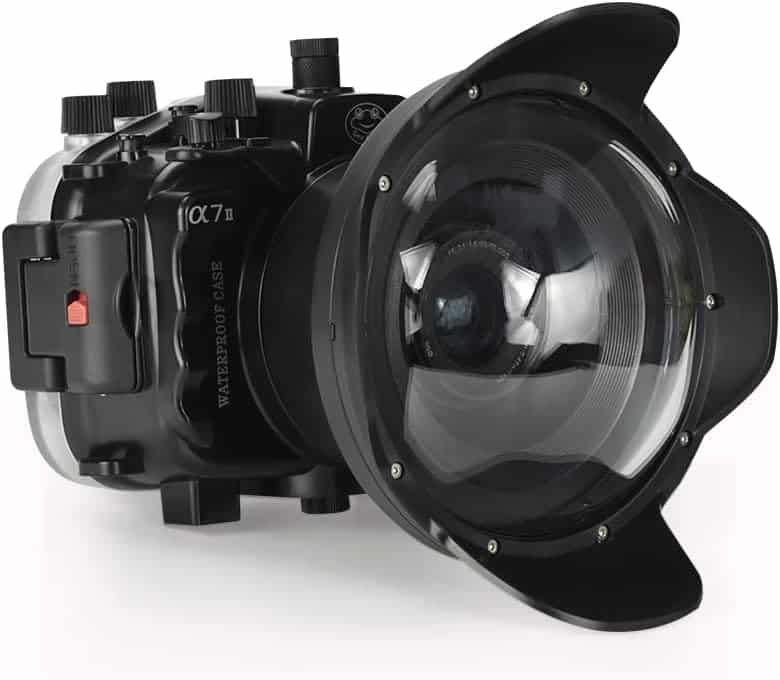

Dome Port vs Flat Port for Underwater Photos
Along with the housing for the actual camera body, you’ll also need to get a port for your lens. There are two kinds of ports – dome ports and flat ports. When deciding which one to get (or whether to get both), think about the kinds of photos you’ll be taking. For underwater photos, a dome port is ideal because it corrects some distortion that happens underwater. But above water, like if you want surfing photos, a dome port would cause some distortion, so flat port is better.
Pros and Cons of Using a Camera for Underwater Photos
Here are some pros and cons of using a DSLR or mirrorless camera for underwater photos, rather than using your phone or a small point and shoot camera.
Pros
- higher quality
- control over settings
Cons
- heavy and cumbersome to hold while swimming
- kind of scary to bring your camera underwater
- will need more weight on your belt for diving to account for the buoyancy of the air inside the housing
The Best Time for Taking Photos Underwater
A big part of getting good photos underwater is the conditions you take them in. Whether you’re in the ocean, a lake, or another body of water, here are some tips for when to get the camera out.
Sunlight
The best time for underwater photos is when the sun is out. This is when the most light will be getting down into the water, so you’ll be able to see more, and so will the camera.
Wind and Waves
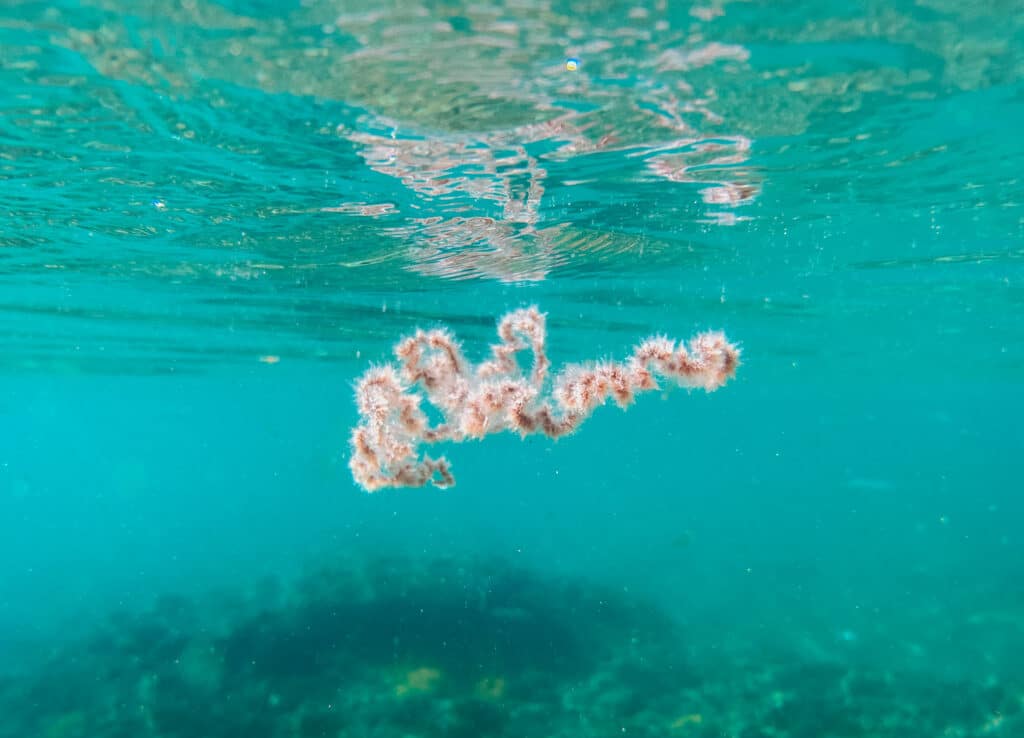
The calmer the water is, the better for photos. When the water moves a lot, more sand and debris gets picked up and swirled around the water, reducing visibility – and a choppy surface also scatters the light more. A good tip while you’re snorkeling or diving is to try to avoid kicking too hard or touching the bottom, as this will increase the turbidity (cloudiness or haziness) of the water too.
Tides
It’s also better to snorkel or dive when the tide is at its highest, or at its lowest. During these times, the water isn’t moving as much, so less sediment gets stirred up, which means better visibility!
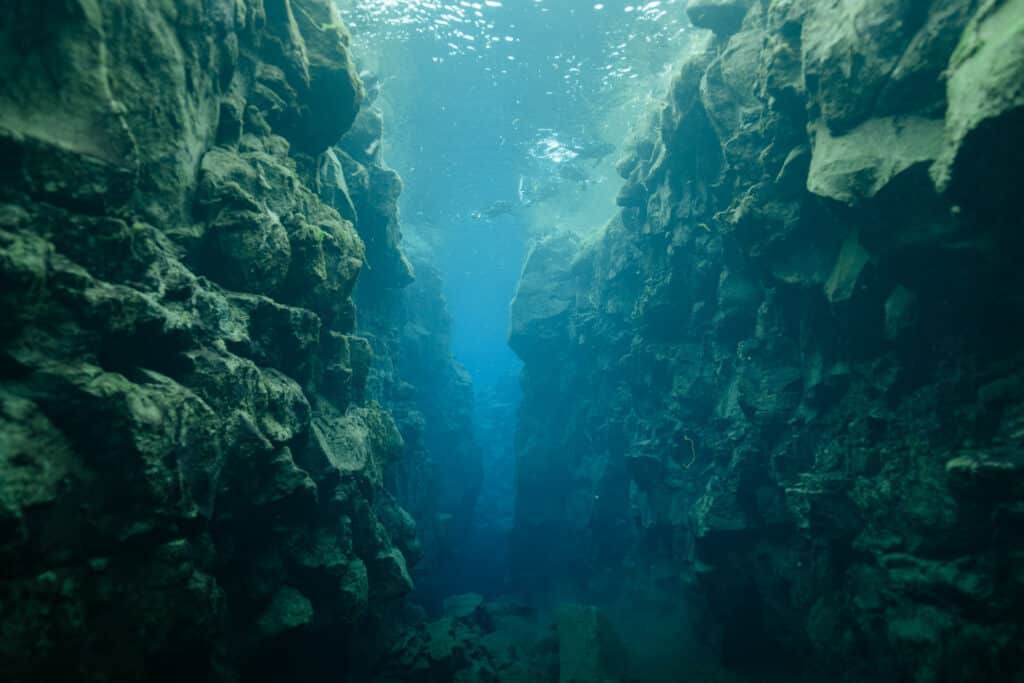
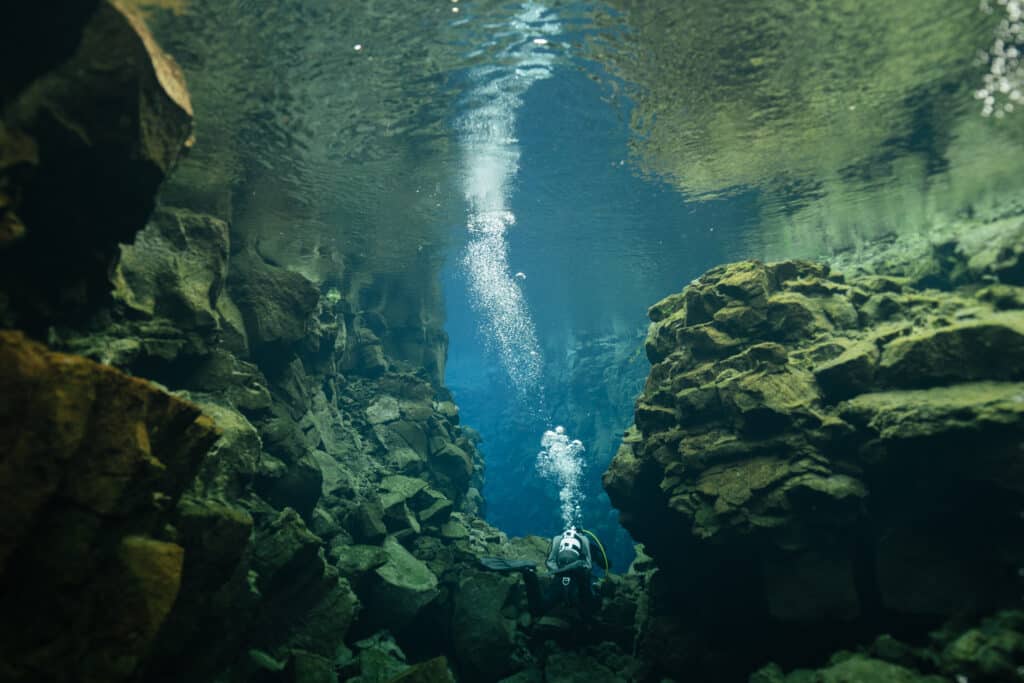
Clarity of the Water
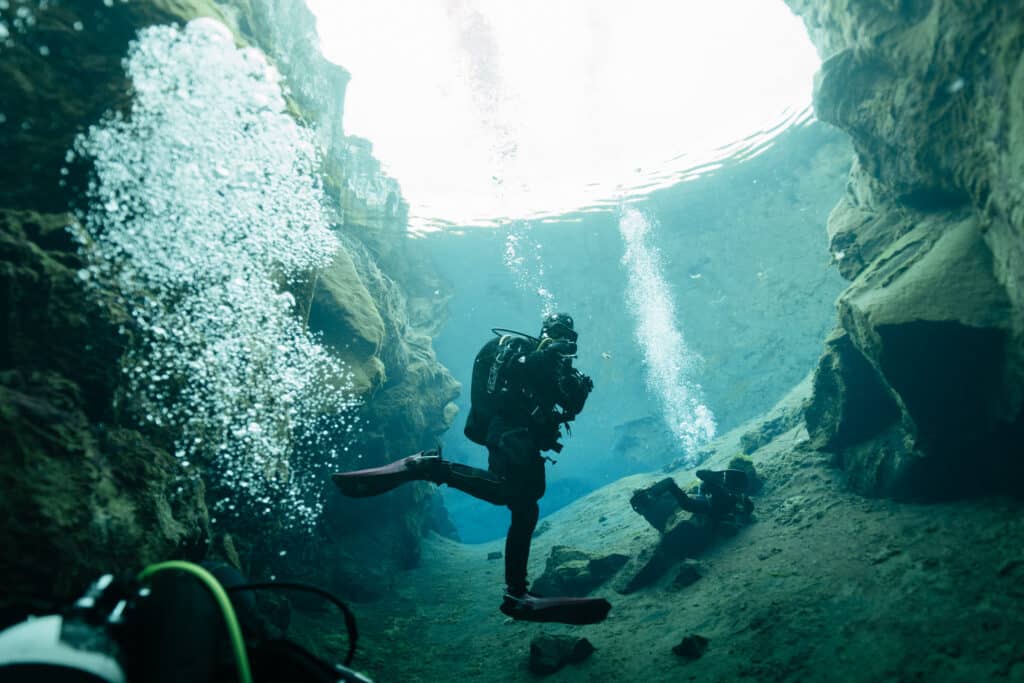
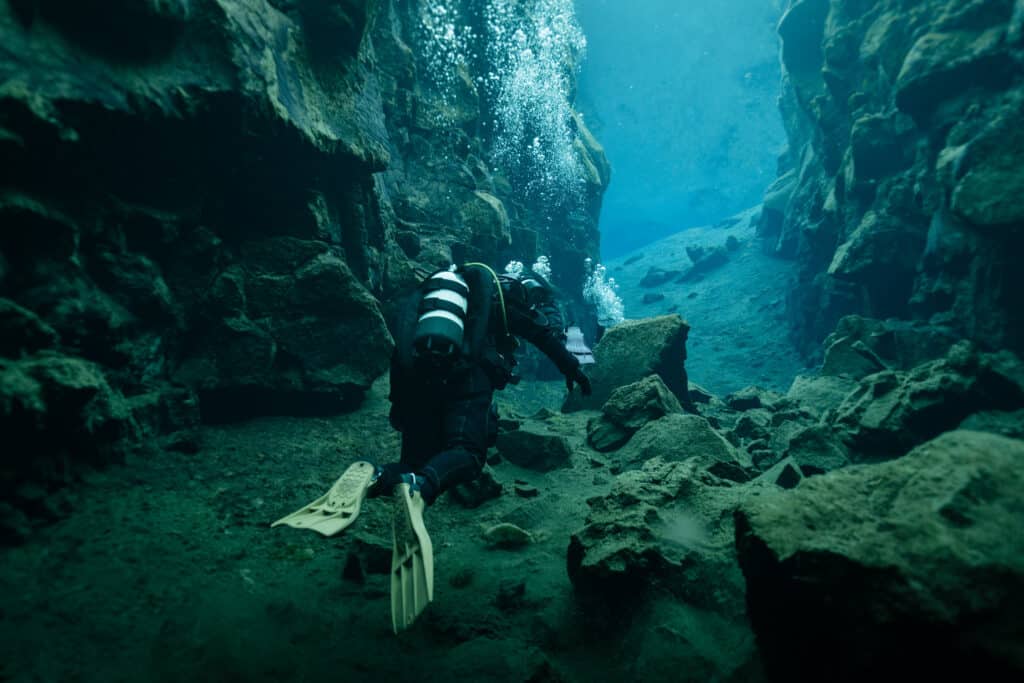
One of the best tips for underwater photos, and unfortunately the one you have the least control over, is how clear the water is. The clearer the water, the easier it’ll be to get good photos! For example, a clear lake like the Silfra Fissure in Iceland will be much easier to take photos in than a murky ocean where the water is moving much more. Tropical ocean locations tend to have clearer water, and will definitely be easier to take photos in.
You’re Ready to Take Underwater Photos!
The best way to get better at taking photos underwater is to practice! If you have any questions about photography under the surface, or any tips that I didn’t mention here, let me know in a comment below!
For more photography tips, check out these posts:
Pin any of these photos to save this guide to taking photos underwater for later!