How to Take Pictures of Stars: Beginner’s Guide to Night Sky Photos
I literally remember the day I really saw stars for the first time. I grew up in the suburbs of New Jersey, so the stars weren’t very visible, and I didn’t know what I was missing. Then, when I was in high school, on a family trip to Arizona, we were driving away from the Grand Canyon in the dark. I looked out the window and couldn’t believe my eyes – the sky was an entire blanket of stars.
Looking up and seeing a sky full of stars is one of the most incredible experiences – but documenting it can be a challenge! This beginner’s guide will give you all the tips and tricks and teach you how to take pictures of stars and of the night sky, from equipment to camera settings to framing, and everything you need to know.
Head’s up: some of these links are affiliate links, so I get a commission if you make a purchase (at no cost to you). But that’s great, because I was going to share anyway, and this helps me keep making free guides for you!
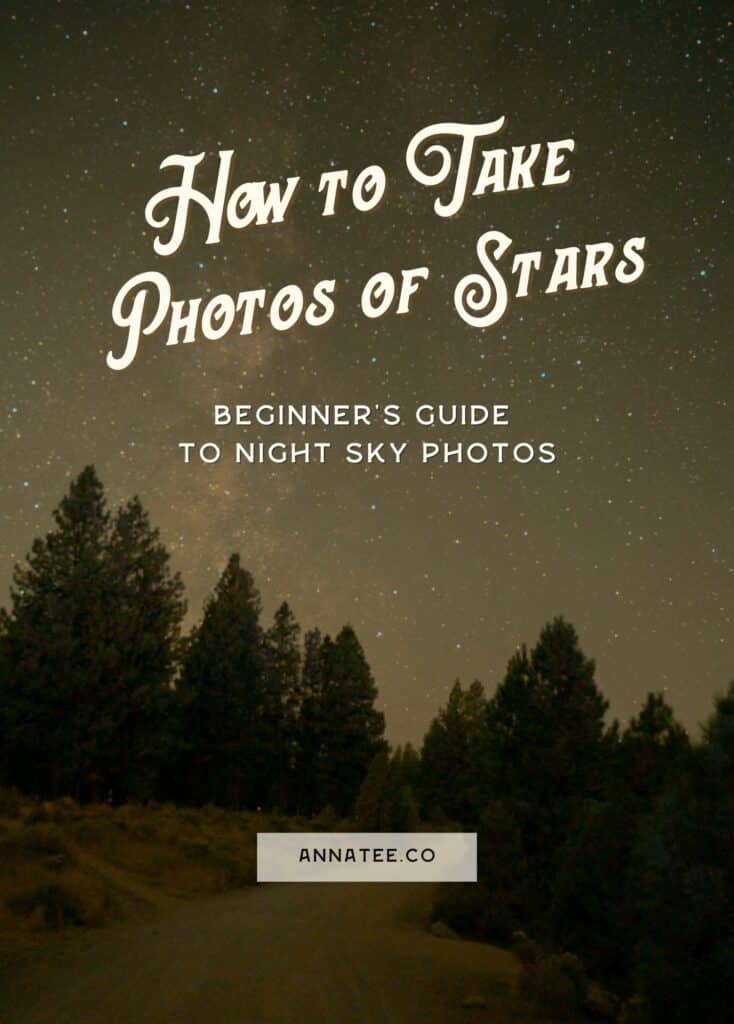
Table of Contents
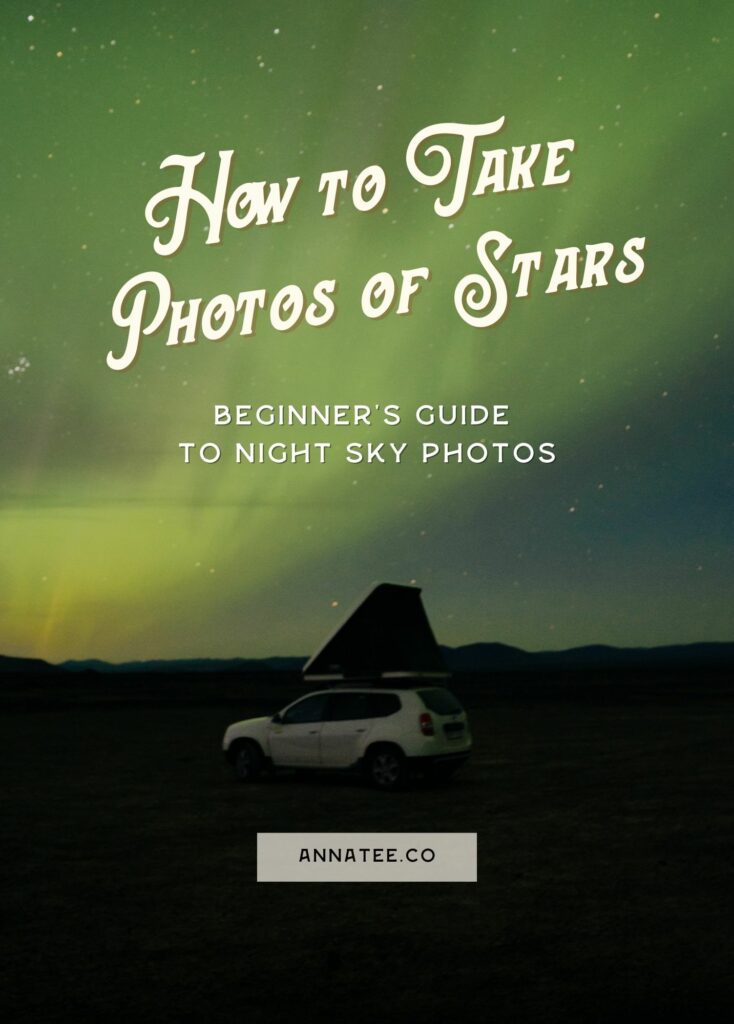
Pin this photo to save this Night Sky Photography guide and reference it later!
Equipment for Taking Pictures of Stars
Camera
This guide is about how to take pictures of stars with a camera, but you can definitely experiment with a phone! Both iPhones and Androids have come a long way with what’s possible in Night Mode, but a camera gives you more control over the settings. You don’t need a super fancy professional camera to take photos of the night sky – as long as you have a DSLR or a mirrorless camera that allows you to control the ISO, aperture, and shutter speed, it’ll work!
I use a Sony a7III, which I definitely recommend for professional photographers, but if you’re someone who takes photos for fun (rather than for money), it’s probably more expensive than necessary. Some great beginner to intermediate cameras include the Nikon D3500, Canon EOS Rebel T7, and the Sony a6000.
Lens
You’ll also need a lens to attach to that camera. For the most part, almost any lens will do the trick. But, a wider aperture will let in more light (which is what you want!), so the bigger, the better for star photos – something with an aperture of f/2.8 or lower is ideal! I use my Sony 24-70 f/2.8 lens for just about everything, and the f/2.8 aperture is perfect for taking photos of the night sky.
Tripod
Another important piece of gear for taking photos of the stars is a tripod. This is really important to stabilize your camera and prevent blurry photos – but if you’re in a pinch, balancing it on the hood of your car or on some rocks might also work.
The Peak Designs Travel Tripod is pretty much the best one out there for travel photography (especially if you go for the even lighter carbon fiber one), as it’s incredibly small and lightweight, but really sturdy. But, it’s definitely expensive, so the one I use is a SmallRig tripod, which is a decent balance between price and quality.
You can definitely also use something like the Amazon Basics tripod, but this was my first tripod and I can tell you that the quality is definitely noticeable worse – it’s flimsier, wobbles more, and breaks easily.
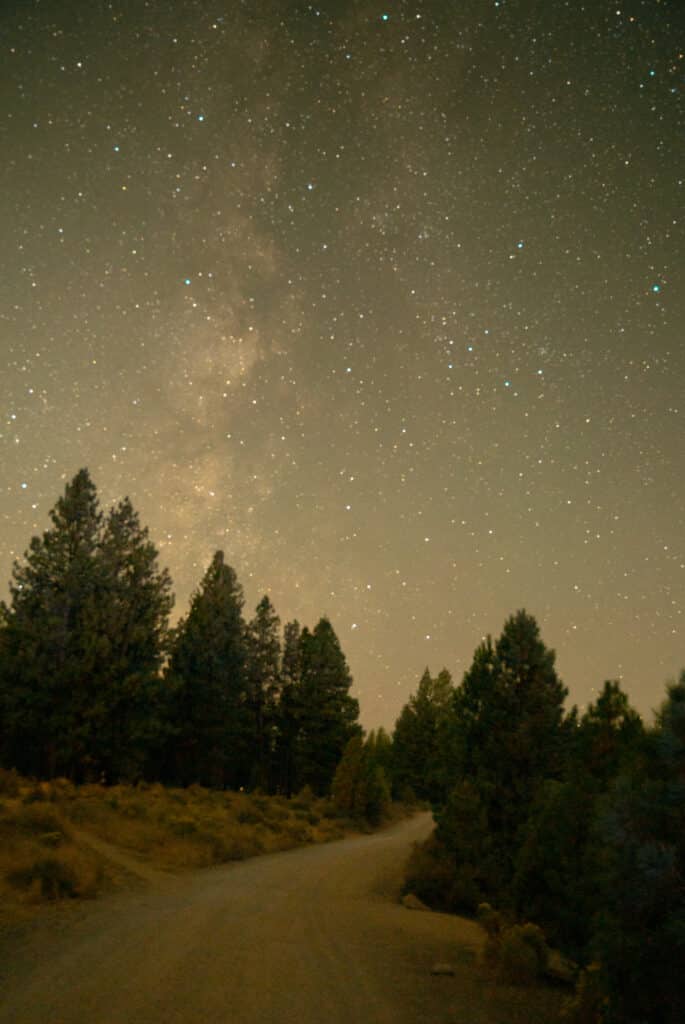
Where to Take Star Photos
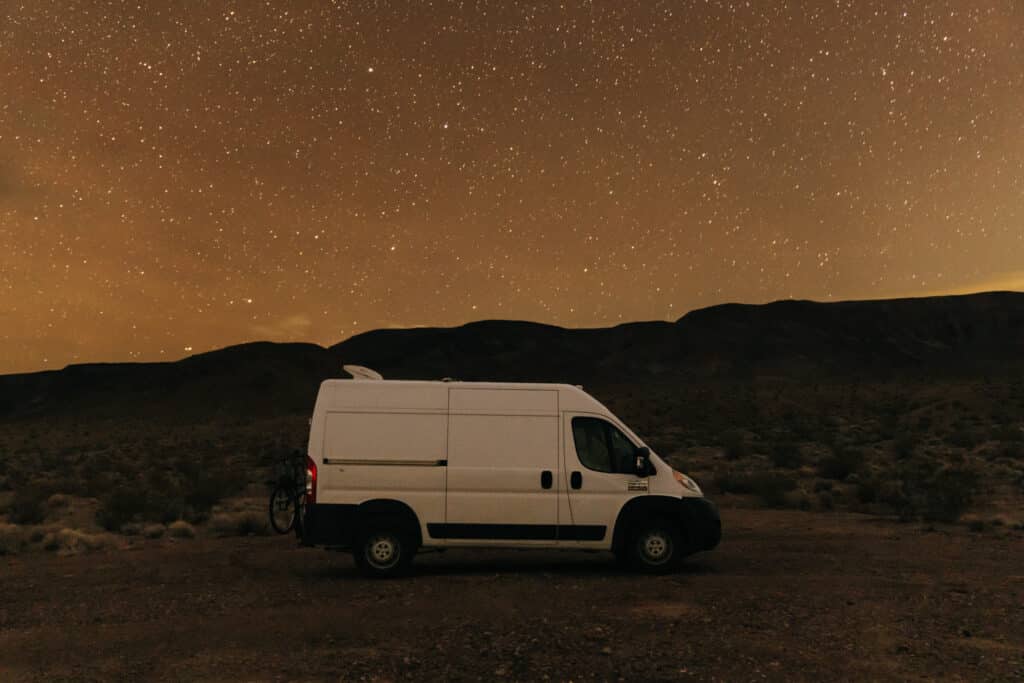
One of the most important things when it comes to taking star photos is finding the right location. The darker it is, the better! Any light will reduce the visibility, so getting away from the city and out in nature, as far away from lights as possible makes a big difference. Dark Sky Map is a great resource for finding places where the stars are most visible!
When to Take Pictures of Stars
One of the most important things about taking photos of the stars is deciding when to take them! There are a few things to consider before you set up the tripod.
Moon Phase
The stars are most visible during the new moon, and least visible during the full moon. Basically, the less light there is, the more stars you, and the camera, will see! So, the less moonlight there is, the better for star photos.
Weather
The weather is important when it comes to visibility – on a cloudy night, you won’t be able to see any stars, but if the sky is clear, they’ll be a lot more visible! The best time to take photos of the night sky is when there aren’t many clouds in the sky, so checking the weather forecast before you go is definitely helpful. Wind is also a consideration – if it’s super windy, you might get some wobble on the tripod, which will lead to your photos being blurry.
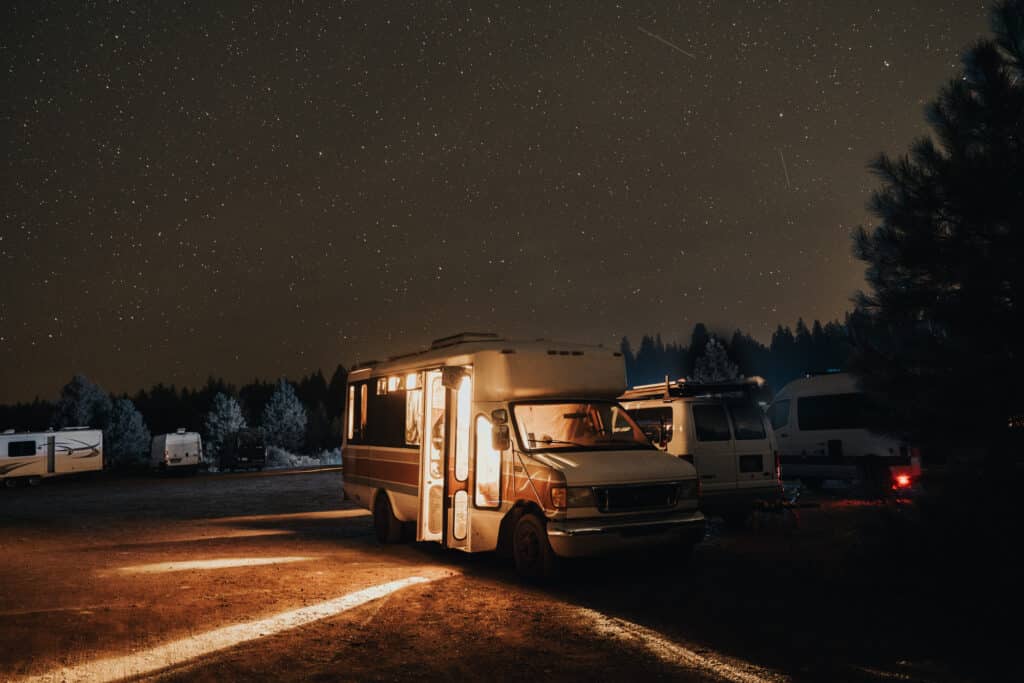
These photos, though I still love them, are a little blurry because the wind was really strong!
Time of Day
Of course, the best time to take photos of the night sky is at night. Wait until the sun goes down, then wait another hour or so, and you’ll have a great view of the stars!
Camera Settings for Star Photos
When you’ve set up your tripod and you’re ready to take some photos of the night sky, you’ll need to make sure your settings are dialed in! Taking photos of the stars will definitely require some experimenting with settings, but here’s an overview of what you need to do.
Manual Focus
Your camera will have a harder time auto focusing in the dark, so changing the lens setting to manual focus helps ensure that your photo turns out the way you want it to. Turn the focus ring on the lens (or, on the Sony a7III you can touch the screen) to set the focus where you want it – whether that’s on the stars or on a subject in the foreground. If you want the focus to be on the stars, set your manual focus to infinity. Using the live view on your camera will help with this step!
Aperture
To let in the most light, open up the aperture as wide as it goes. Mine is usually set at f/2.8!
ISO
Finding the right ISO is about finding the balance between the camera’s “night vision” and how grainy the end result will be. The higher your ISO, the more noise your photo will have, and photos taken in the dark will usually have some grain to them as well. So, it’s best to set your ISO high enough that the camera can pick up more light, but low enough that your photo isn’t too grainy. Set it low (under 1000), then adjust if you need to.
Shutter Speed
The shutter speed needs to be pretty slow for the camera to get enough light in to take a good photo of the stars. This usually requires some experimentation – I start at a 20 second shutter speed, then if my photo is too dark, I slow it down even more. And of course, if the photo is too bright, adjust the shutter speed to be faster.
Self Timer
This is a step that people often forget! If your camera is set up on a tripod, clicking the shutter button with your finger will inevitably cause the camera to move a little bit, which will make your photo a little bit blurry. A simple way to avoid this is to set the camera on a self timer (I set mine to just 2 seconds). Then, when you press the shutter button, the camera will move a little, but it’ll be still before the shutter actually opens.
Composition for Pictures of STars
Composition is important in any photo, and that includes photos of the stars. A photo will usually look more interesting with something in the foreground – so rather than pointing the camera up at the sky and getting a shot of just the stars, including trees, mountains, buildings, or other elements can add a lot to your photo.
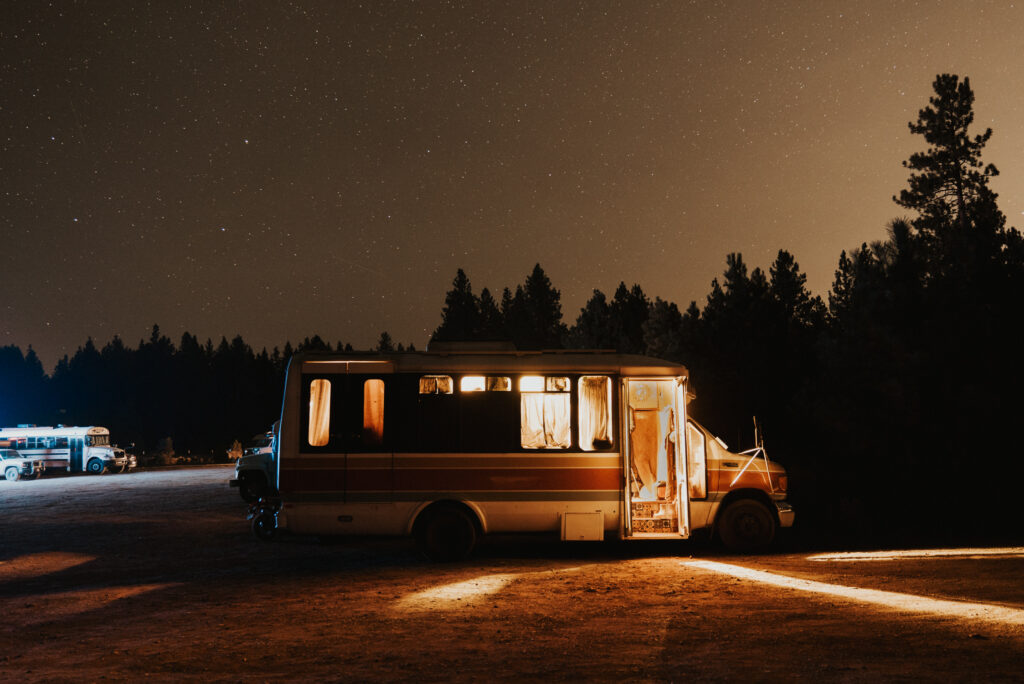
Another important thing when it comes to setting up your shot is avoiding any additional light – unless it’s an intentional part of your photo! Turn off your headlamp, phone flashlight, and any other lights you have on before taking the photo.
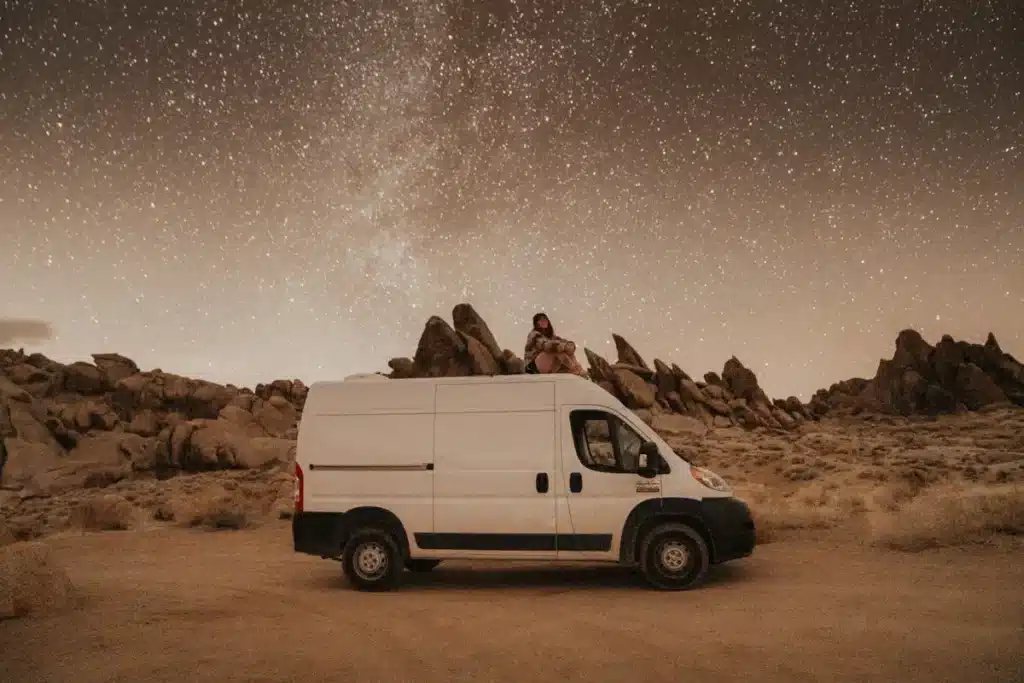
For example, in this photo of my friend’s bus, the light coming from inside the bus makes for a cool photo – but on the left side, there’s some light coming from another bus. I didn’t have control over that in this case, but ideally, the background would’ve been dark.
How to Edit Pictures of Stars
I edit all of my photos in Lightroom, star photos included! It often helps to make the sky a little darker or the foreground a little lighter when editing star photos, to really make the stars visible and and I like to use the linear gradient tool for this. I take that and drag it from the top down, making the sky darker!
You’re Ready to Take Pictures of Stars!
The best way to get better at taking pictures of stars is to practice! If you have any questions about night sky photography, or any tips that I didn’t mention here, let me know in a comment below!
For more photography tips, check out these posts:
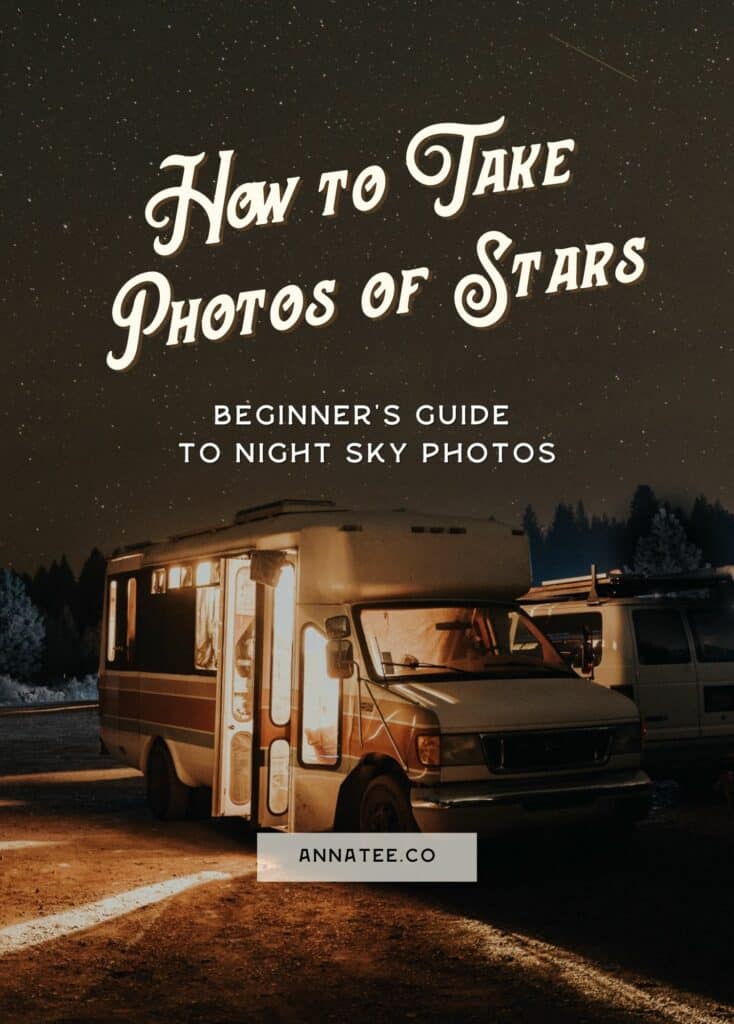
Pin any of these photos to save this guide to taking photos of stars for later!