How to Hike the Mount Storm King Trail – Ropes, Difficulty, & More
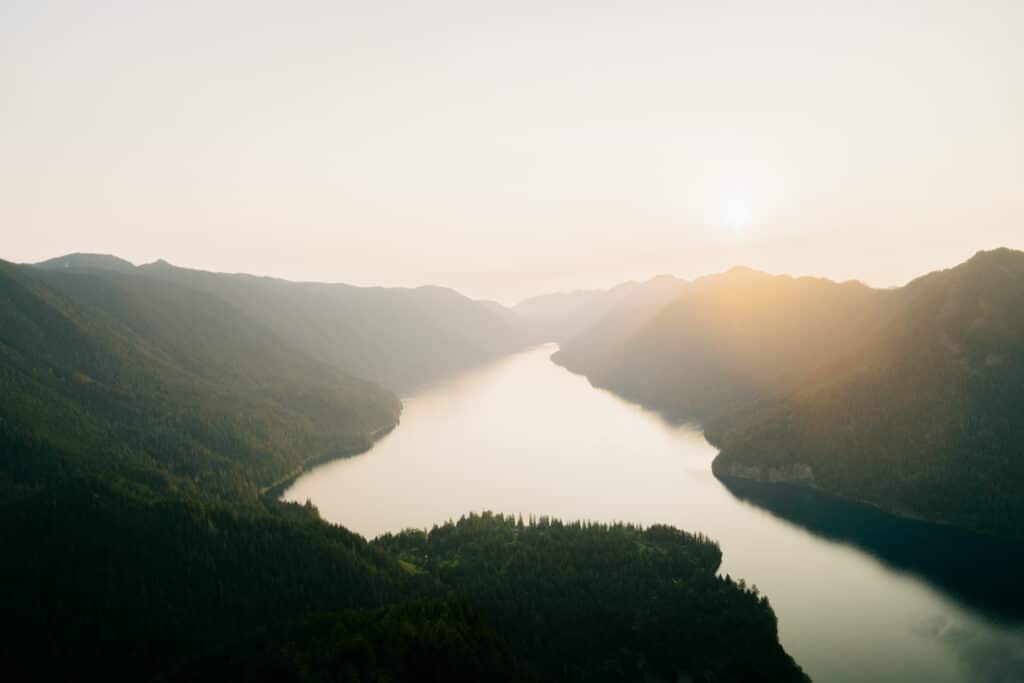
Mount Storm King, with it’s ominous name, is definitely a challenge. The peak towers high over Lake Crescent in Olympic National Park, and though the hike isn’t very long, it is very steep – and the best views require a steep scramble and pulling yourself along on ropes! But though it’s a hard hike, it’s manageable, and so worth it.
This guide will tell you everything you need to hike the Mount Storm King trail – how to navigate the infamous ropes, when to go, and more.
Head’s up: some of these links are affiliate links, so I get a commission if you make a purchase (at no cost to you). But that’s great, because I was going to share anyway, and this helps me keep making free guides for you!
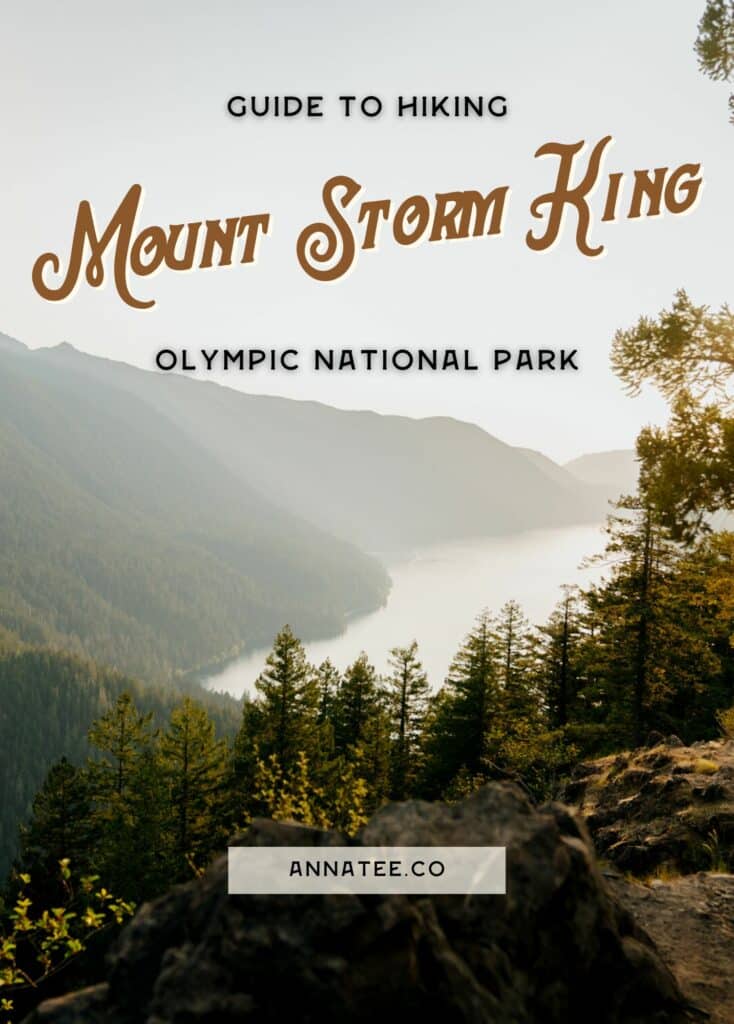
Table of Contents
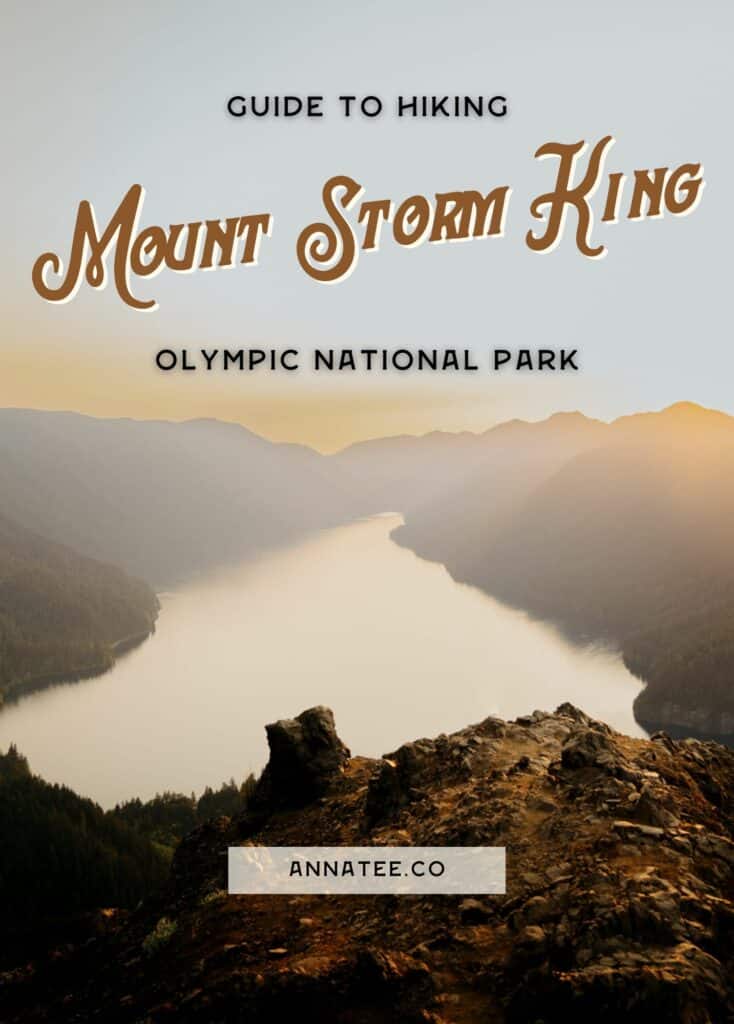
Pin this photo to save this Mount Storm King Trail guide and reference it later!
About the Mount Storm King Trail
Though I wouldn’t recommend the Mount Storm King trail for anyone who’s a complete beginner hiker, it’s do-able for most people who have some experience. But, you need to be prepared! So, here’s what you need to know before you hit the trail.
Mount Storm King Trail Stats
Length: 4.1 miles (6.6 km) out and back
Elevation Gain: 2106 feet (642 meters)
Difficulty: Hard
Hike Time: I consider myself to be an average hiker, and this trail took me 4 hours and 39 minutes, including taking a snack break at the top. But, I also took the side quest to Marymere Falls, which adds a little under a mile. You can check out my hike on Strava!
Leave No Trace on the Mount Storm King Trail
Anytime you’re outdoors, it’s essential that you practice Leave No Trace (LNT). LNT is a set of seven principles that help us understand our impact on the outdoors – because while we usually have good intentions, the environment is more fragile than we think, and one snap-second decision can cause damage to the environment that will take the earth years, even decades to repair.
Leave No Trace means enjoying the outdoors without disrupting nature, as much as it’s possible to do so. Here are the 7 principles of LNT, and how they apply when you hike the Mount Storm King trail!
- Plan ahead and prepare – read this guide, make sure you know have the right gear, and be prepared for any weather.
- Travel and camp on durable surfaces – stay on the trail to avoid trampling grasses and plants!
- Dispose of waste properly – don’t leave trash, or anything else, behind. Pack it out!
- Leave what you find – I know it can be tempting to take a cool rock or leaf, but leave these things where they belong! Animals often use these, and if everyone takes one, the trail won’t be as pretty.
- Minimize campfire impacts – no campfires are allowed on the trail.
- Respect wildlife – don’t approach wild animals, and never feed them.
- Be considerate of other visitors – yield to other hikers, and be respectful – no speakers or loud music.
The Best Time to Hike the Mount Storm King Trail
The best time to hike Mount Storm King is May through October, though the ends of this time frame can be a little more unpredictable and rainy. June through September is your best bet for good weather!
I also recommend waiting for a clear, sunny day to hike, otherwise the clouds will cover the views, and you won’t be able to see much from the summit. Sunset is absolutely beautiful on Mount Storm King, and there will be fewer people around, but bring a headlamp if you plan to hike down in the dark!
Don’t Forget Your Pass!
Because the Mount Storm King trail is located in Olympic National Park, you will need a pass to hike. It costs $30 per car, but if you visit national parks often (or at least more than twice a year), I recommend getting an America the Beautiful Pass! It’s an annual pass that will get you into every national park in the country for an entire year, for just $80.
You can purchase either pass on your way into the park, or get an America the Beautiful pass online ahead of time!
What to Bring to Hike the Mount Storm King Trail
When you hike the Mount Storm King trail, here’s what you’ll need to bring!
- Hiking Shoes – this trail is steep, so make sure you’ve got something with grip. I prefer hiking in sandals and wore my Chacos for this hike, but boots are a good idea for more ankle support. I love my Danner boots – and they come in men’s and women’s.
- Layers – it’s going to be colder at the Mount Storm King summit, so a lightweight windbreaker or a fleece is a good idea. For the cold, I love my Columbia puffy jacket – it’s lightweight, and water resistant!
- Backpack – you’ll need a backpack for water and snacks. I use an Osprey Hikelite 26L.
- Headlamp – Mount Storm King is extra wonderful at sunset, but bring a headlamp to get back safely after dark.
- Gloves – gloves can be really nice for the ropes section. I didn’t have any and was fine, but it does hurt a little.
- Hiking poles – the hike is steep, so if you have knee pain going downhill, poles help a lot with that!
- Water – water is a must, always. This hike is steep, so I’d recommend bringing an extra water bottle. I brought my 2L hydration pack and drank the whole thing!
Bonus Tip: A lot of these links are for my favorite place to buy outdoor gear – Backcountry. If you install the free Lolli extension on your browser, you can earn free Bitcoin when you shop online at certain retailers, including Backcountry. You can transfer it to a crypto wallet, or just cash out to your bank account.
Directions to the Mount Storm King Trail
The Mount Storm King trailhead begins at Lake Crescent, at the Storm King Ranger Station in Olympic National Park. If you’re flying in to Washington to explore the park, the closest airport is SeaTac, in Seattle.
Expedia is a good way to find flights and rental cars, I also super recommend signing up for Going (formerly Scott’s Cheap Flights) – they send you amazing deals, so you can find cheap flights to Seattle, and to destinations all over the world. The free account is great and totally worth the few minutes it takes to sign up, and I do recommend the premium account too!
If you fly into Washington, you can rent a car through Discover Cars or Rental Cars. But, a great alternative to a rental car is a tiny home on wheels! With a camper van, you get a vehicle and a place to sleep, all in one! This is my favorite way to travel, and you can rent a fully decked out van with Escape Campervans. Another option for vans is to use Outdoorsy, which is more like Airbnb for campers – you can rent a van, RV, or trailer from a person in the area.
From Seattle, you can either take the ferry (a fun experience if you aren’t from here!) to Bainbridge Island and keep driving from there, or drive south to Tacoma from Seattle then loop back north to get to the Olympic Peninsula. Once you get on Highway 101, you’ll follow it to Lake Crescent, and there are signs that point you to the Storm King Ranger Station.
Mount Storm King Trailhead Coordinates: 48.0580351, -123.7890459
Hiking the Mount Storm King Trail
Once you’ve parked and are ready to start hiking, here’s what you can expect on the Mount Storm King trail!
Mount Storm King Trailhead
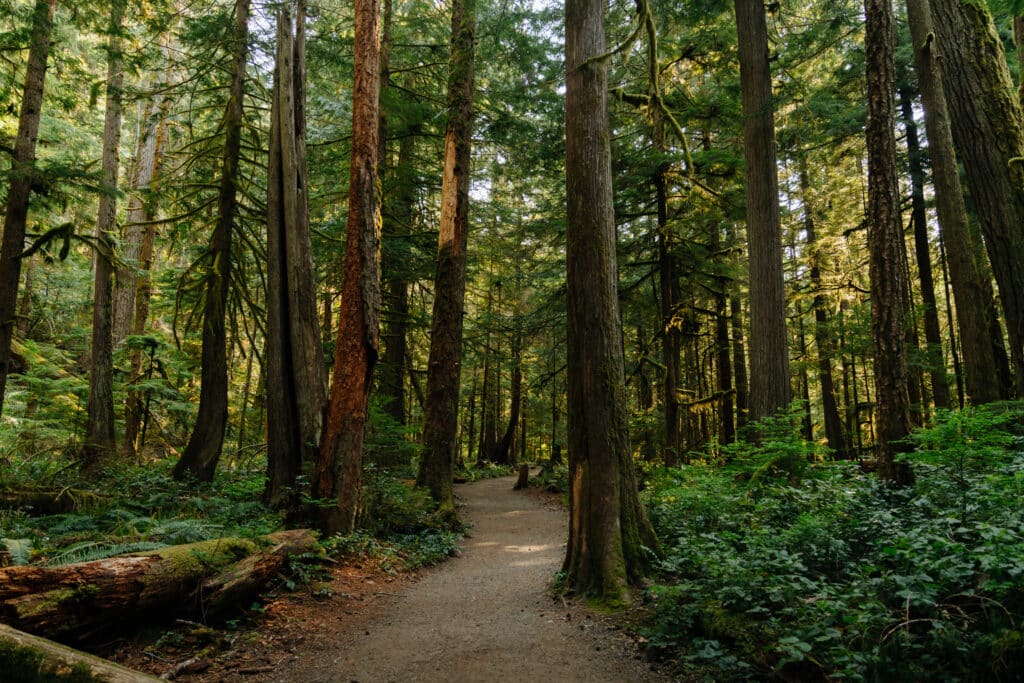
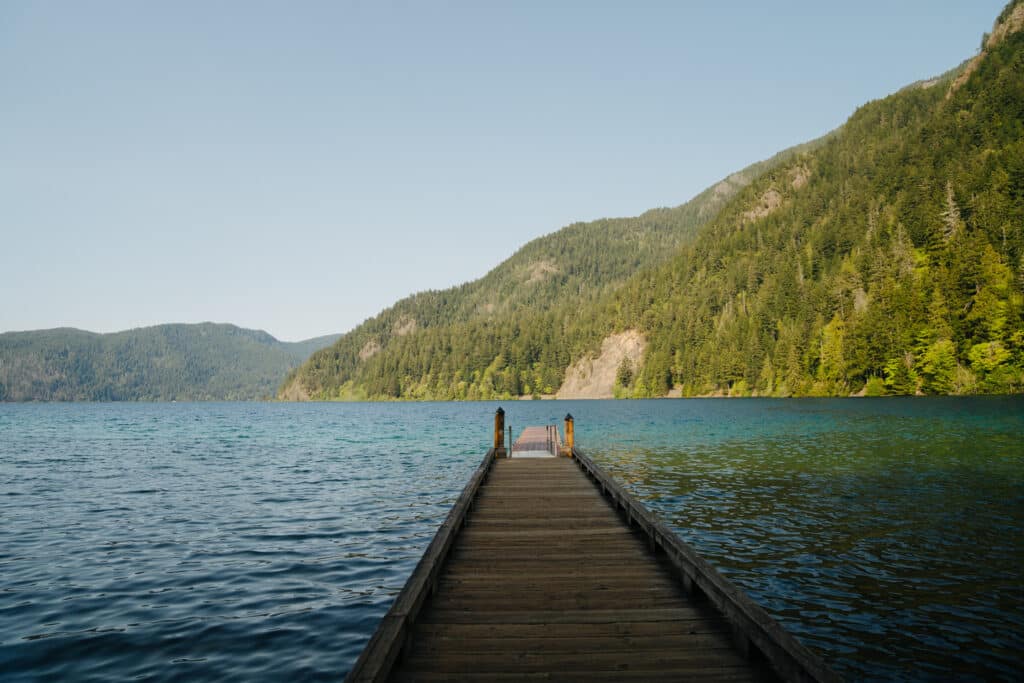
The Mount Storm King Trailhead is the same as the trailhead for Marymere Falls. From the parking lot, walk down towards Lake Crescent, and the trail begins to the right (assuming you’re facing the water) of the boat launch. The trail starts out pretty flat, taking you through the trees.
Detour to Marymere Falls
After half of a mile, you’ll get to the junction of Marymere Falls and Mount Storm King. Turn left and you’ll head uphill to the summit, keep going straight and you’ll go to the waterfall.
I recommend taking the detour to the falls – it’s a short, easy trail and the view is beautiful! To get to Marymere falls and back to the junction will add about 0.8 miles to the hike. I chose to do this before heading up the Mount Storm King trail, because I was hiking in the evening to catch sunset at the summit and it would be dark by the time I came down. And also, my motivation wanes a lot after I’ve completed a steep trail, so it’s always better for me to take any detours and do additional hiking on my way there, rather than on the way back down!
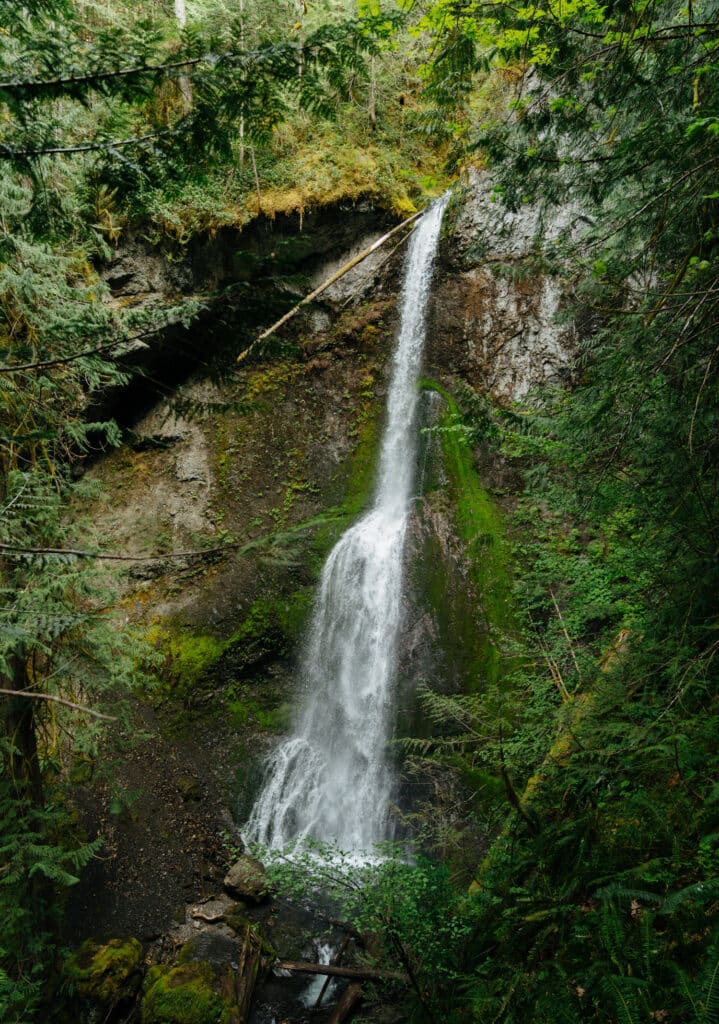
After the waterfall, come back to the junction and head uphill on the Mount Storm King trail.
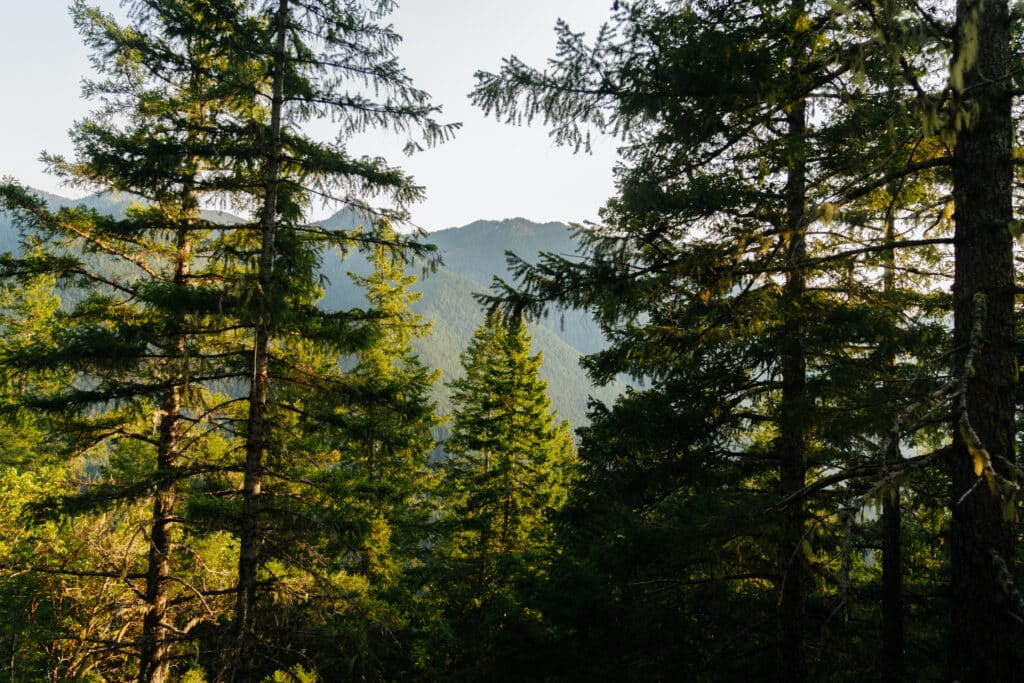
An Uphill Slog Through the Forest
I’ll be honest, I really wasn’t feeling it this day – I had gone back and forth about whether I wanted to hike at all, and ultimately decided to go. So when I started climbing uphill, I really wanted to quit. This isn’t something I feel often, but it happens! But, I told myself to just go for half a mile – and, like it always does, being surrounded by nature quited those thoughts and gave me back my motivation, and I kept going.
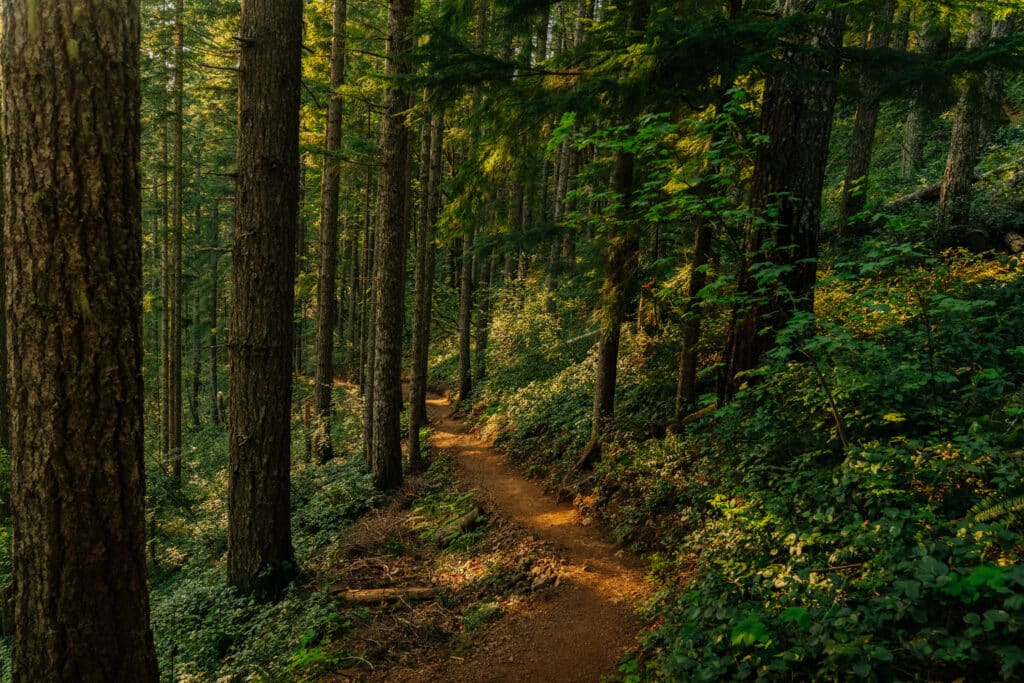
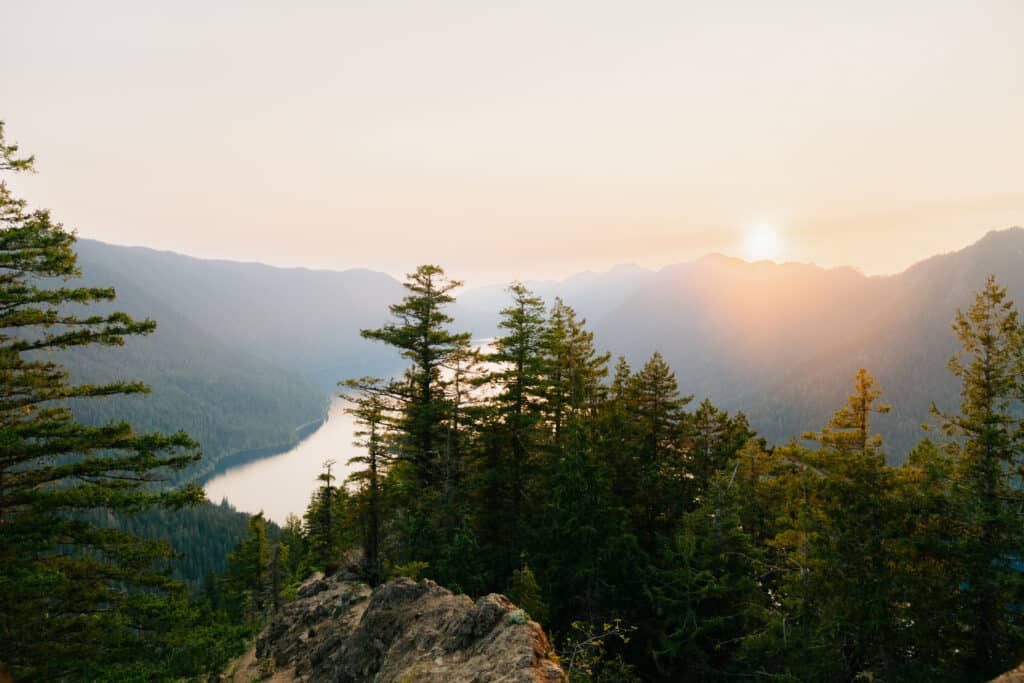
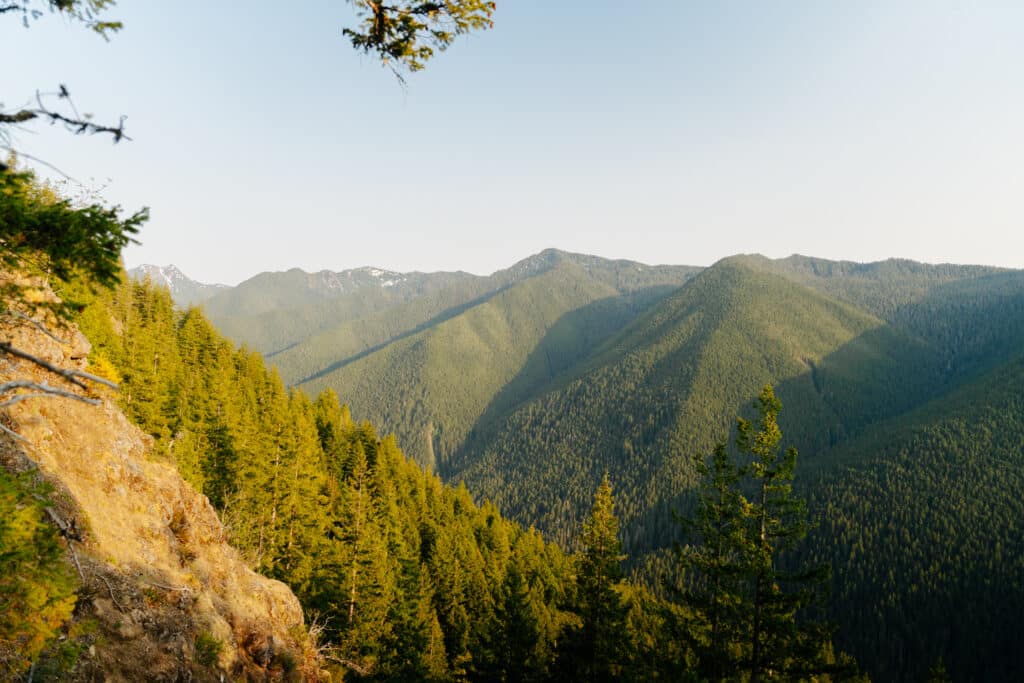
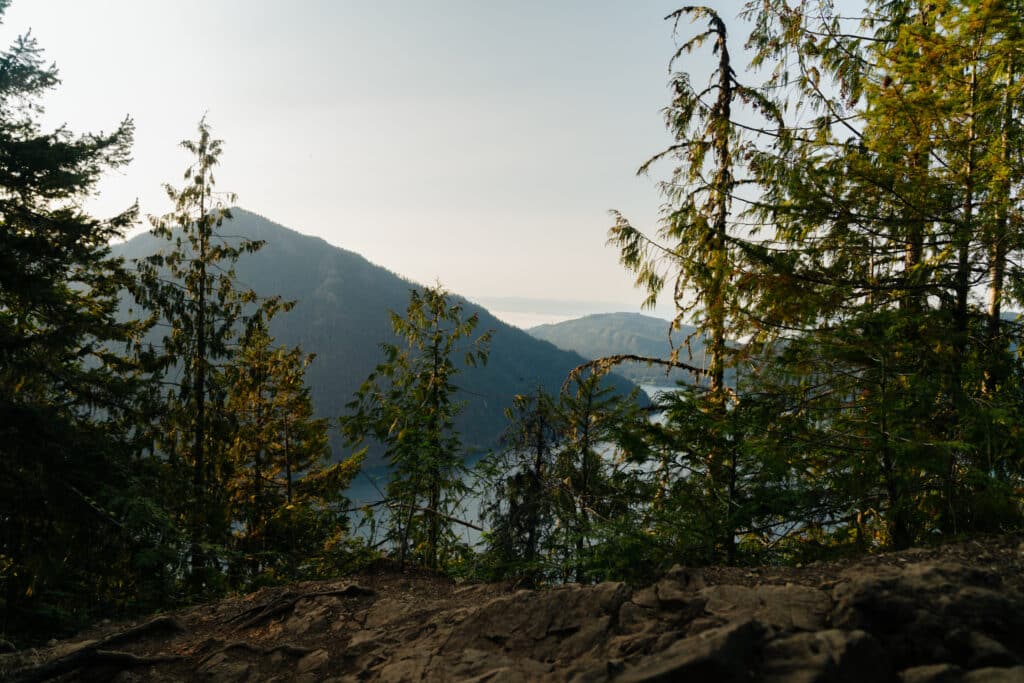
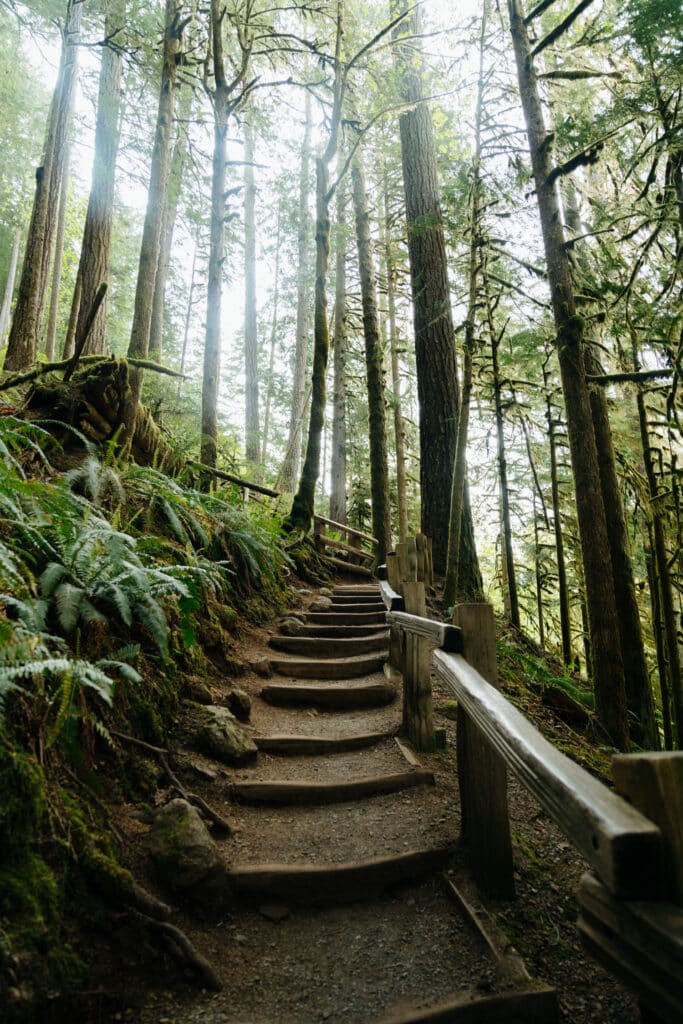
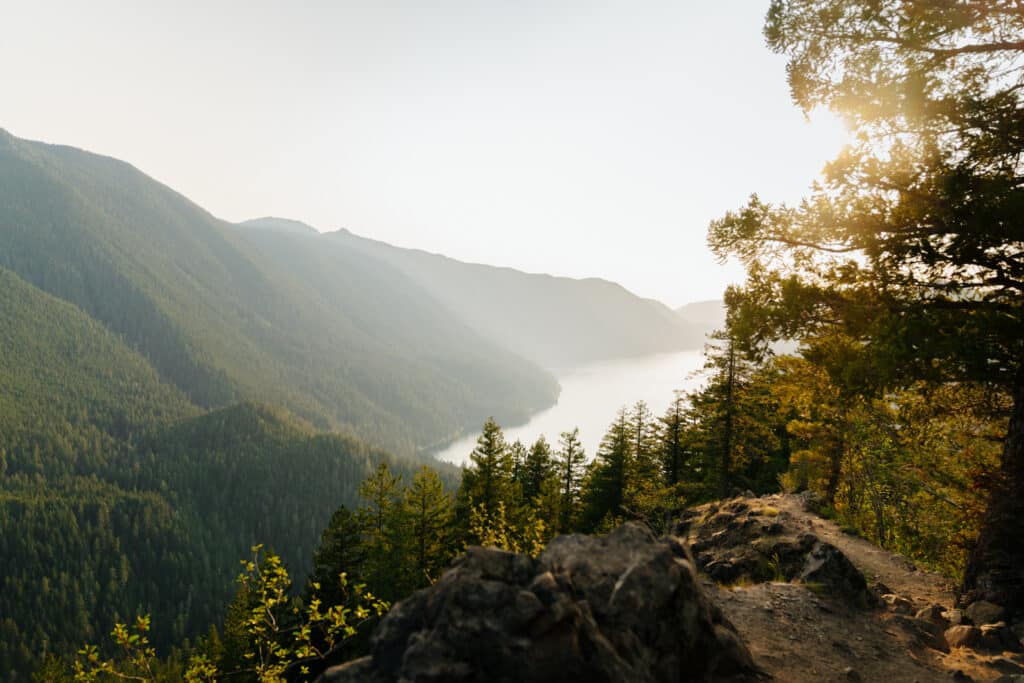
The trail climbs steadily uphill, through the forest. There aren’t many views to distract you from the steepness of the trail, until you get to about 1.7 miles in (2.4 if you went to Marymere falls first). The trees open up to a view of Lake Crescent!
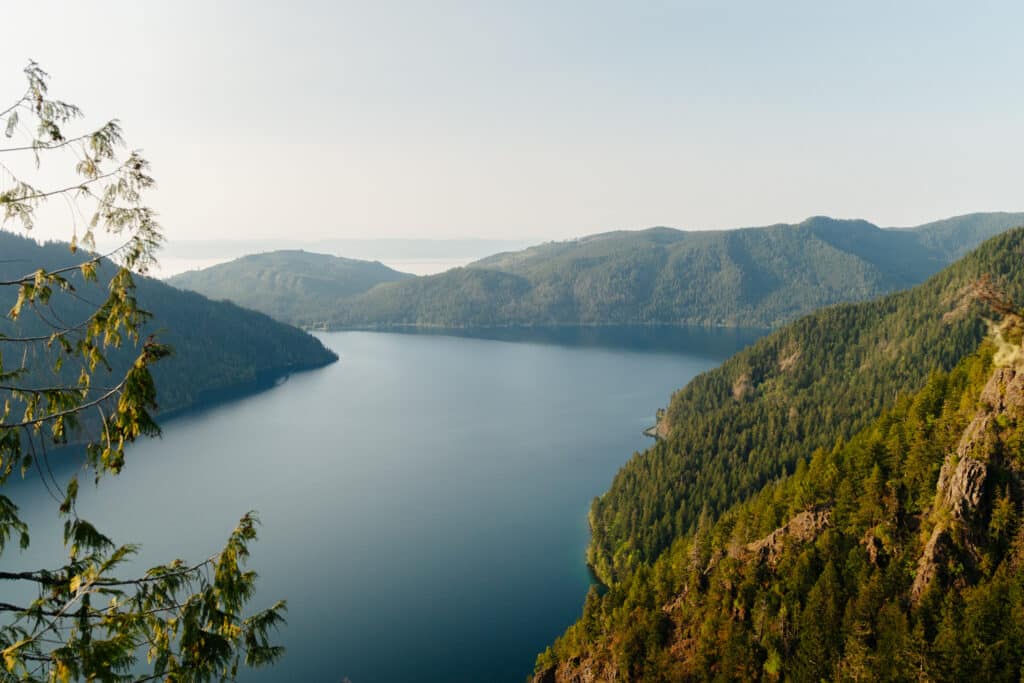
And things only get better from there – another half a mile, and you’ll have an even better view of the lake.
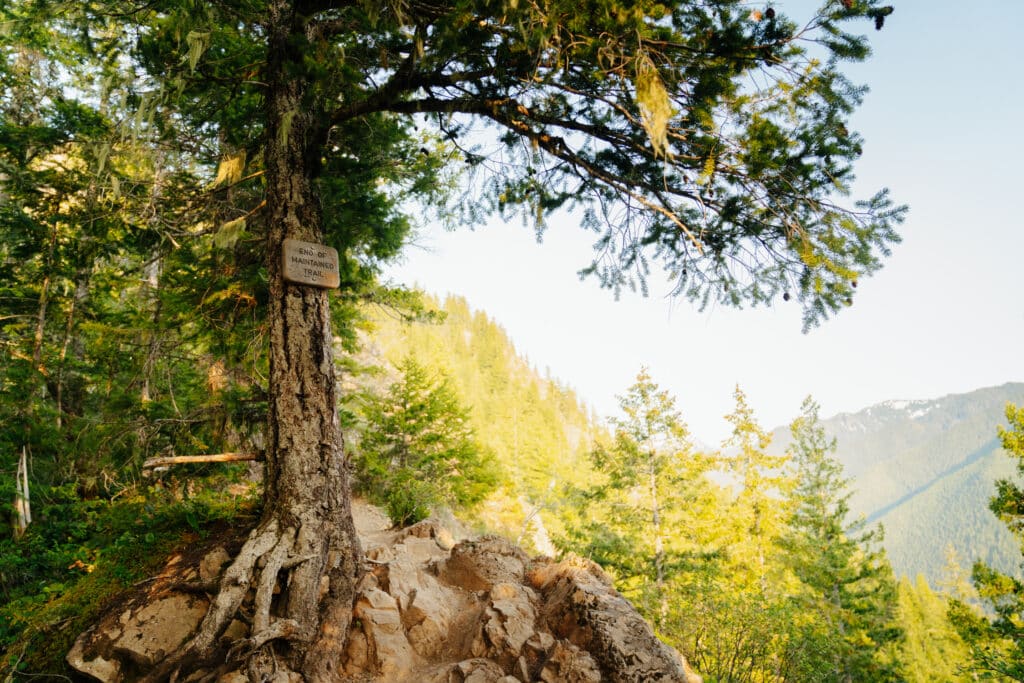
The End of the Maintained Trail
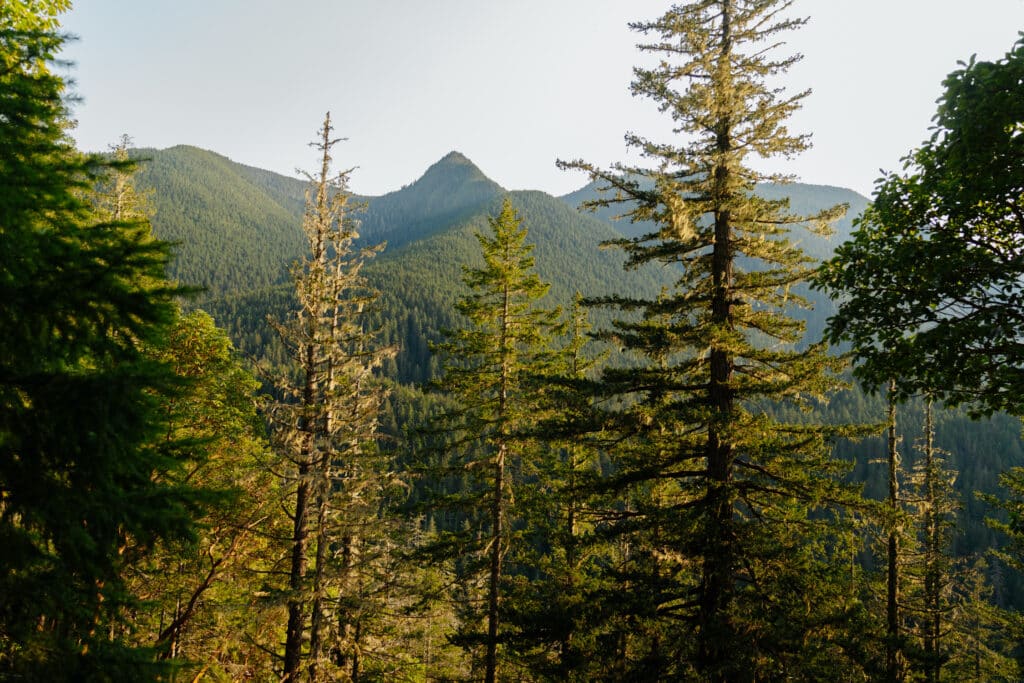
This second viewpoint is where a lot of people stop. It’s the end of the maintained trail of Mount Storm King, and things get more difficult from here (which can be hard to believe if you’ve just finished all of that uphill walking)!
But, I really, really recommend that you keep going – it’s even more beautiful at the summit, and the unmaintained trail is hard, but it’s fun!
Mount Storm King Ropes
From the end of the maintained trail to the summit of Mount Storm King is about 0.3 miles. It’s not far, but it’s very steep! There are ropes along this section that you can (and need, unless you’ve got some sort of cat-like agility or want to climb on all fours for a while) use to pull yourself along and avoid slipping. Some people recommend gloves for the ropes – I didn’t have any, and going up was fine, but it did hurt a little coming back down.
It’s hard, but I found it to be pretty fun! The unique-ness of the Mount Storm King ropes almost distracts you from how steep it is and how sick you are of going uphill… almost.
But soon enough, you’ll be done, and now you’re just a short walk away from the summit.
The Summit!
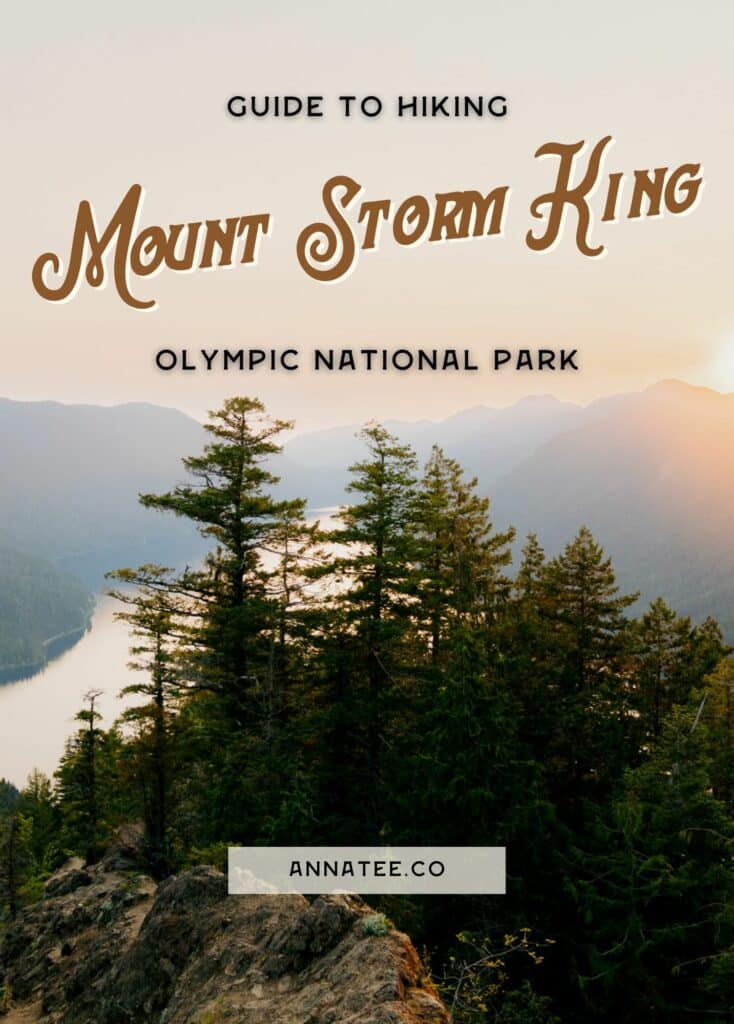
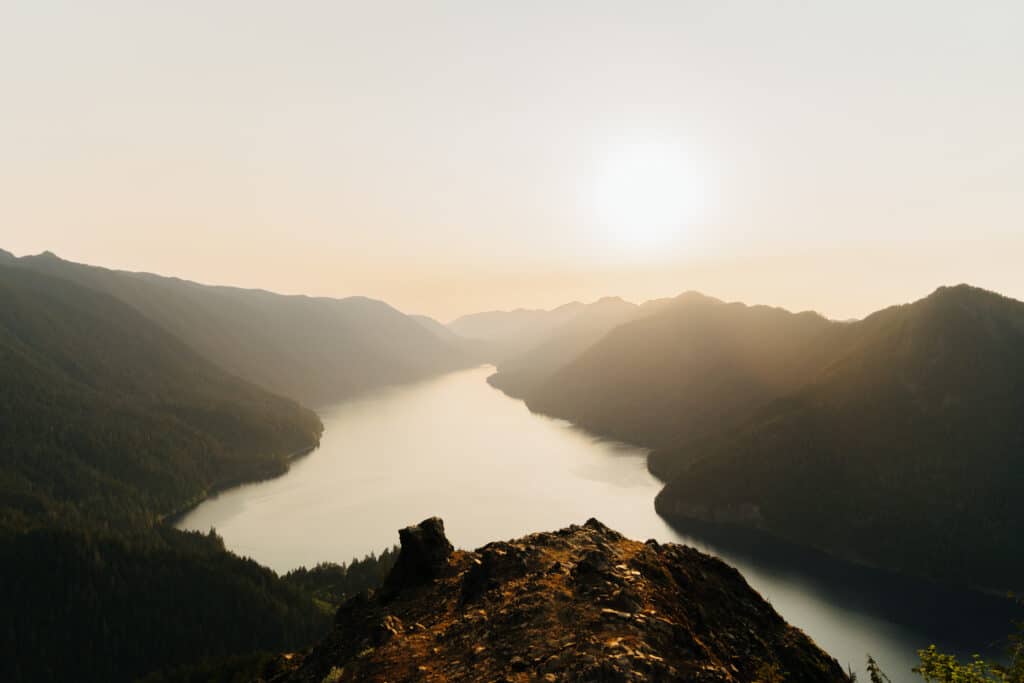
Once you’re done with the Mount Storm King ropes, you’re almost there! I wasn’t sure if the summit was the summit at first, because it kind of just looks like a giant rock. But, this is where you’re going! Climb up the rocks, and you’ll find yourself at the Mount Storm King summit, with truly breathtaking views of Lake Crescent, and of the mountains surrounding it.
Take a break, have a snack, and enjoy!
Hiking Down the Mount Storm King Trail
Once you’re ready to go back down, it’s the same way that you came. Since I was there for sunset, I made sure to leave before it got totally dark, so that I would be done with the ropes section before having to pull out my headlamp.
Get ready to tackle those Mount Storm King Ropes again, and then head downhill. If your knees tend to hurt going down, hiking poles can be really helpful.
There’s nothing like taking a dip after a hard hike (and I personally really hate the feeling of being dusty, so I’ll always take an opportunity to wash off), and Lake Crescent is waiting at the trailhead!
Where to Stay Near the Mount Storm King Trail
You can turn your hike into a little getaway, and stay somewhere close by! Here are my favorite options for places to stay close to this area of Olympic National Park.
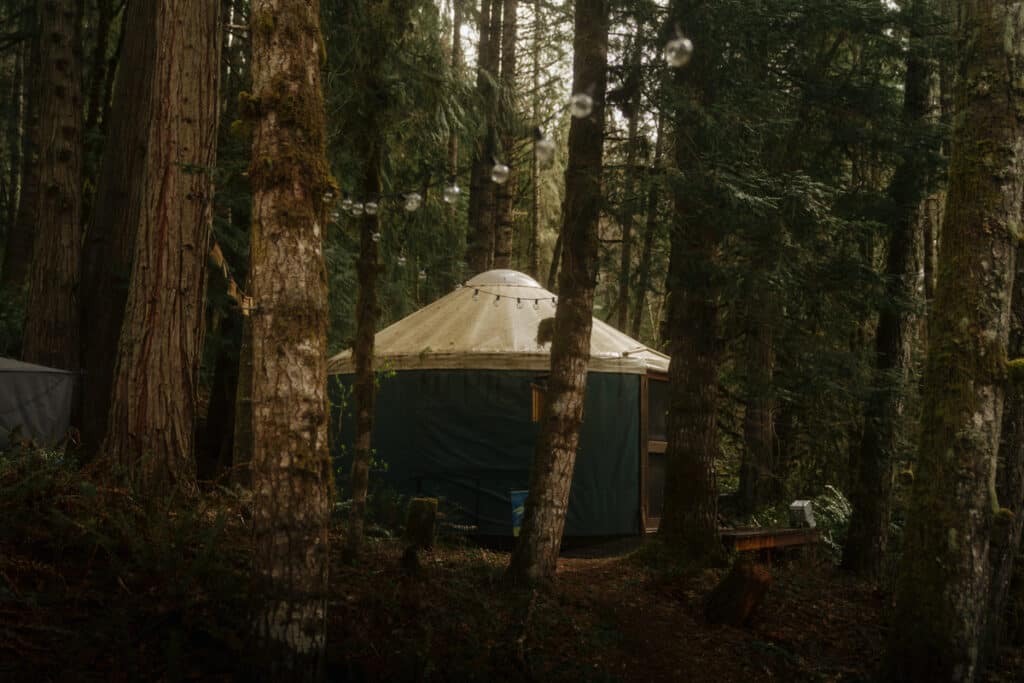
Glamping, Cabins, & Yurts
For a unique place to stay during your trip, check out Hipcamp! It’s like Airbnb for campsites – and you can find yurts, cabins, glamping sites, and more.
You can even get $10 off your first booking here!
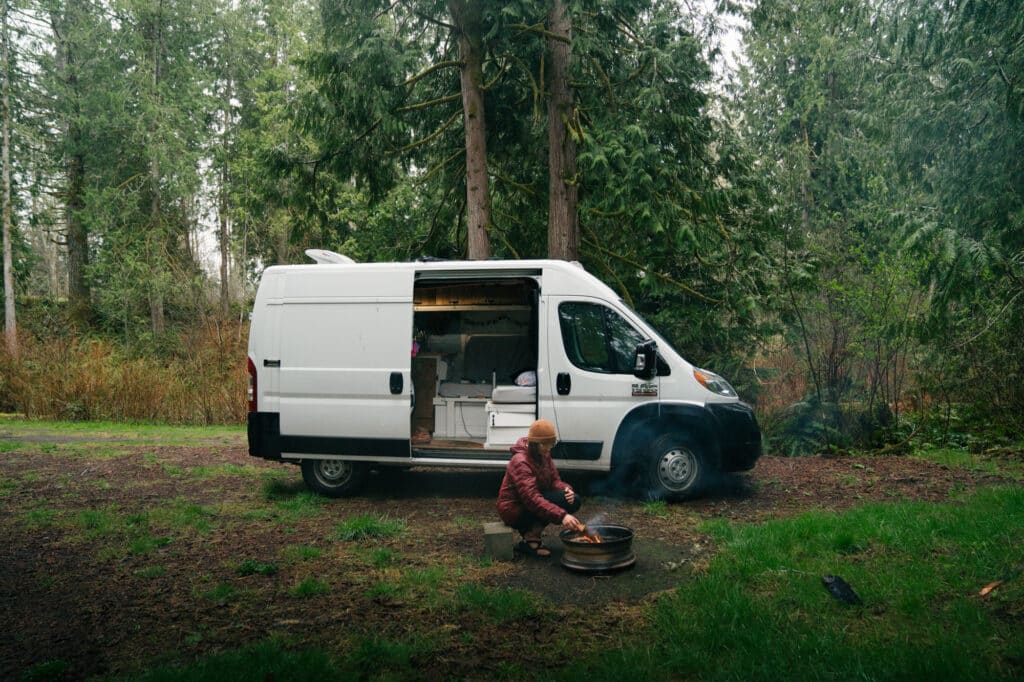
A Camper van
With a camper van, you get a vehicle and a place to sleep, all in one! This is my favorite way to travel, and you can rent a fully decked out van with Escape Campervans. Another option is to use Outdoorsy, which is more like Airbnb – you can rent vans, RVs, and trailers from people who live nearby!
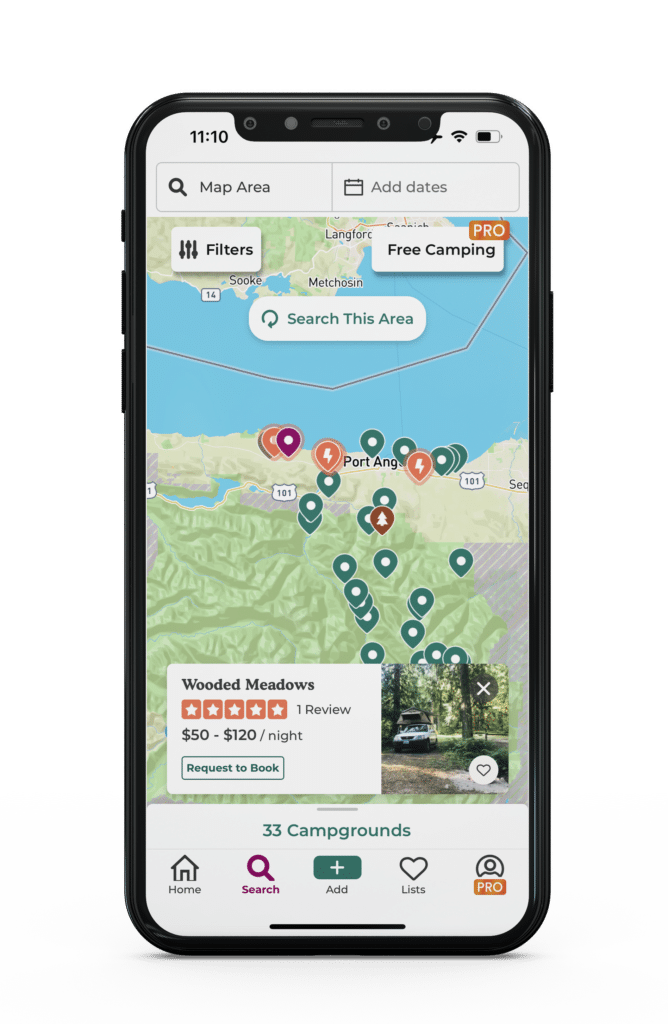
Find a Campsite
Whether you car camp, tent camp, or rent a tiny home on wheels, The Dyrt is the best way to find campsites! The Fairholme campground is located close by on Lake Crescent, but you can find other spots nearby. Just outside the national park, you’ll find Olympic National Forest – which means you can camp for free!
There are lots options for free camping near the trail – for tips on finding the best ones, check out this guide.
Try the Dirt Pro
Free for 30 days
Find campsites, plan road trips, and see the boundaries of national forest land where you can camp for free!
A Lakeside Lodge
There are also plenty of hotels and vacation rentals close to the Mount Storm King trail. The Lake Crescent Lodge is one of the absolute best options – just minutes from the trailhead and right on the shores of the lake!
For more options, check out this map of places to stay. Make sure to change the dates, and zoom out to see all of your options!
Booking.comMore Adventures Near the Mount Storm King Trail
Have you hiked this trail, or are you adding it to your bucket list? Let me know in a comment below!
For more adventures on the Olympic Peninsula, I recommend checking out the easy Staircase Rapids Loop, also in Olympic National Park. The Lena Lake and Murhut Falls trails are just outside the park in the national forest, and are fun to explore too!
Pin any of these photos to save this guide to the Mount Storm King Trail for later!