Trail Guide to the God’s Thumb Hike on the Oregon Coast
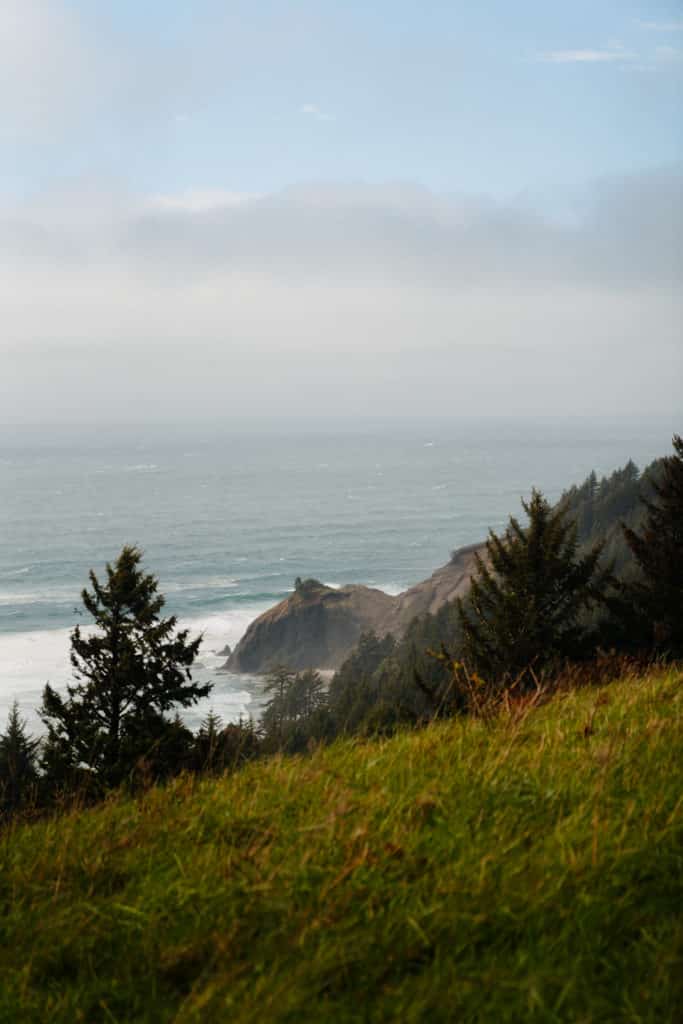
It’s not an exaggeration to say that God’s Thumb is one of the most incredible views on the Oregon Coast. The hike is steep and muddy, but the pay off at the end is beyond worth it! The God’s Thumb hike is one of the best trails in Oregon, and one of my personal favorites.
The trail can be a little bit tricky, so there are a few things you’ll need to know before you hike God’s Thumb. This guide will tell you all of it – how to get there, how to prepare for the steep trail, what you can expect, and more!
Head’s up: some of these links are affiliate links, so I get a commission if you make a purchase (at no cost to you). But that’s great, because I was going to share anyway, and this helps me keep making free guides for you!
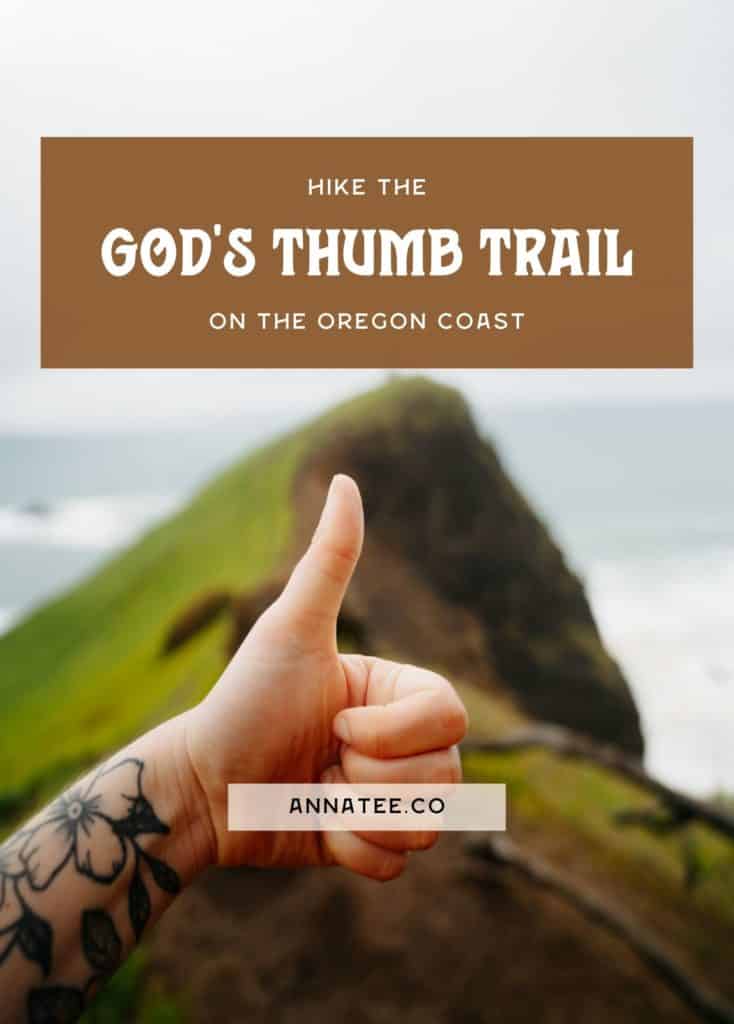
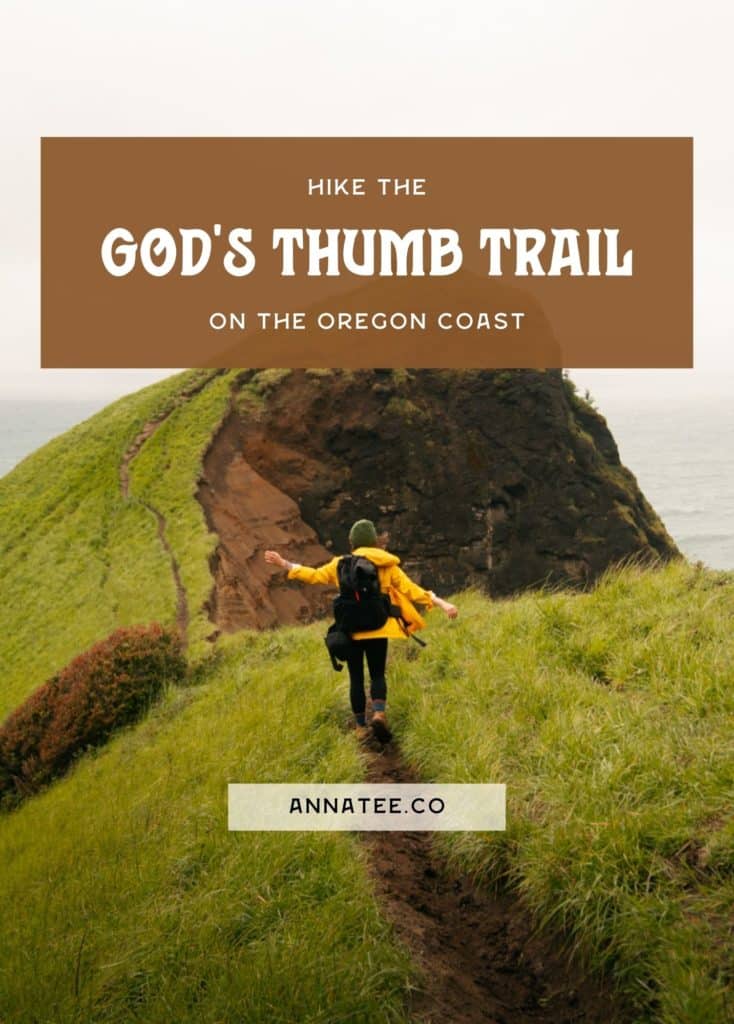
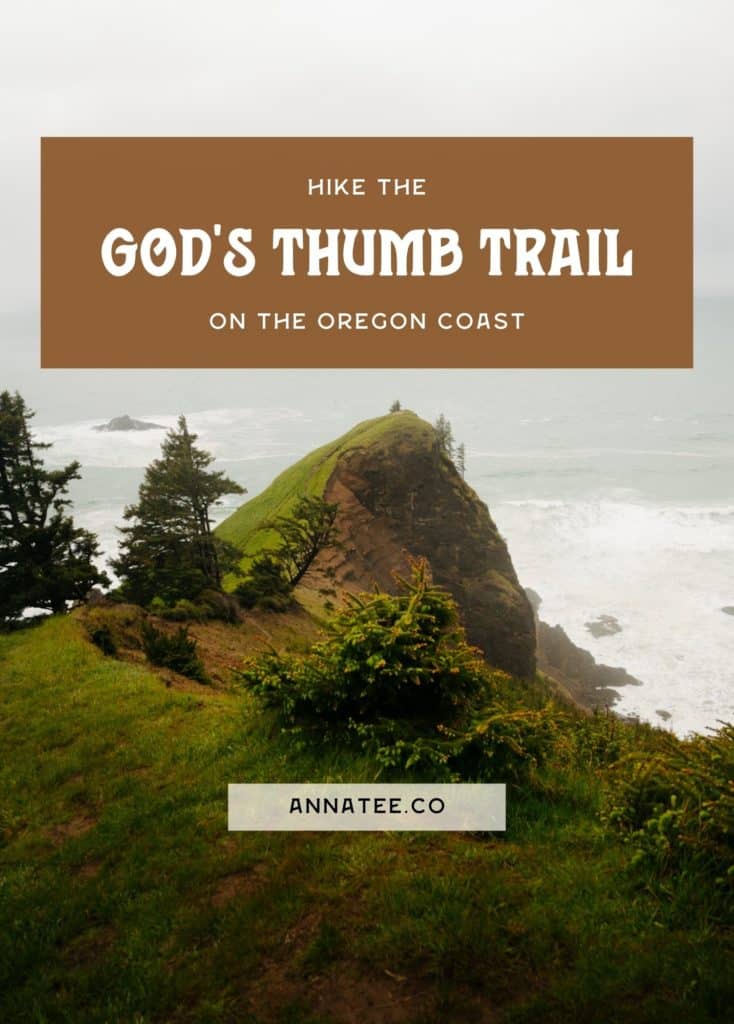
Pin this photo to save this guide to the God’s Thumb Trail for later!
About the God’s Thumb Hike
Here’s what you need to know before you hit the trail!
God’s Thumb Hike Stats
Distance: 4.7 mile loop
Elevation Gain: 1,102 feet
Difficulty: moderate
Leave No Trace on the God’s Thumb Trail
Anytime you’re outdoors, whether you’re a beginner hiker or an experienced adventurer, it’s essential that you practice Leave No Trace (LNT). LNT is a set of seven principles that help us understand our impact on the outdoors – because while we usually have good intentions, the environment is more fragile than we think, and one snap-second decision can cause damage to the environment that will take the earth years, even decades to repair.
Leave No Trace means enjoying the outdoors without disrupting nature, as much as it’s possible to do so. Here are the 7 principles of LNT, and how they apply when you hike the God’s Thumb trail!
- Plan ahead and prepare – read this guide, make sure you know have the right gear, and be prepared for mud and rain.
- Travel and camp on durable surfaces – stay on the trail to avoid trampling grasses and plants!
- Dispose of waste properly – don’t leave trash, or anything else, behind. Pack it out!
- Leave what you find – I know it can be tempting to take a cool rock or leaf, but leave these things where they belong! Animals often use these, and if everyone takes one, the trail won’t be as pretty.
- Minimize campfire impacts – no campfires are allowed on the trail.
- Respect wildlife – avoid feeding or approaching birds or any other animals you might see.
- Be considerate of other visitors – yield to uphill hikers, and be respectful – no speakers or loud music.
The Best Time to Hike the God’s Thumb Trail
The most popular time to hike this trail is in the summer, but I think the best time to hike it is spring, or fall! God’s Thumb is a pretty secluded spot, but it’s gaining popularity – in the off season, there will be fewer people around, so while you’ll definitely need to be prepared for rain and it might be a little chillier, having the views to yourself is worth it! Be aware that this hike is really muddy – good traction is a must.
God’s Thumb Trailhead
There’s one thing that’s super important to know about the God’s Thumb trailhead – there used to be a shorter trail that started at NE Logan Road, but this trail is private property and no longer open for public access. There has been some confusion about it, as some people believe you can hike this way if you park your car at the beach down the road (instead of in front of the residential homes on NE Logan Road). This used to be true (or at least it wasn’t explicitly not allowed), but it’s no longer the case – the trail itself is closed to the public! Please respect private property, and don’t try to go this way.
But, there are three different trailheads where you can park for the God’s Thumb hike now! You’ll see them all on the map below. If you’re doing the hike as a loop, I recommend the southernmost trailhead – it’ll get the uphill parts out of the way so you don’t have to do it at the end! The other two trailheads are in a residential area, and the parking lots are somewhat small, so on a busy day you may need to go to the bigger one located at the end of NE Devils Lake Blvd.
God’s Thumb Trailhead Coordinates: 45.01088, -123.99773
God’s Thumb Trail Map
Here’s a God’s Thumb trail map, which shows you the parking areas! The green hiker icons are trailheads where you can park, and the red X is the old trailhead at NE Logan Road that is no longer open. The brown stars are the main viewpoints on the trail – The Knoll and God’s Thumb! And the blue houses are places to stay nearby.
Hiking the God’s Thumb Trail
Once you’ve parked and you’re ready to begin, here’s what you can expect when you do the God’s Thumb hike!
This hike can be done as a loop, or as an out and back trail – I like the loop because it gives you some variety, and is only 0.4 miles longer. I recommend going clockwise, because you’ll see The Knoll on your way up!
If you parked at the southernmost trailhead, you’ll go on a short trail next to the parking lot (not the big one with the sign – look for a narrower trail in the bushes) for a little bit, then you’ll come to the second parking area on a gravel road. You’ll walk up the gravel road, which goes past some houses – there’s not much to see here, but take a minute to appreciate how not-muddy this part is :).
Soon, you’ll come to a third parking area, and walk a little past there. You’ll see the official beginning of the trail to The Knoll, marked with a sign and a gate.
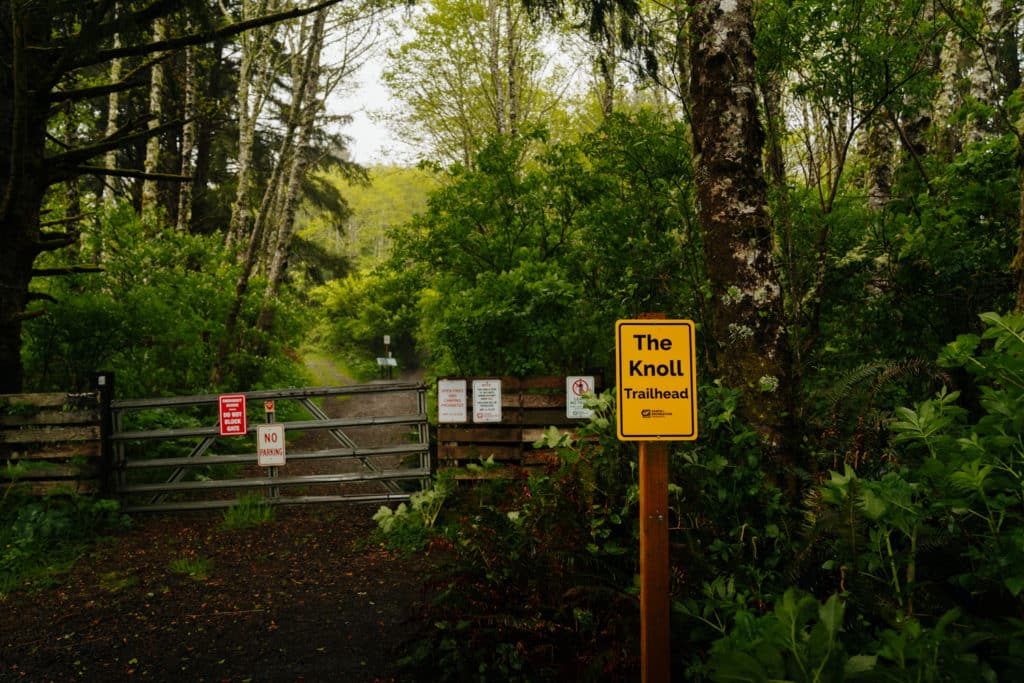
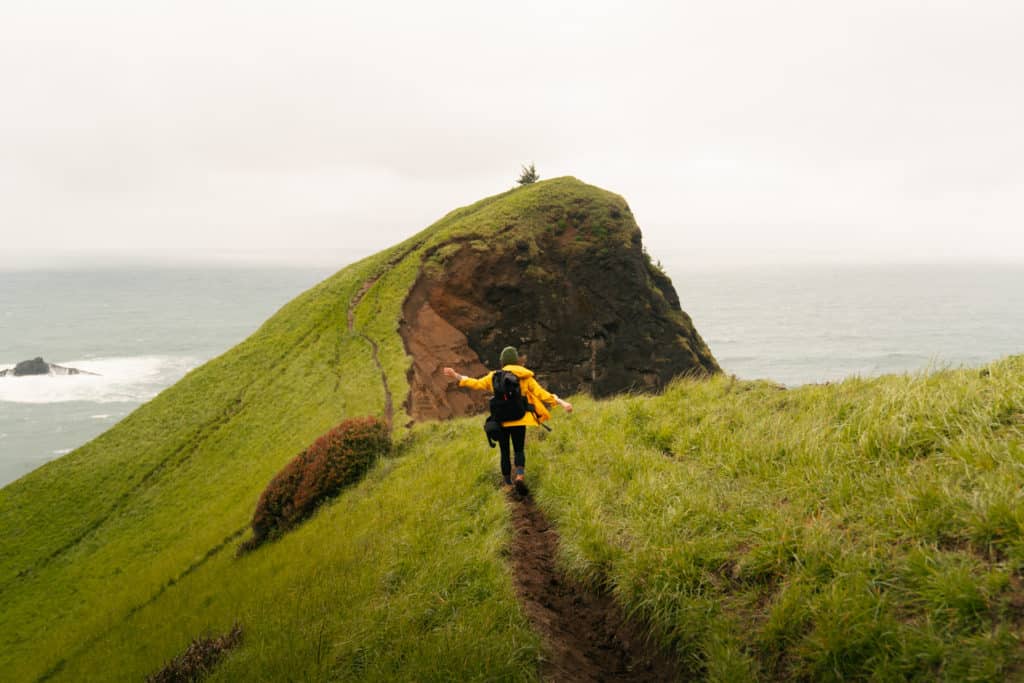
Just walk around the gate, and you’re on the trail! It’s pretty steep from the beginning, and soon you’ll come to The Knoll. There’s a little trail to your left that looks really steep, and it’s kind of hard to tell if it is a trail – having a map of the trail is really helpful here! You could skip The Knoll and just continue up the path, but it’s worth a stop. Take the steep left and make your way uphill! This is where it starts to get muddy, so hiking boots with good traction are extra important on the God’s Thumb hike.
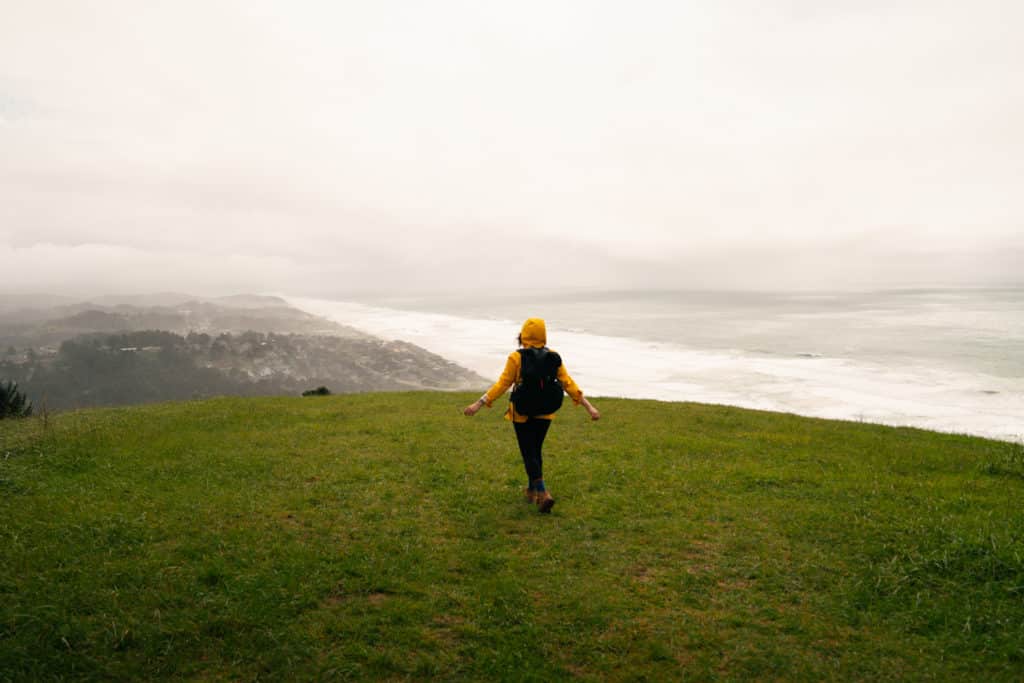
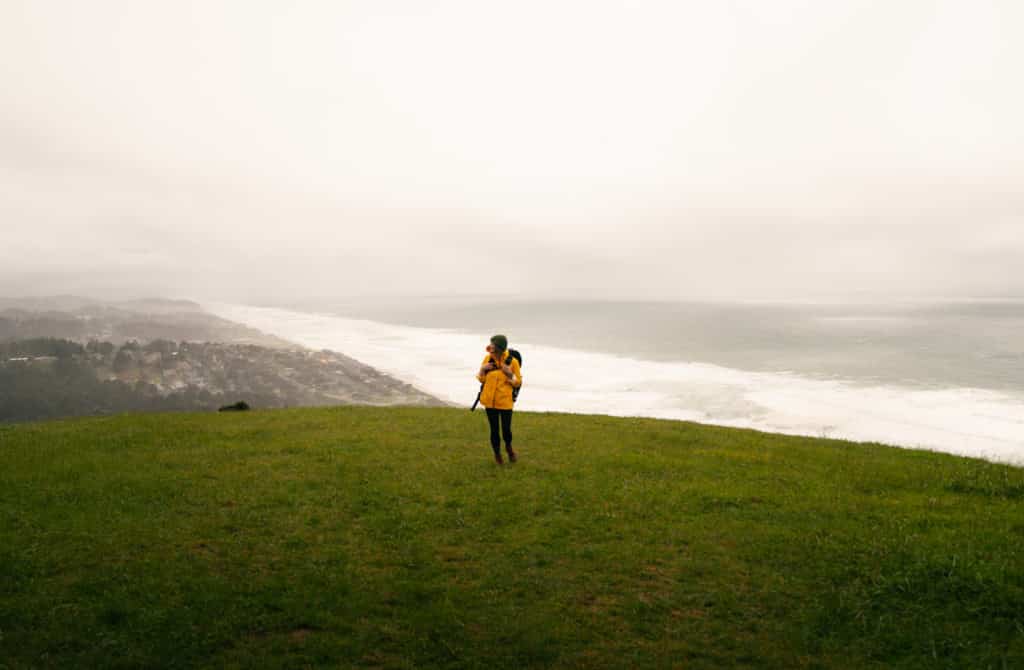
You’ll climb out of the forest and out onto this grassy hill that overlooks the ocean. It’s gorgeous here, but nothing compared to the Thumb – keep going! The Knoll will also probably give you a little taste of how windy it’ll be at the end of the trail :).
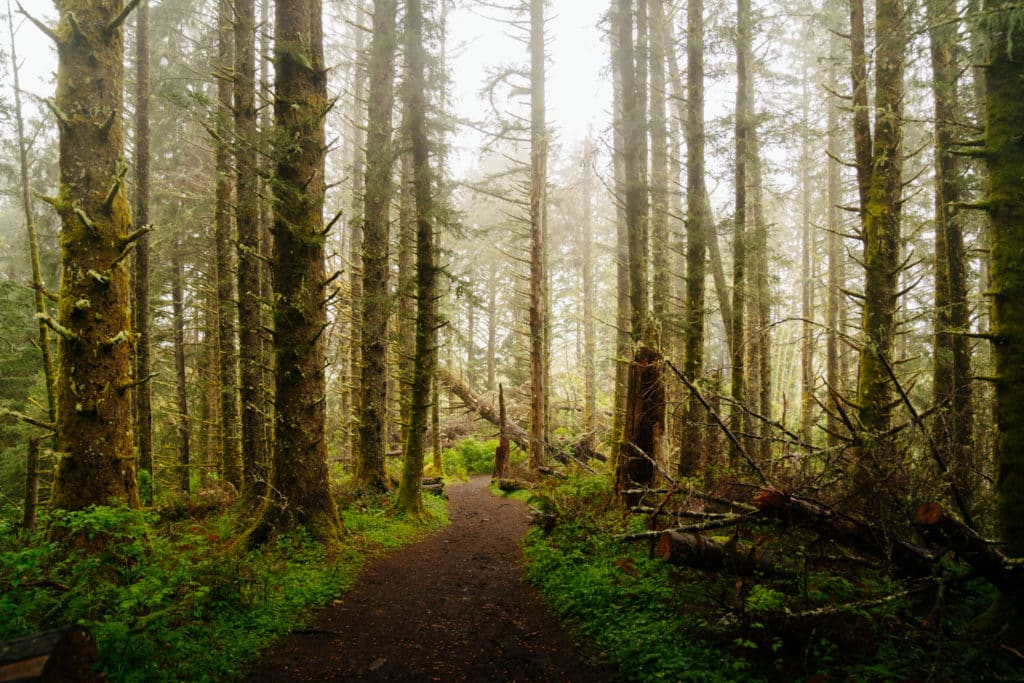
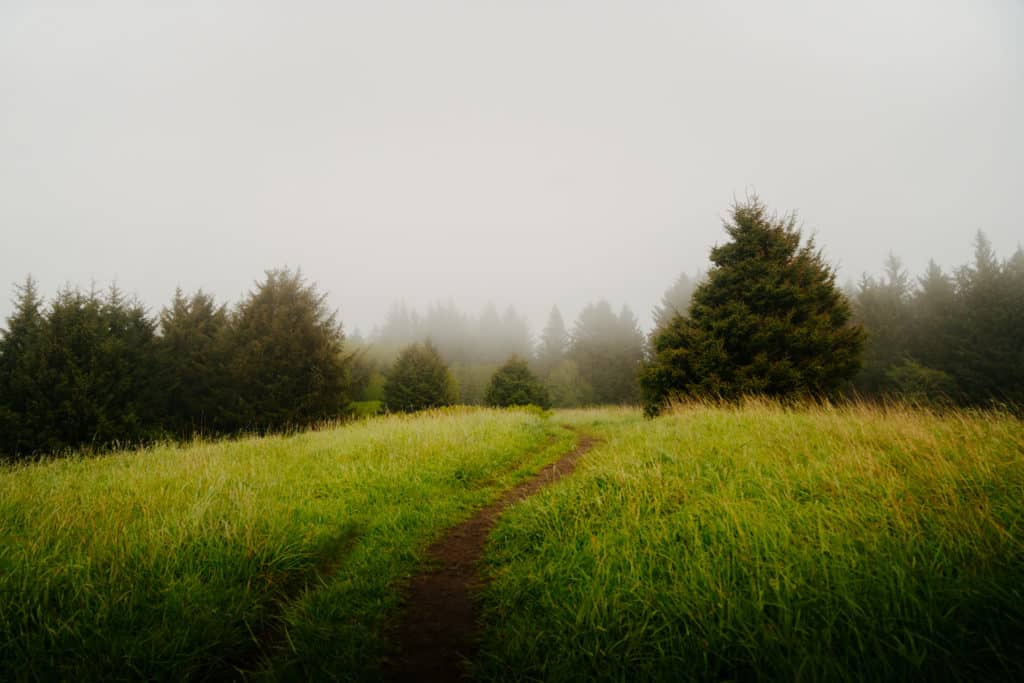
As you continue uphill from The Knoll, you’ll walk through a peaceful forest – the tall trees are often covered in a fog that makes everything feel even more quiet and magical.

Some parts of this trail are on private property – but whoever owns it allows public access, so make sure to respect the land and keep it that way! Access can be revoked anytime, which is likely what happened to the trail from Logan Road.
You’ll see fork in the trail, with the left side going uphill and the right side going down – go left to continue to God’s Thumb! The other way is part of the loop, so you can take it on your way down.
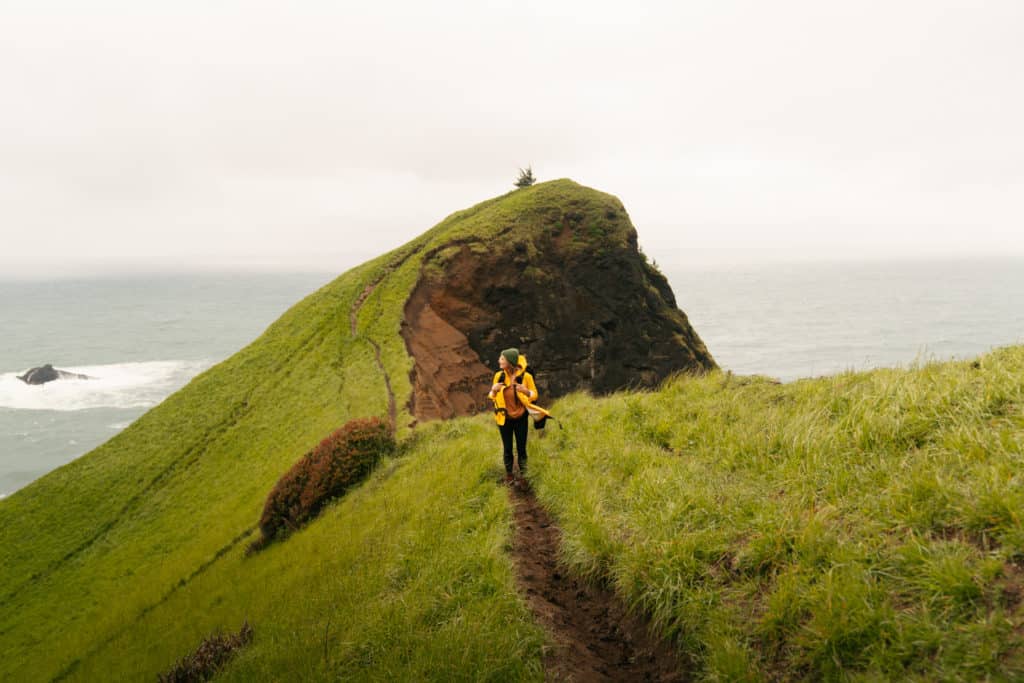
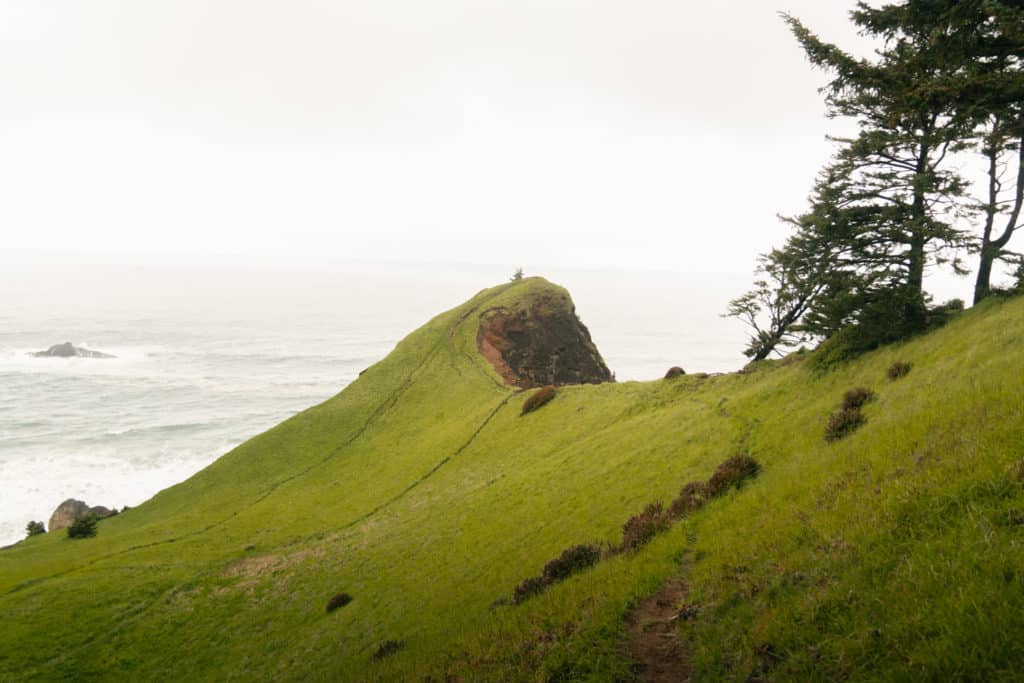
The trail only gets muddier, and soon you’ll come to an open meadow – elk sometimes hang out here, so keep an eye out! Soon afterwards, you’ll climb up to another open area, and just beyond the hill you’ll get your first glimpse of God’s Thumb.
Once you’re at the top of the ridge, you’ll come down to get to the Thumb. This part was probably the hardest – it was steep and muddy, and getting down was a challenge!
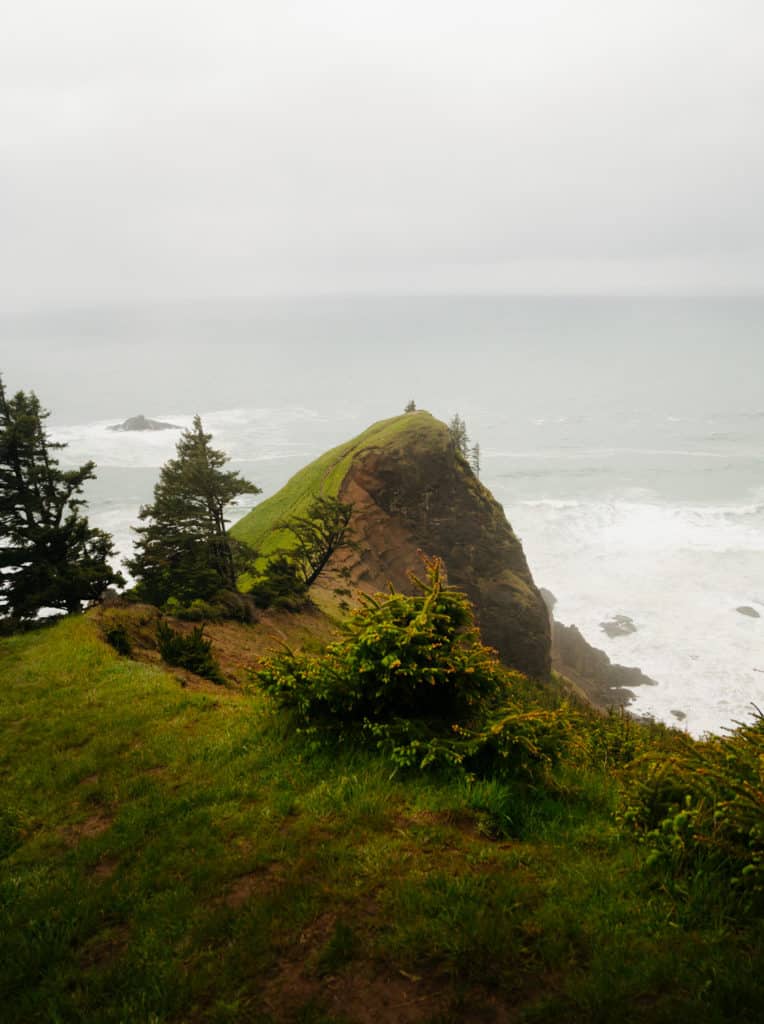

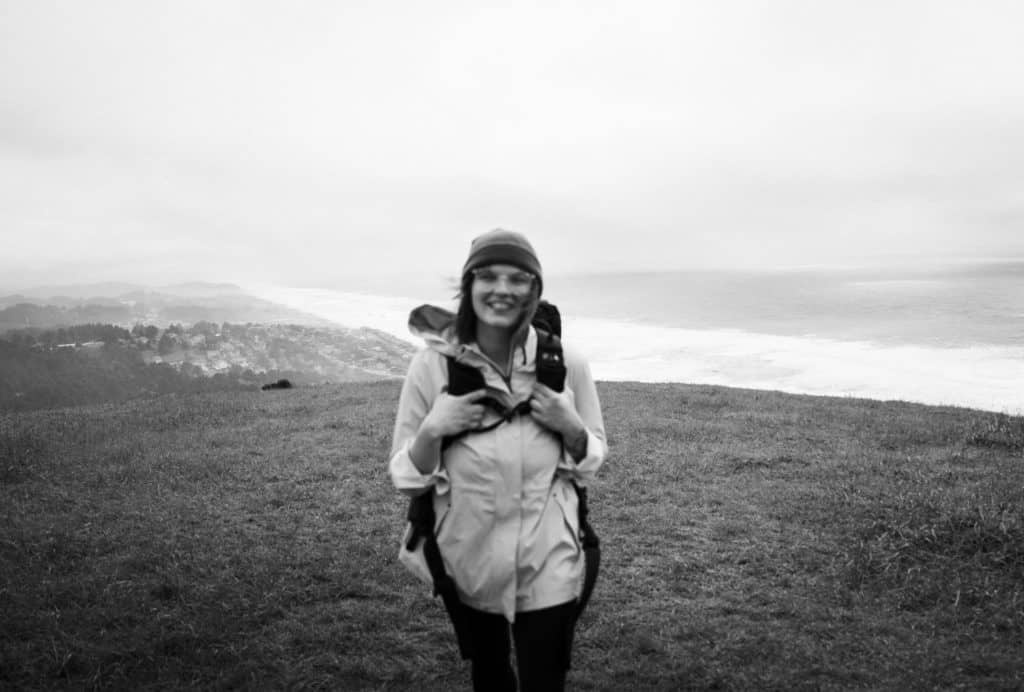
Once you’re down in the meadow, you can see the sea stacks and rocks down below, and you can also climb to the top of the Thumb, which is very steep but very worth it! The top is windy, so hold onto your hat.
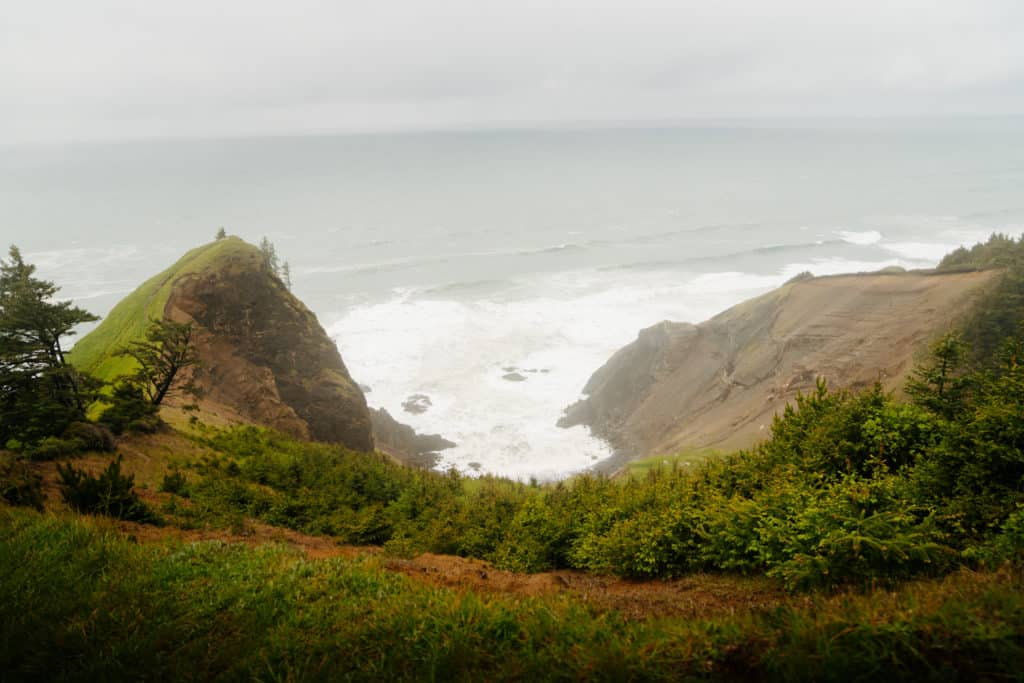
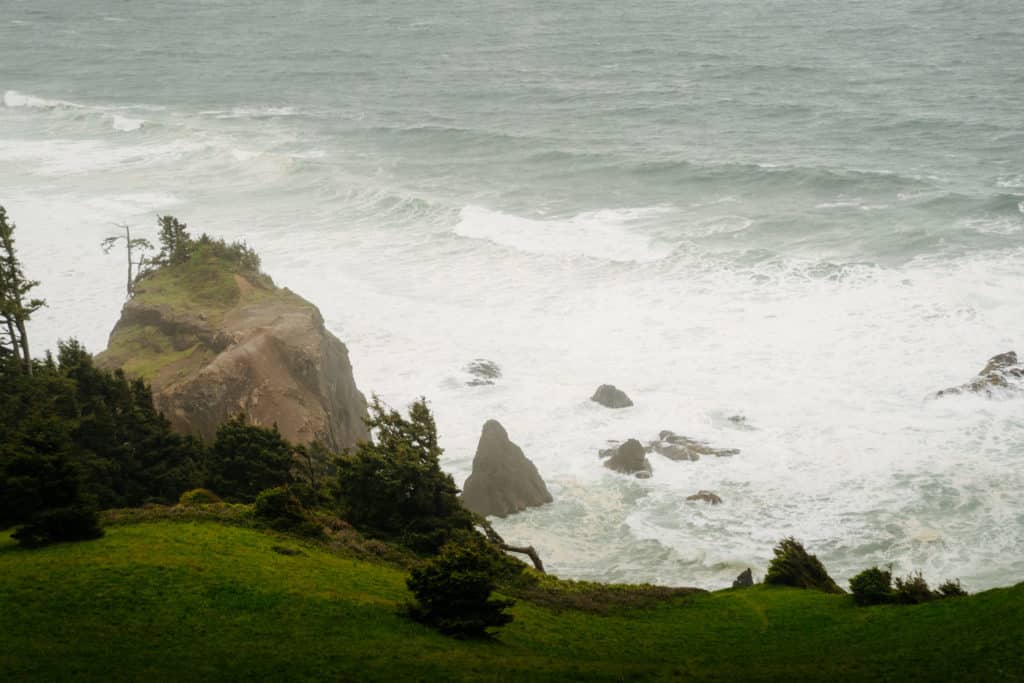
The views here are really unbelievable.

When you’re ready to go back (or had enough of the wind), make sure to take the same trail out! There are a few other trails that connect at the bottom, but these will lead you away from where you came from.


Head back to the trailhead, and enjoy the downhill!
Where to Stay Near the God’s Thumb Hike
You can turn your hike into a little getaway, and stay somewhere close by! Here are my favorite options for places to stay close to this trail.
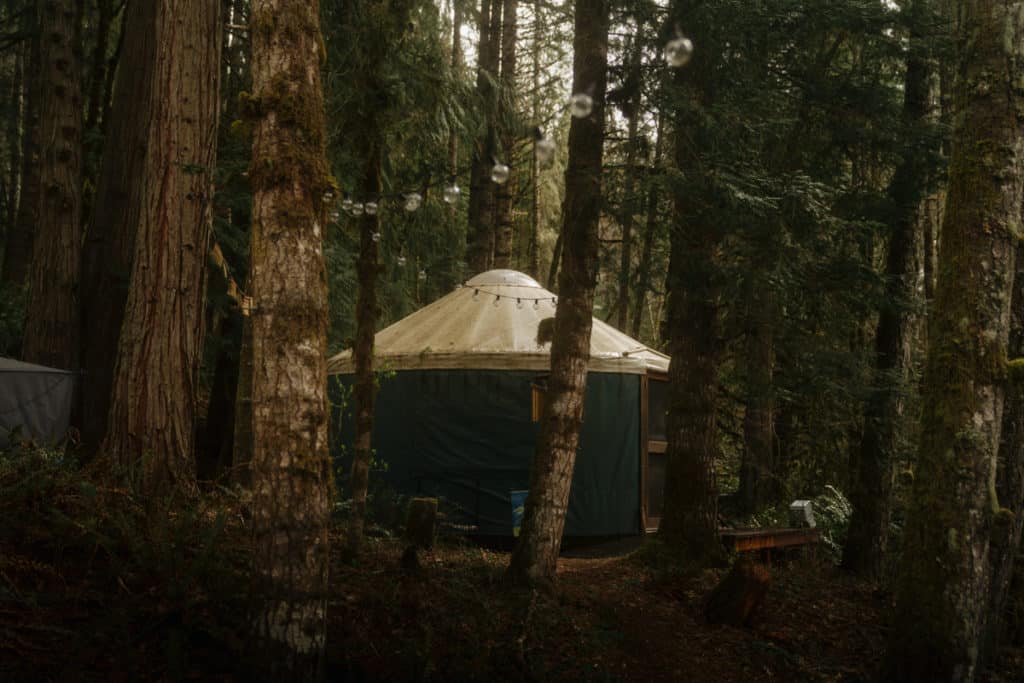
Glamping, Cabins, & Yurts
For a unique place to stay during your trip, check out Hipcamp! It’s like Airbnb for campsites – and you can find yurts (like this one near the Oregon Coast), cabins, glamping sites, and more.
You can even get $10 off your first booking here!
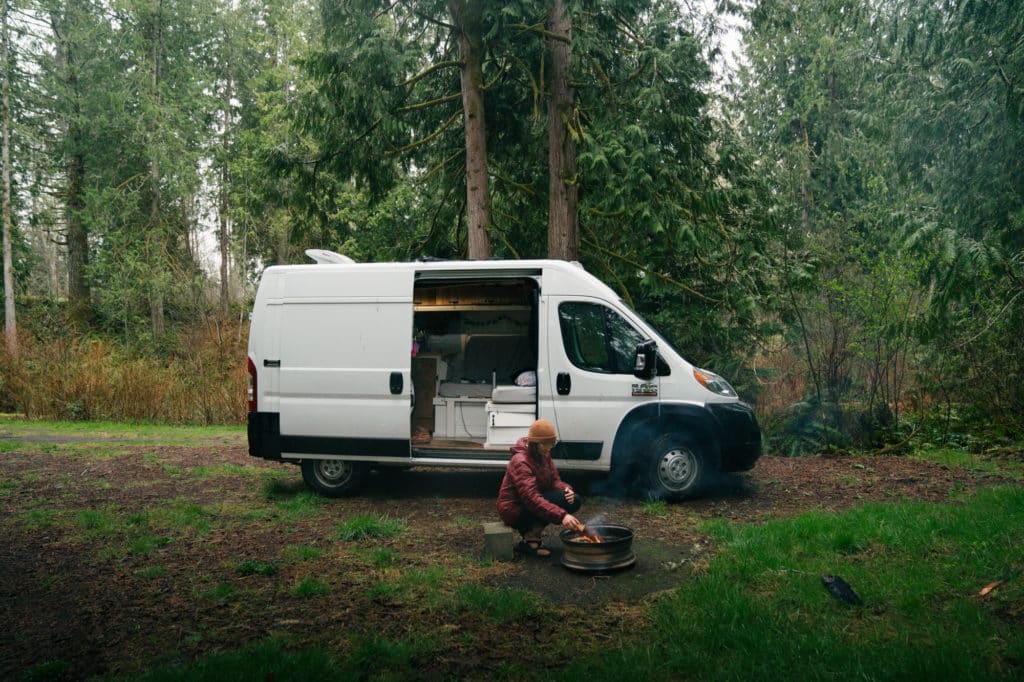
A Camper van
With a camper van, you get a vehicle and a place to sleep, all in one! This is my favorite way to travel, and you can rent a fully decked out van with Escape Campervans. Another option is to use Outdoorsy, which is more like Airbnb – you can rent vans, RVs, and trailers from people who live nearby!
Find a Campsite
Whether you car camp, tent camp, or rent a tiny home on wheels, The Dyrt is the best way to find campsites! There are some options for campsites close by. Under an hour from the trailhead, you’ll find national forest land – which means you can camp for free!
There are lots options for free camping near the trail – for tips on finding the best ones, check out this guide.
An Oceanfront Home
If you’re on the Oregon Coast, stay somewhere with a view of the ocean! Here are a few options for oceanfront stays.


For more places to stay near God’s Thumb, take a look at this map:
Booking.comWhat to Bring to Hike the God’s Thumb Trail
When you hike the God’s Thumb trail, here’s what you’ll need to bring!
Hiking Shoes
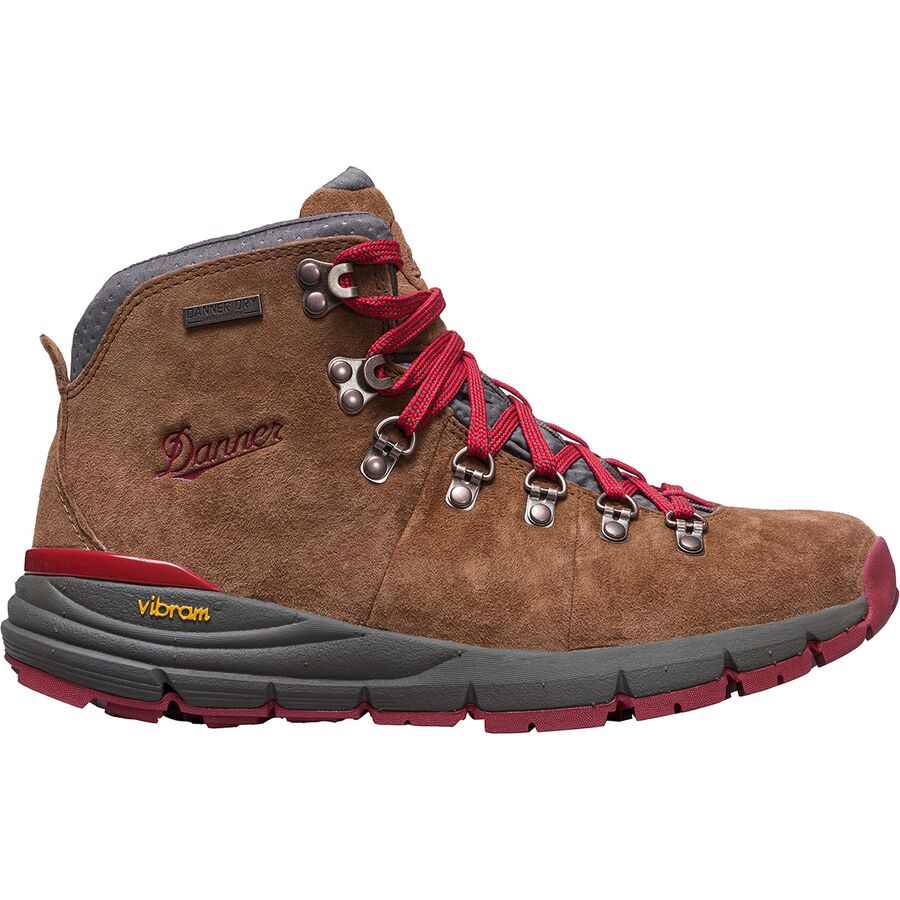
Waterproof shoes are a must for this one – the trail gets really muddy. Good traction, and being prepared for a rainy hike, is essential!
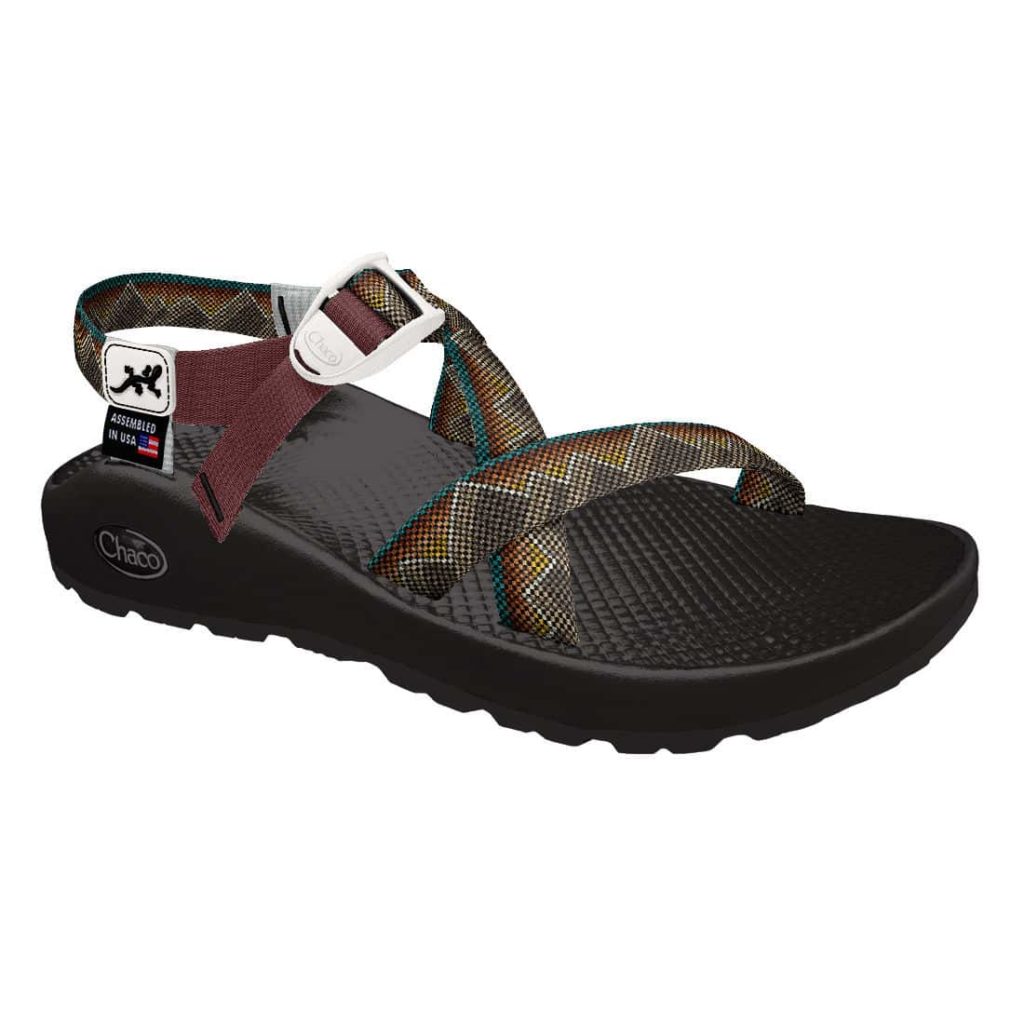
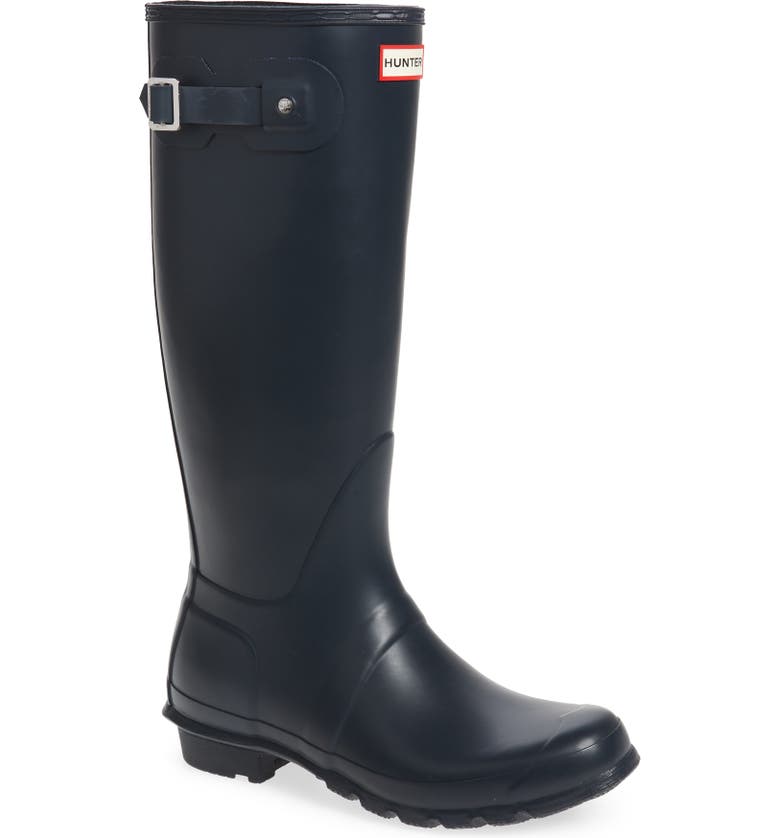
My favorite hiking boots are my Danner boots – they’re cute, comfortable, and waterproof! I also love hiking in my Chacos, but definitely be aware that you’ll get some mud on your toes.
Rain boots are another great option for muddy or wet conditions, and are definitely the easiest to clean.
Bonus Tip: A lot of these links are for my favorite place to buy outdoor gear – Backcountry. If you install the free Lolli extension on your browser, you can earn free Bitcoin when you shop online at certain retailers, including Backcountry. You can transfer it to a crypto wallet, or just cash out to your bank account.
Layers
It’s incredibly windy when you get to God’s Thumb, and it rains often! PNW weather is known for being unpredictable, and it’s always best to wear layers when hiking.
The Marmot Minimalist Jacket is a great lightweight, waterproof option. The RVCA Meyer Packable Anorack Jacket is a cute windbreaker , and folds up nice and small! For added warmth and layering, a Patagonia fleece is always a good addition.


Backpack
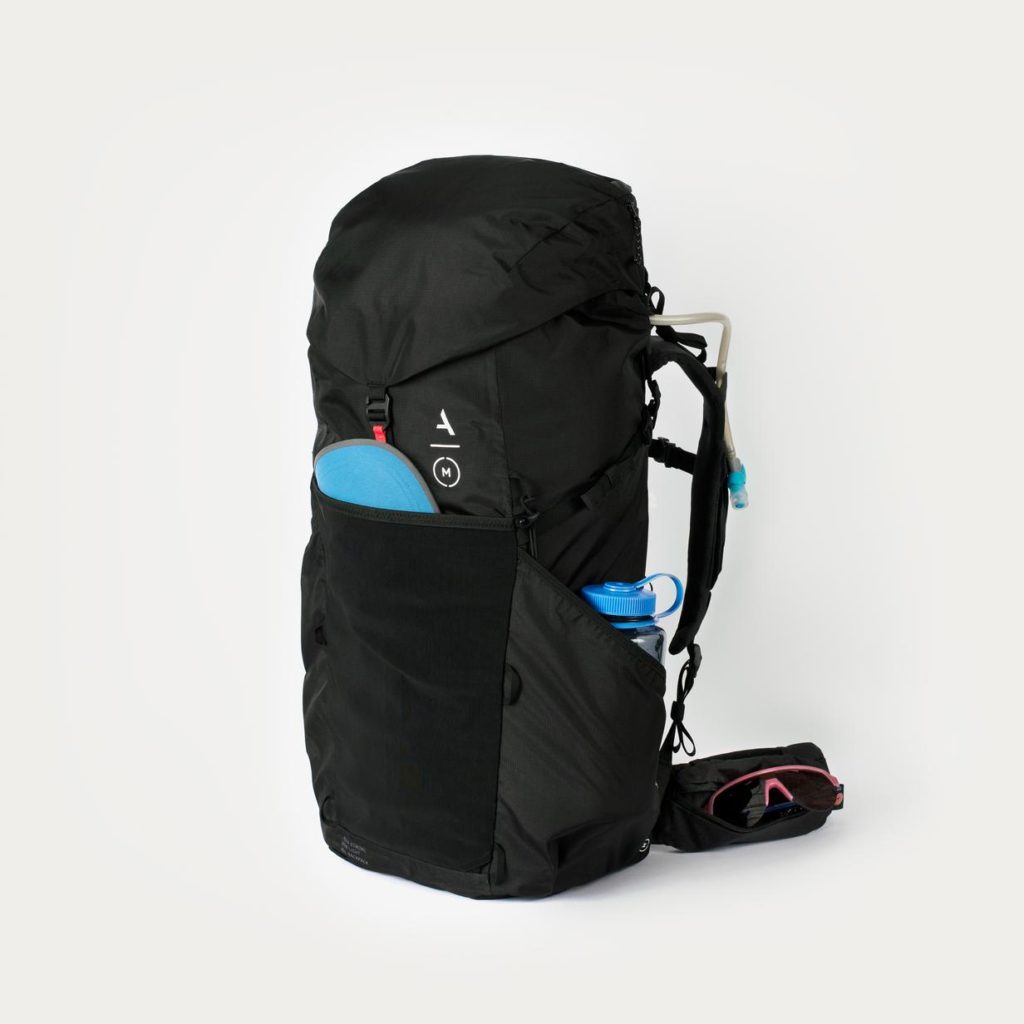
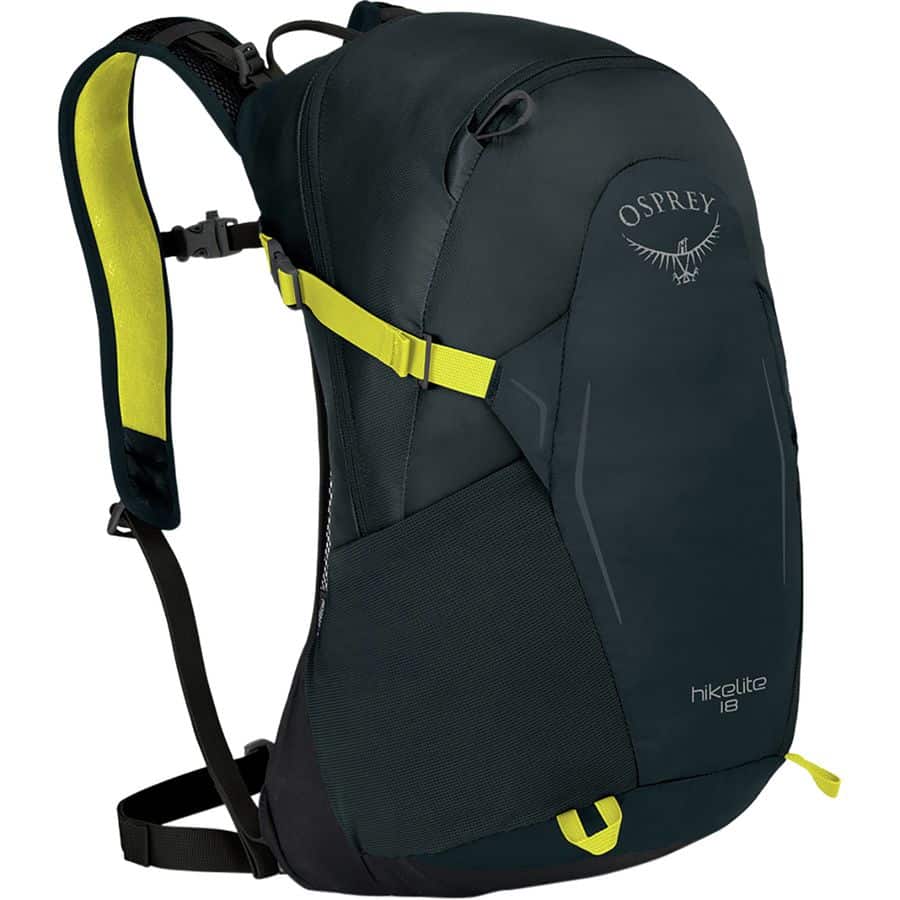
When I’m bringing my camera gear, my favorite backpack is the Alex Strohl Mountain Light. It’s definitely the best camera bag out there for hiking with photo gear. If you don’t need storage for camera stuff, I recommend an Osprey Hikelite. If you aren’t bringing very much and just want a day bag, I love my Topo Designs Y-Pack for carrying everyday essentials!

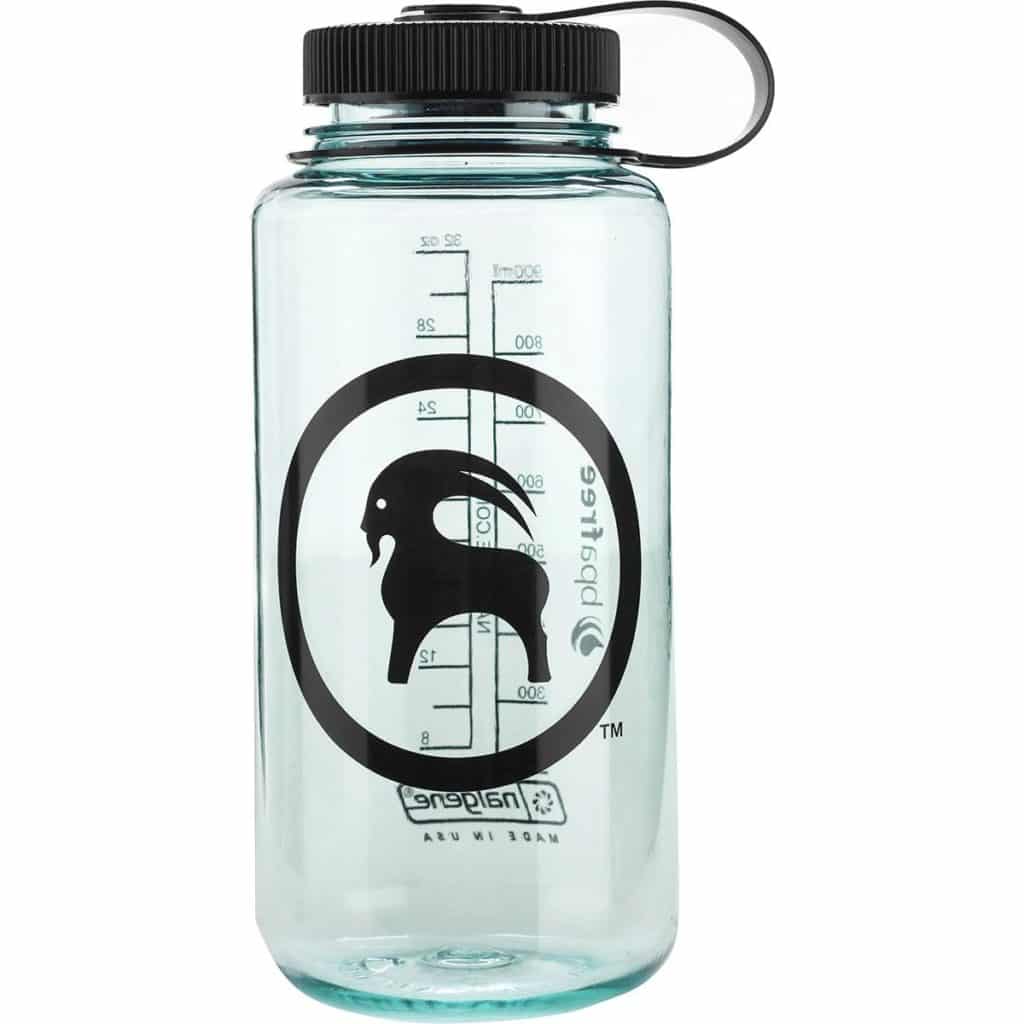
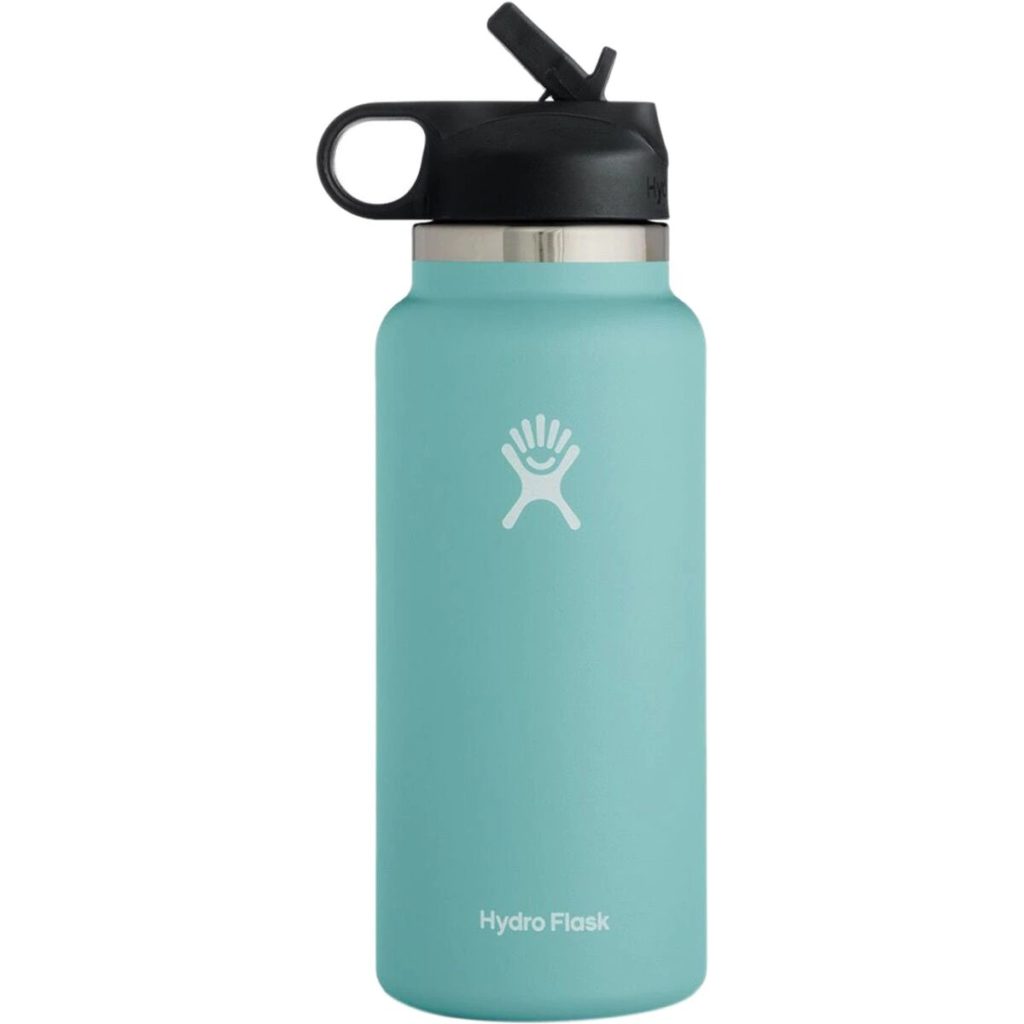
Hydration!
Especially when you’re hiking or exploring outdoors, it’s important to stay hydrated! Single use water bottles are, of course, terrible for the environment, so avoid that and bring a reusable one!
For hiking, the CamelBak water reservoirs are convenient and easy – they can fit in your hiking backpack for water on the go. Nalgene water bottles are great for day to day, and if you want an insulated water bottle to keep your water cold and refreshing, Hydro Flasks are the best!

More Adventures Near the God’s Thumb Hike
God’s Thumb is under two hours from Cannon Beach, so you can also check out places like Oswald West State Park for more hikes! For more of the best hikes on the Oregon Coast, check out this guide.
Pin any of these photos to save this guide to the God’s Thumb Hike for later!